


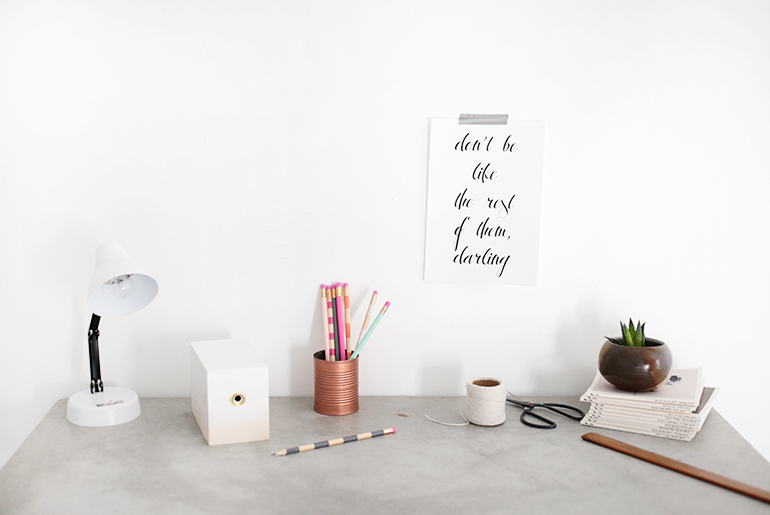
Every year at the start of school comes the dreaded task of sharpening pencils. Dreaded because we have a vintage, manual pencil sharpener, that while super cute, is quite a lot of work (time consuming!) when you have dozens of pencils to sharpen. (It’s like this one and it also is annoying because the bottom never stays suctioned to the counter, so you have to keep re-sticking it down! Also, this is pretty sad to admit, but I have super sensitive skin and get a blister every time I sharpen more than a couple pencils at once. Um, I know – I’m a wimp and that’s pathetic, but true. I also get one every time I rake leaves or shovel snow, even if I wear gloves! What’s wrong with me?! But it gives you an idea of why it’s so annoying to me!) This year between the three boys, we had about 70 pencils on the school supply list! (I’m not sure what exactly the kids are doing with their pencils in school, that’s like going through a pencil a week – that’s some serious writing!!) Every year at this time I wish we had an electric pencil sharpener, but I’ve never bought one because I think they’re ugly and I just loved our sweet little vintage one. After this year’s massive pencil request though, I decided we could just buy one and somehow make it pretty, so we did!
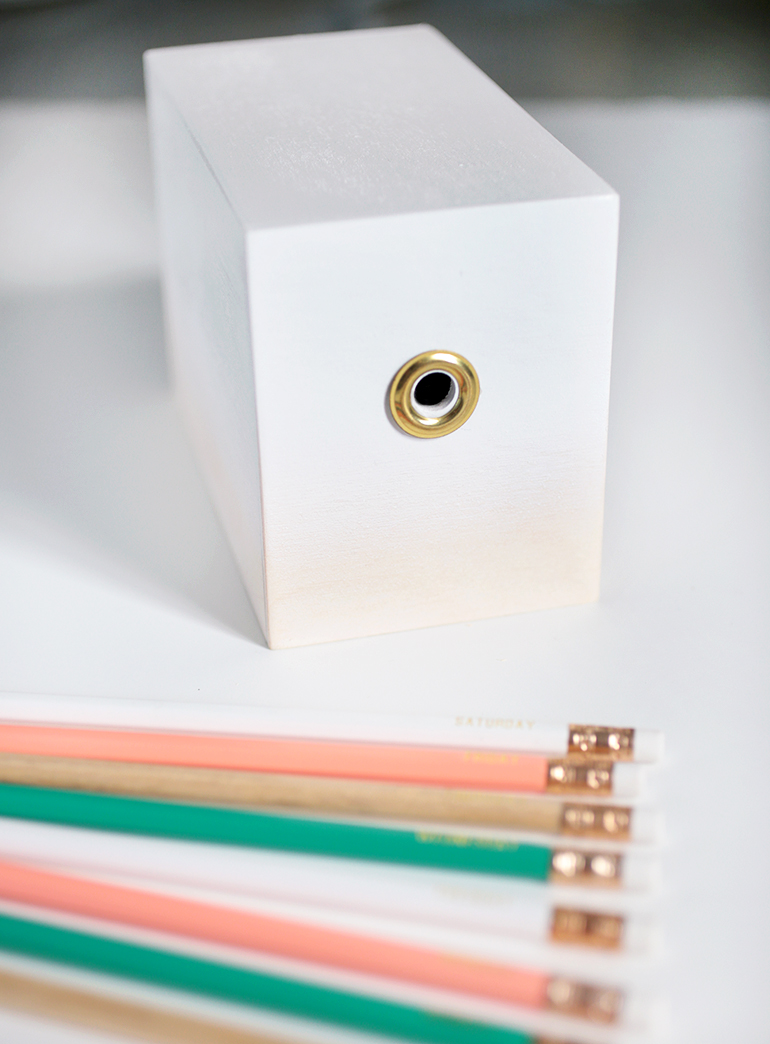
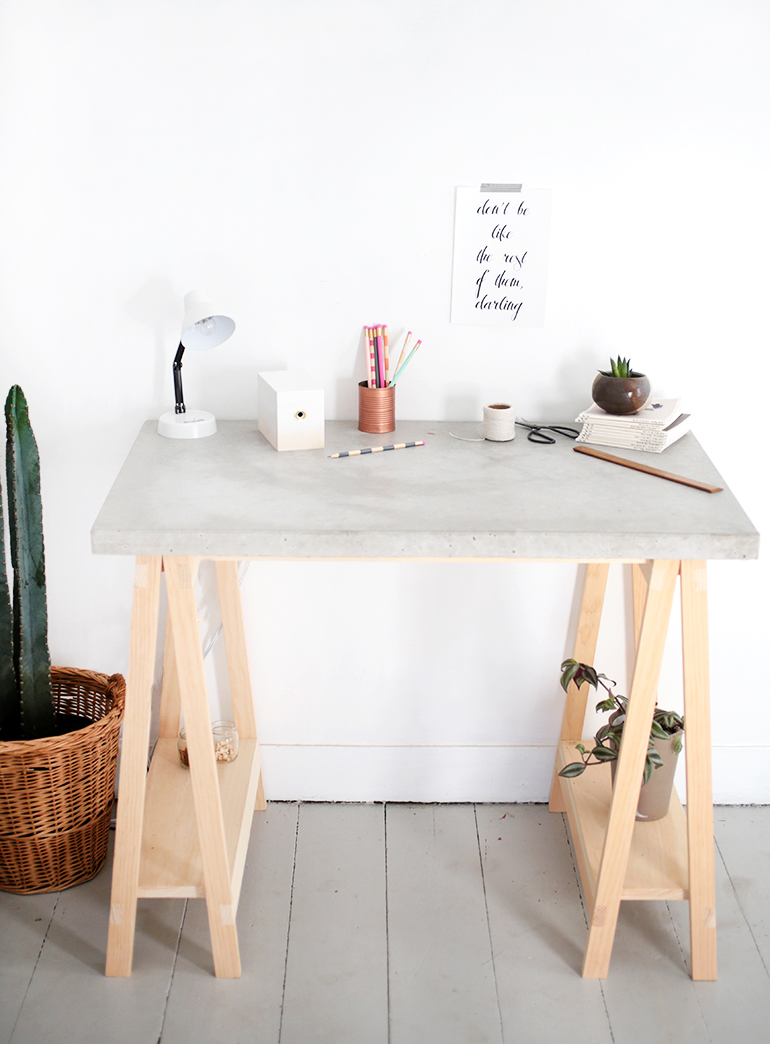
This actually is pretty similar to how I solved my ugly tissue box dilemma, with wooden tissue box covers – apparently I like to cover up all the ugly accessories around the house! 😉 But I love the end result and think it’s definitely worth the little bit of time & money it takes to do these simple projects. This only cost about $2 for us to make, we bought the wood at Michaels (and used a coupon!) and everything else we had on hand!
Also, the boys love it, they think it’s so fun to sharpen pencils now! I can remember going into my dad’s office as a kid and getting to use his electric pencil sharpener and thinking it was the greatest thing! Oh the simple joys of childhood!
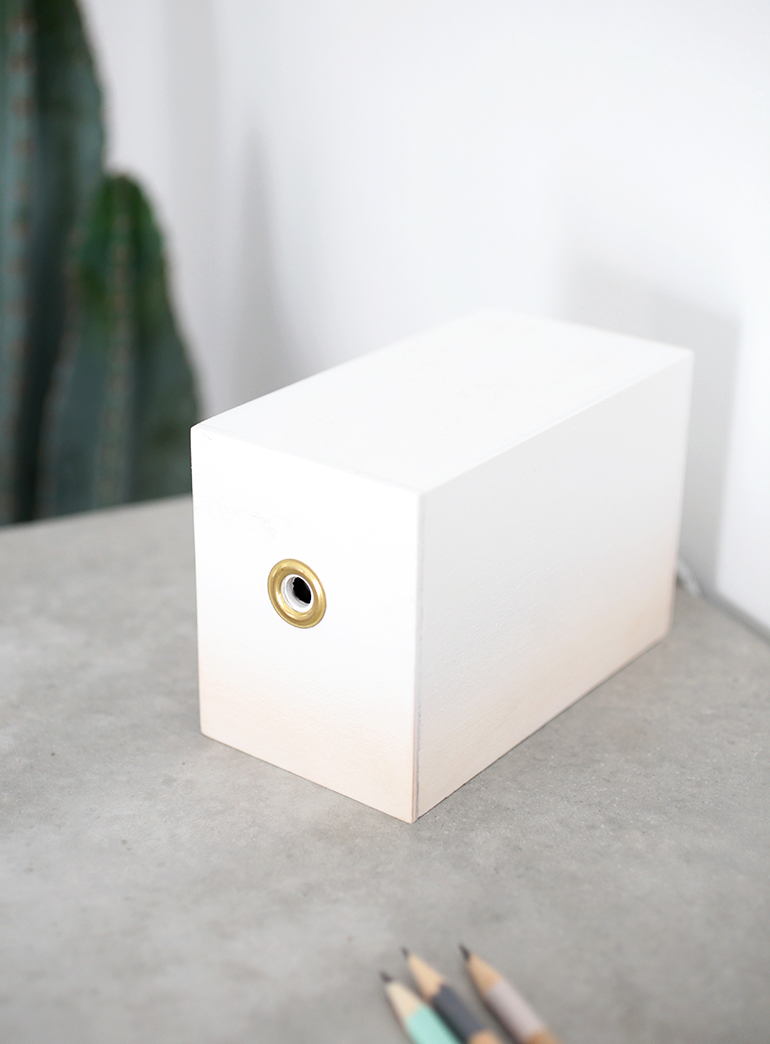
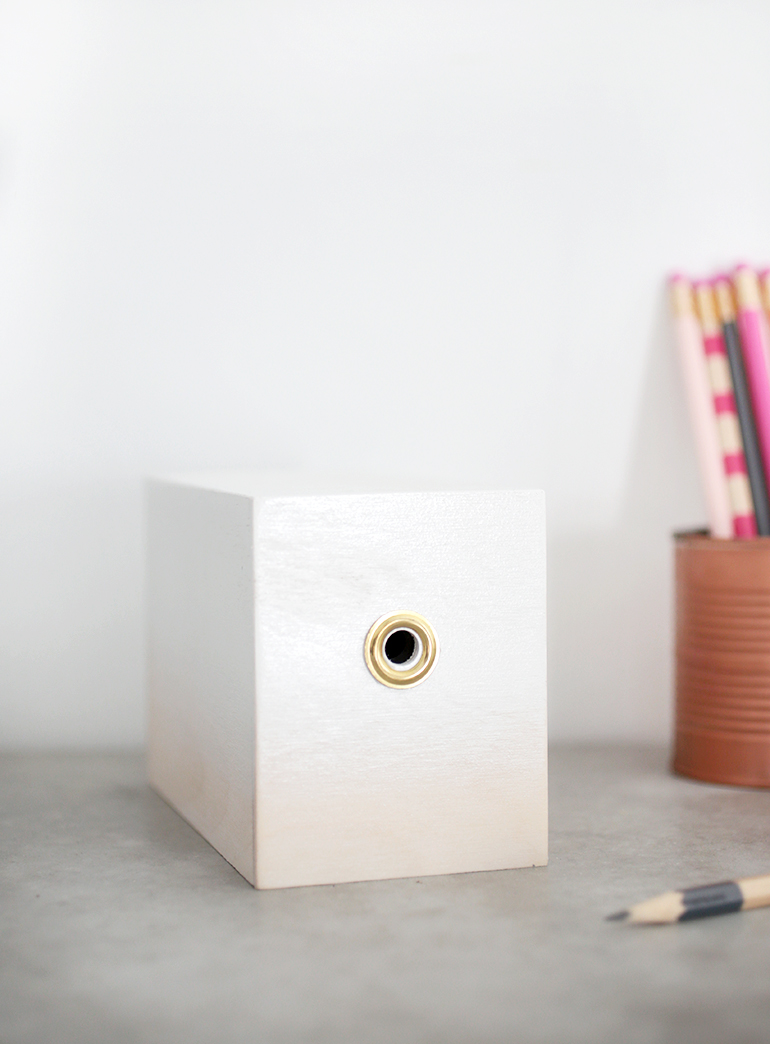
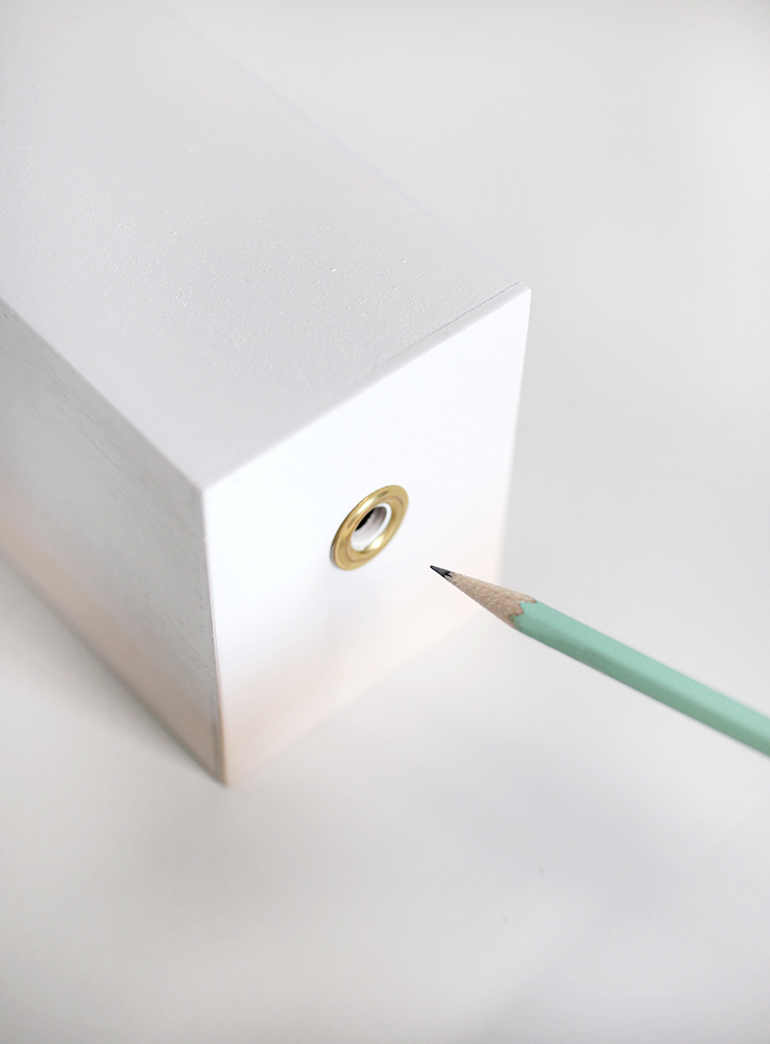
The cover just slides over the top of the pencil sharpener, that way you can just slide it on & off to empty the pencil shavings when needed. For this cover, I added some white spray paint to it, with a bit of the natural wood still showing at the bottom and put a brass grommet around the opening on the front. You could use a washer or just paint a circle around the hole if you don’t have/can’t find the right size grommet. Or just leave it as is – I just liked the little extra glam it gave the sharpener!

Materials Needed:
– birch plywood – 1/8 x 12 x 24 inches
– ruler
– pencil
– pencil sharpener![]()
– table saw
– scroll saw
– drill
– super glue
– sandpaper
– spray paint (if desired)
– brass grommet (if desired)


Directions:
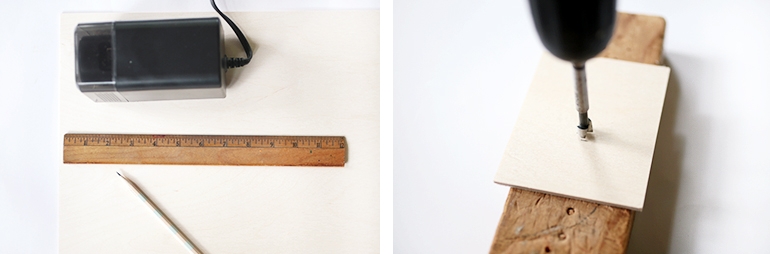
Measure and mark the length, width and height of your pencil sharpener on the wood. You will need to make the front & back pieces wider than the pencil sharpener by a 1/4 of an inch, taller than the sharpener by 1/8 of an inch, and make the top wider than the sharpener by a 1/4 of an inch. Cut pieces out using the table saw. On the back piece, cut a notch at the bottom for the electrical cord using a scroll saw. Measure where the hole is on the pencil sharpener, measure and mark it on the front piece of wood and drill a hole in the front piece of wood. Glue pieces together (you can either glue pieces together and hold them till dry, it’s just a minute or two, or use clamps). Once glue is dry, sand any rough spots. Paint as desired and attach grommet (if using) with glue.
Is there anything you refuse to buy because of how it looks, even though it might be handy to have around? Let us know and maybe we can come up with a good cover for it! 😉
– Manda

