


When I added this post to our blog calendar, I wasn’t sure if I should really do it. I mean, it seems a little silly, a tissue box cover?! But I really, really hate tissue box designs. I always stand in the store aisle, going through each package, trying to find ones that have the least gaudy design and colors. And the packages I buy come in threes, so there’s always at least one in there that I really don’t like. But I am a firm believer in having tissues in almost every room of my house (when you have little kids, there’s pretty much always someone that needs a tissue – especially during these brutal winter months in Western New York), so I thought making a cover seemed at least worth trying.
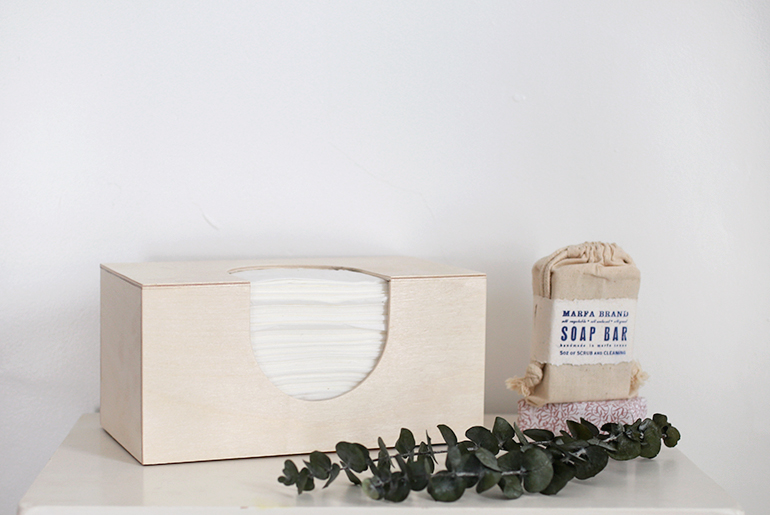
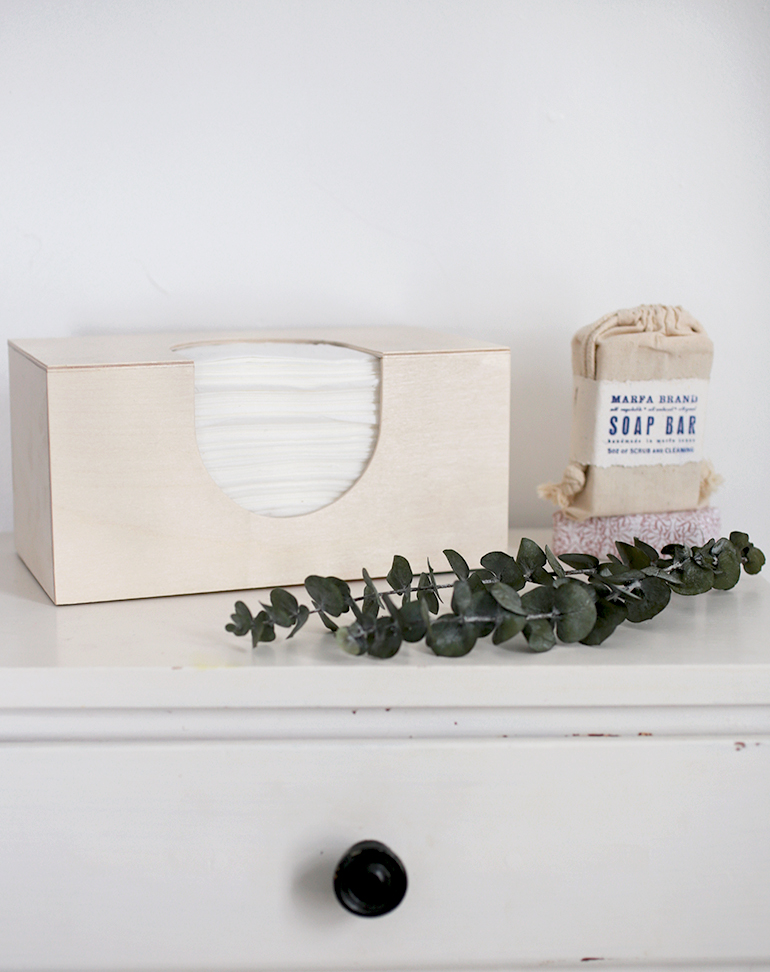
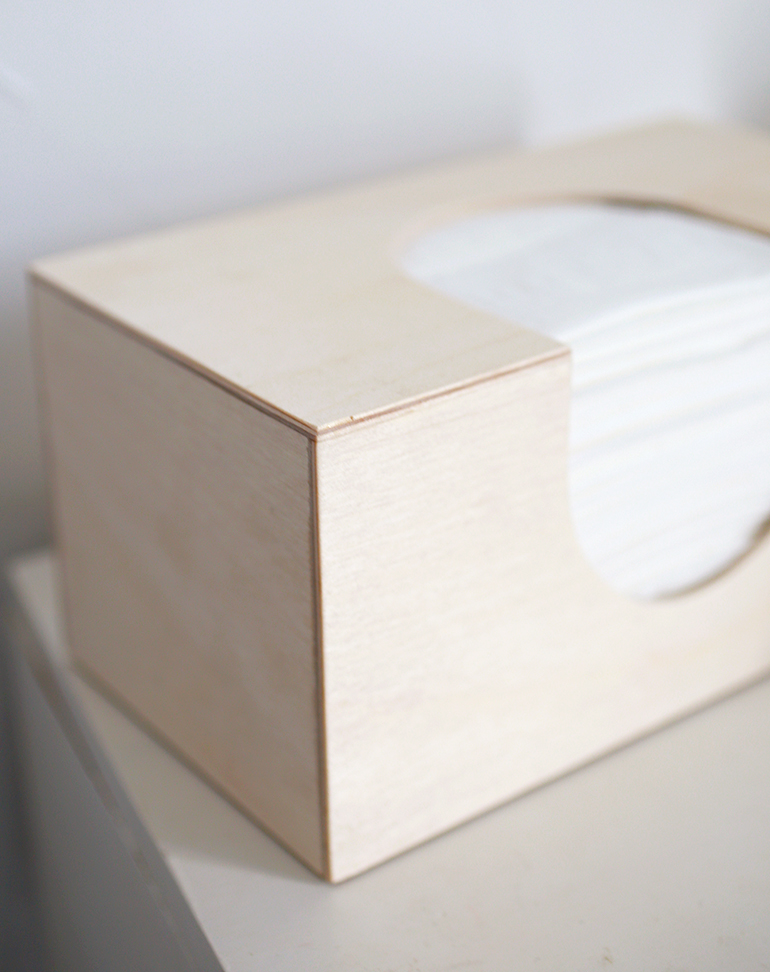
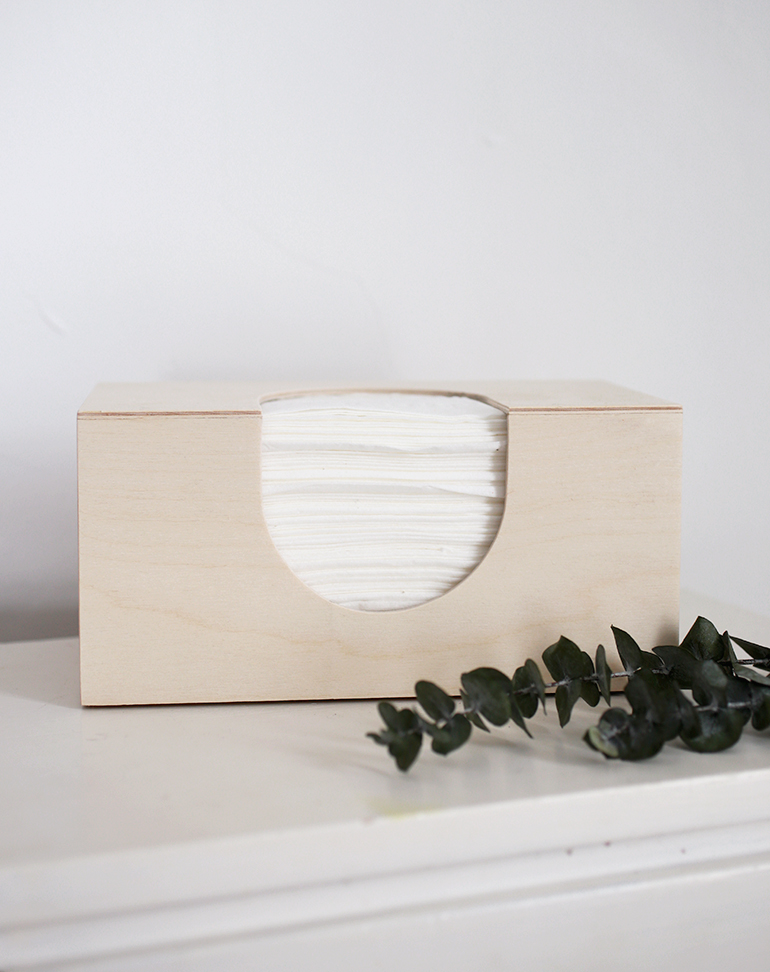
I love how it turned out and how much better it makes my tissue boxes look! Doing small things like this really helps improve the aesthetic of your space. And sometimes when the larger projects are taking too long to happen, these small improvements help tide me over until there’s money/time to tackle those big projects! And my handy carpenter was able to quickly put this together and it cost under $3 a box because we only needed to buy some wood, everything else we had!
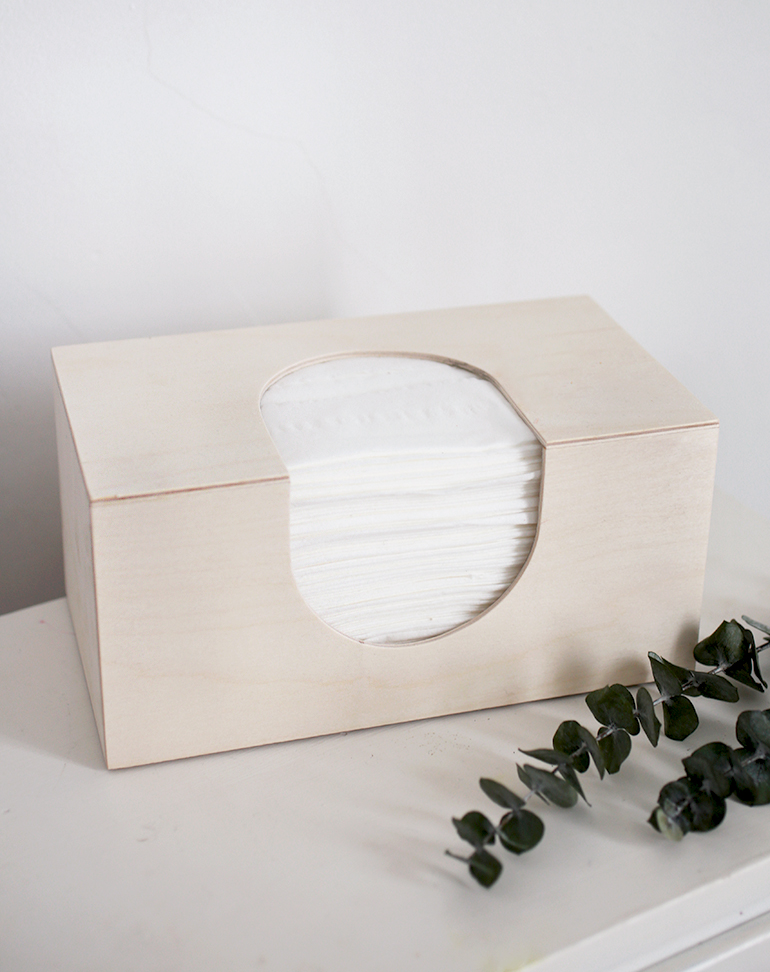
Our steps are for this style tissue box, but can easily be customized to work with whatever box style you happen to buy. I’m a bit of a tissue snob – I have sensitive skin (ugh!), so I use Puffs and this cover works for those boxes. You could also probably make a bottom for the box and actually empty a tissue box and fill a wooden box with the tissues – or even try filling the box without using a bottom. But I like the ease of just sliding this cover over my boxes.
What you need:
– Birch Plywood – 1/8x12x24 inches
– Table saw
– Ruler
– Scroll saw
– Mitre box
– Sandpaper
– Super glue
– Clamps
– Wood conditioner or polyurethane
How to do it:
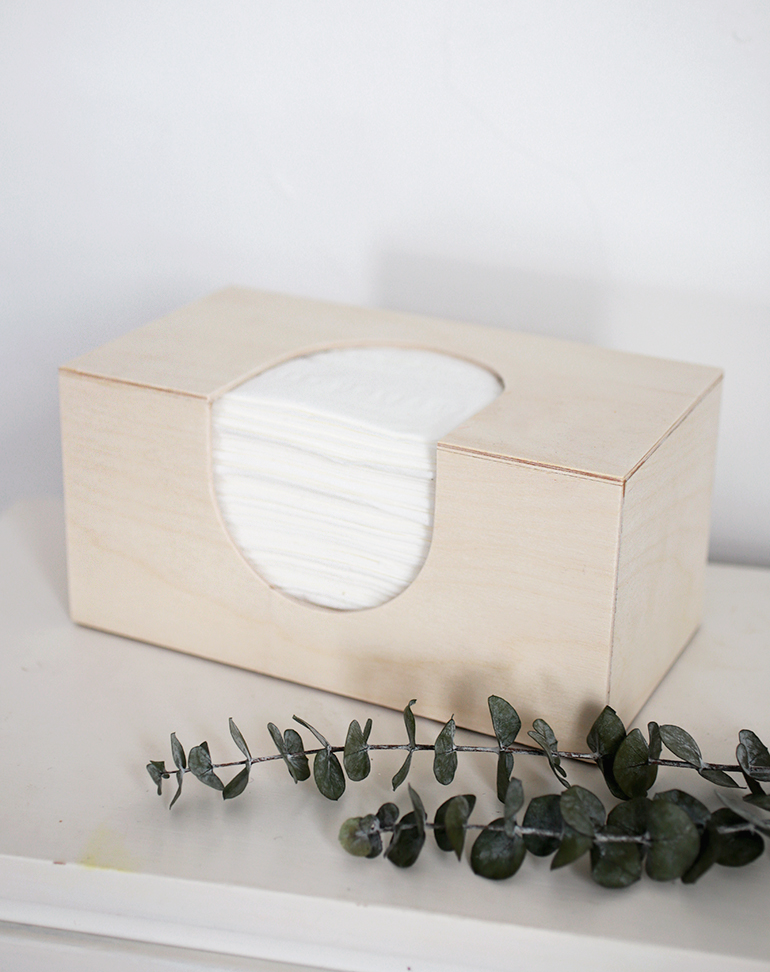
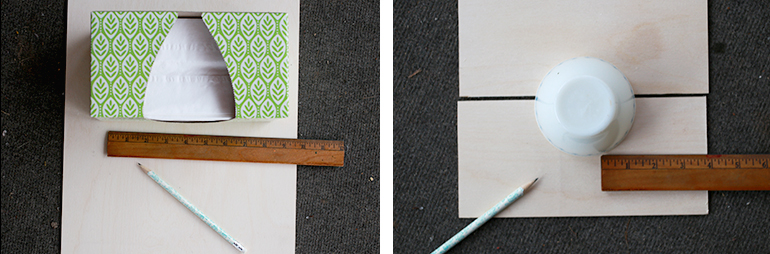
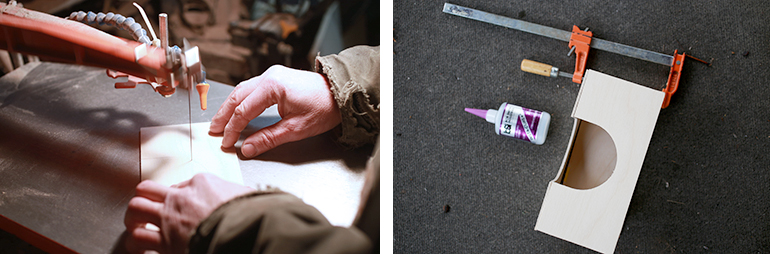
Measure the tissue box sides and top to figure out the measurements to fit your box and mark the wood accordingly. (Our measurements are listed below to fit this style tissue box). Cut the pieces out on the table saw. Cut pieces to length using the miter box. Measure and mark the opening for the tissues that fit your box. The opening on our tissue box is round, so we used a small bowl to trace half circles, just make sure your opening is slightly smaller than the opening on the tissue box so it will completely cover the cardboard box. Use the scroll saw to cut the opening. Sand off any rough spots. Use the super glue and clamps to attach the pieces together. This is easiest by doing one piece/section at a time. Place glue along the side piece, clamp together, let dry for a couple minutes, unclamp, add glue to the next section, and keep repeating till each piece is glued. Once box is glued together, sand again if needed. You can also finish your tissue box with a natural wood conditioner, or polyurethane if desired.
Measurements:
2 sides: 4 13/16″ x 4 5/16″
2 sides: 9 1/8″ x 4 5/16″
Top: 9 1/8″ x 5 1/16″
So, what do you think? Are tissue box covers a bit silly or something you would have/use??
-Manda

