


For years I didn’t wear earrings because I had tiny babies that liked to grab them (ouch!). And gahh, who even has time to put earrings in with tiny babies everywhere, and the only place I was going out to was the mailbox anyhow (and that was on a good day!), no need to look good for that 2 second walk. Now that my boys are out of that stage (*pause for a quick cry*), I love to be able to wear earrings again. And every once in a while, my brain can stop dreaming up some dessert I need to try baking and come up with a little crafty DIY project. (I’m always so amazed by Caitlin and her endless creative DIY projects!).
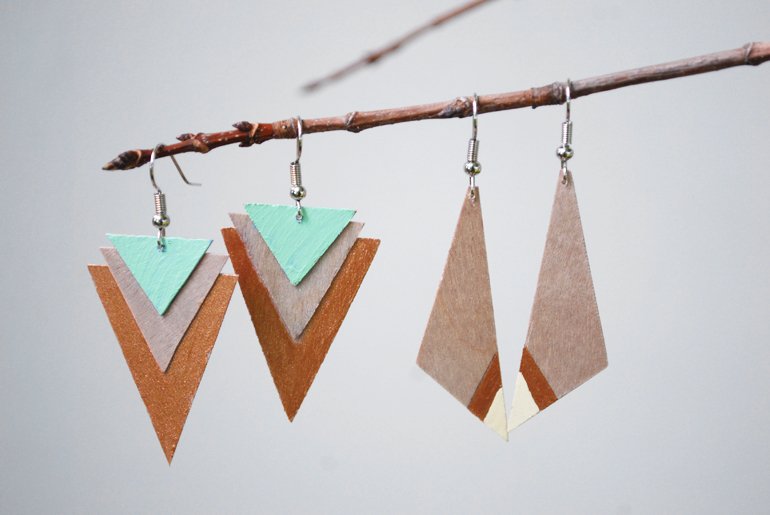
I love this project because there’s so many different variations you can make using different shapes and paint colors. It’s also super quick and easy. These would make great gifts for your friends, or for your bridesmaids. (Or even as shower/party favors – they can be made pretty quickly).
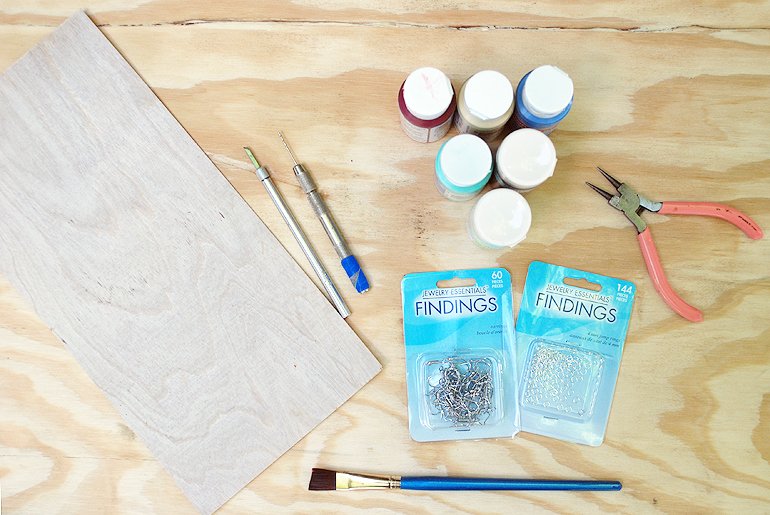
What you’ll need:
- 1/16-inch sheet of birch plywood – (I got mine at Michaels – use those coupons!)
- x-acto knife or scissors
- glue (super glue works well for this)
- paint
- paint brush
- earring hooks
- jump rings – optional
- needle nose pliers
- drill bit
- ruler & pencil – optional
How to do it:
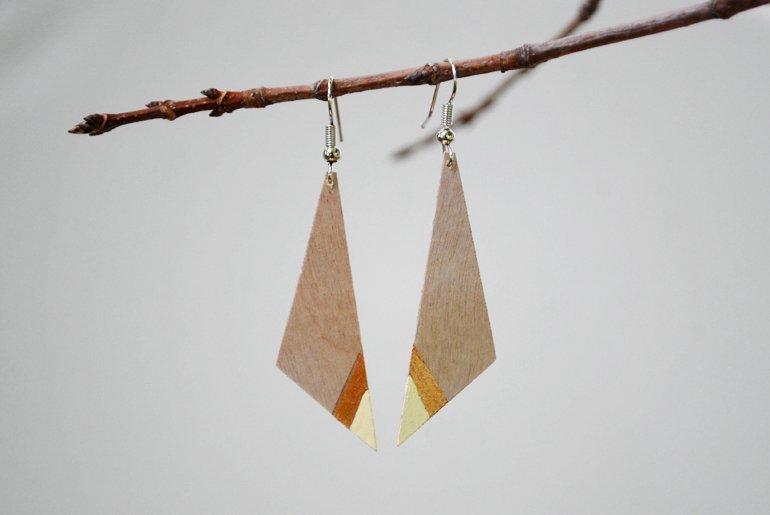
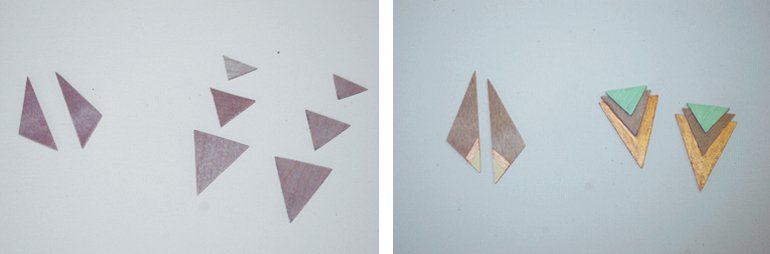
- Cut desired shapes out of wood. (Use a ruler and pencil if you don’t want to free hand it). I cut mine with scissors and it worked fine (I had been worried that the wood might crack while cutting it with scissors, but I had no problems with that).
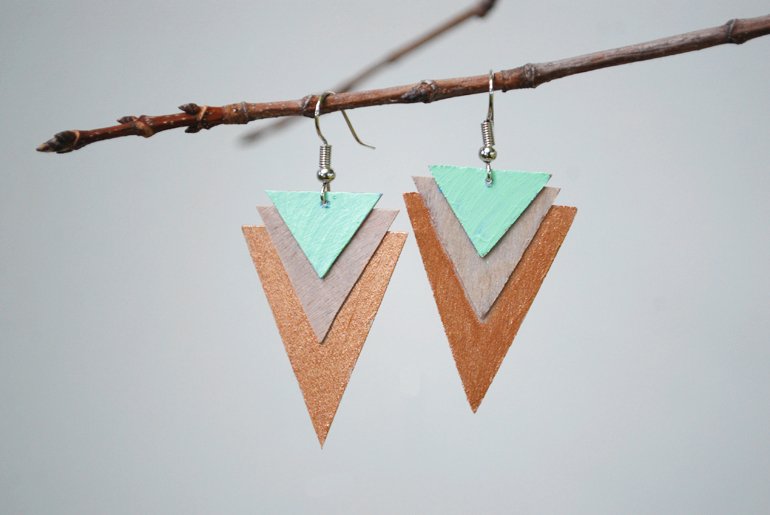
- Paint shapes desired colors.
- If needed, glue shapes together. (I was originally going to hang my three triangles together using jump rings, but decided I liked them stacked together better).
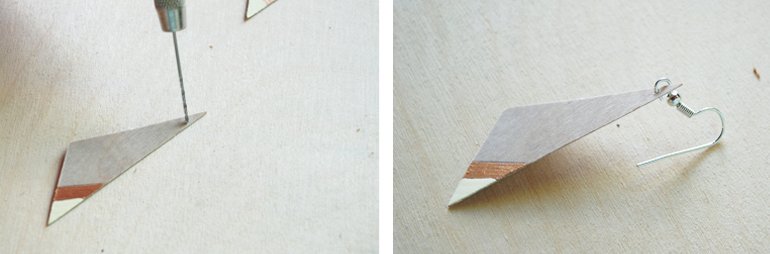
- Using the drill bit (or something else that can make a small hole), make a hole near the top of the earrings.
- Using your needle nose pliers, pull apart the closure on the earring hook, slide the ring through the hole, and gently squeeze the closure back together using the pliers again.
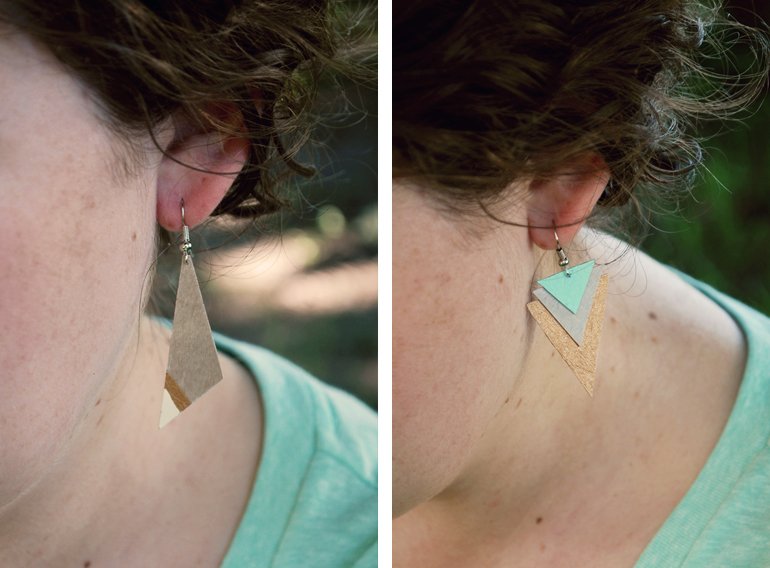
- Done! Wear and enjoy your crafty new look!
Have a lovely weekend! Manda
Like making your own jewelry? Check out this dyed macrame necklace, this easy brass & leather necklace, or this golden stone ring.

