


We’re still slowly making updates & changes in our bedroom. A couple months ago we made a new shelf/nightstand for my side of the room and now we’ve finally got Mike’s side updated!
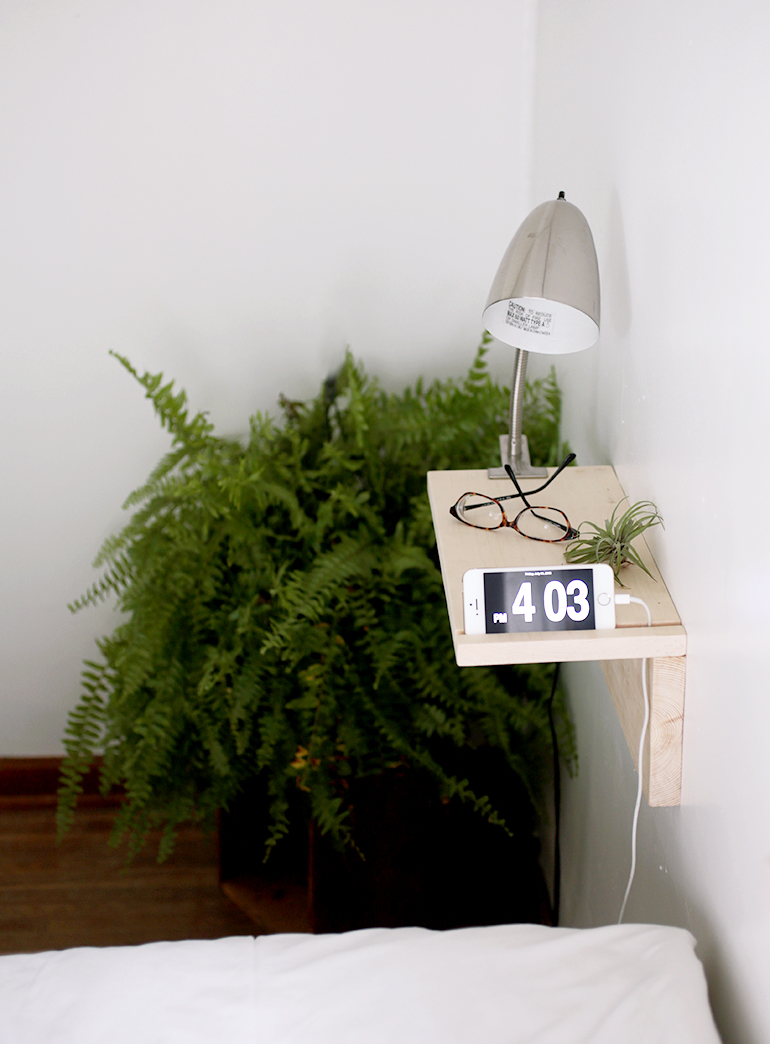
I’ll admit, this nightstand really appealed to me – and not just purely for the looks, although that’s nice too! Mike was the one that suggested a style like this, with a place for his phone, and I quickly jumped on board because it gave him very little space to “collect” things (he’s a little on the disorganized side 😉 ) and it would let him use his phone for an alarm clock and get rid of the one he had, which I hated with a passion. (There’s been numerous mornings that he’s forgotten to turn his alarm off when he’s not home or just hit snooze and then jumped in the shower only to have it wake me up 9 minutes later and for the life of me I can not figure out how to turn it off and came very close to throwing it across the room on many occasions! I’m not a morning person in case you couldn’t tell! 😉 )
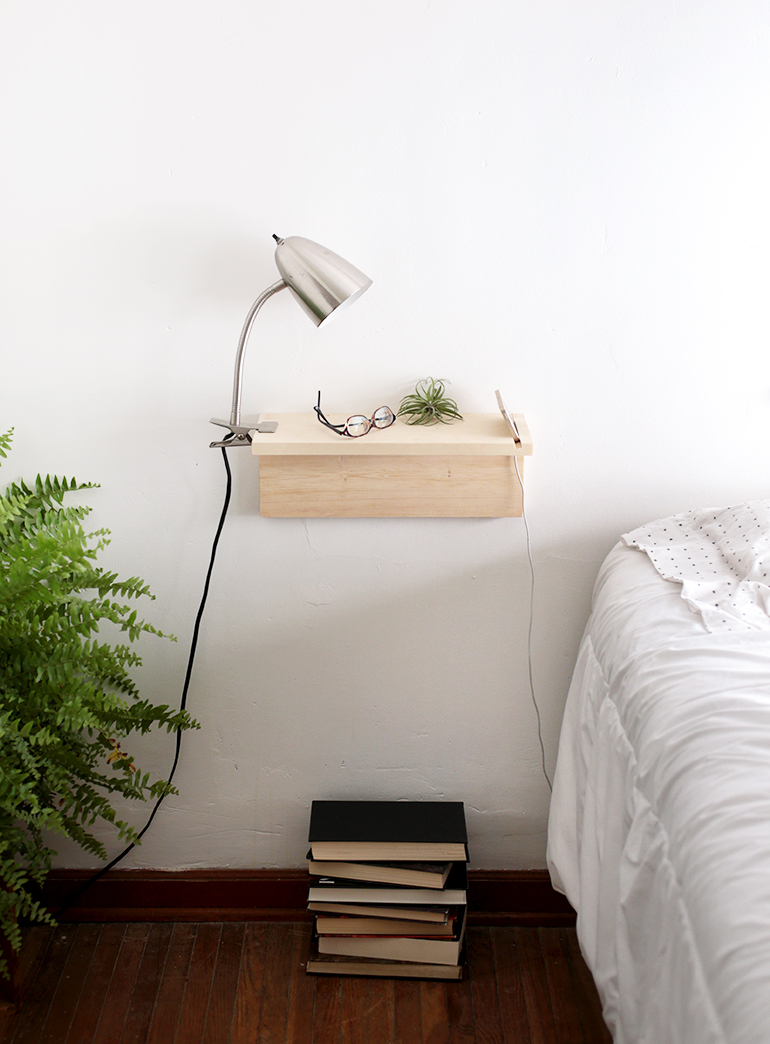
These are great space-savers, enough room for the few things you need next to your bed without losing a lot of floor space. And this simple design can be customized to your liking – stain or paint the wood, adapt the size to what you need, and even adjust the phone slot to custom fit your phone and it’s case.
Floating Nightstand
Materials:
– pine boards – (we used 1×8 and 5/4×6)
– miter box
– measuring tape
– pencil
– table saw
– dado blade
– drill
– wood glue
– clamps
– nail gun (or hammer & nails)
– sand paper
– screws
.jpg)
.jpg)
.jpg)
Directions:
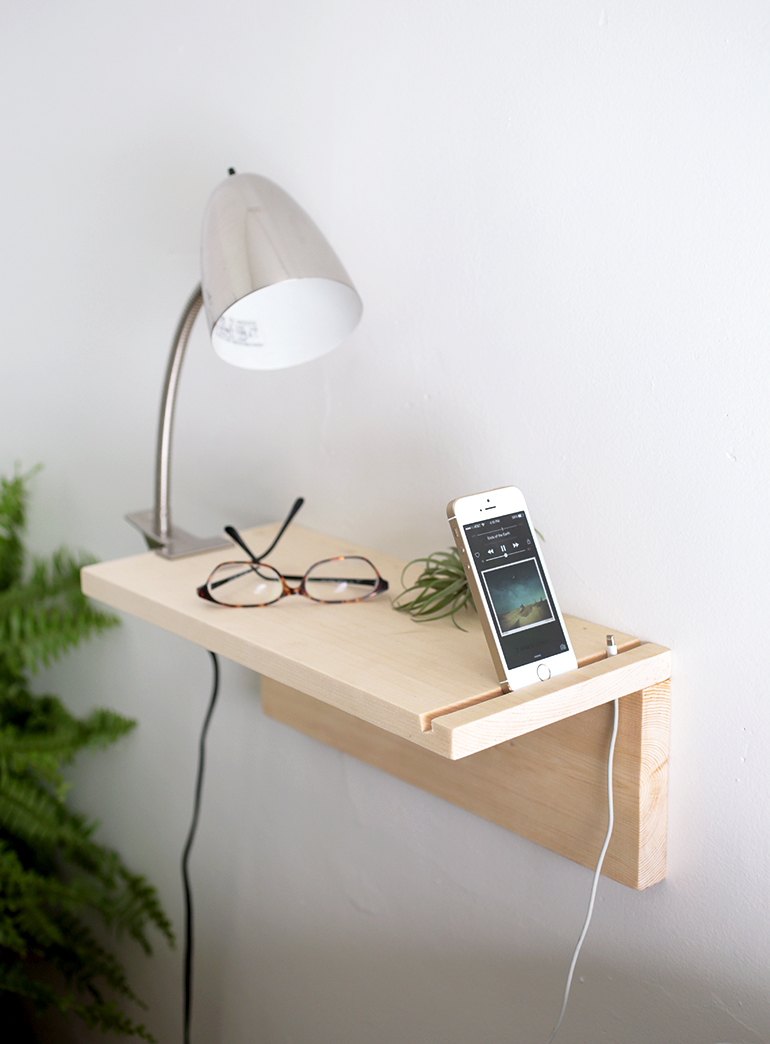
Measure and mark the length you’d like your nightstand to be, cut to length using miter box. Repeat with the other board, making it the same length. (Use the 1×8 pine for the top piece of the nightstand the 5/4×6 for the wall support). We made our nightstand 16”. Using the table saw with a dado blade, cut the phone slot one inch from the edge the entire width of the board.. You will need to measure the thickness of your phone (case included if you normally have it in a case) to determine how wide to make the slot. Ours is 3/8” wide, 3/8” deep at a 15 degree angle and that fits an iPhone 5s without a case. Measure and mark where the hole will be for the phone cord to come up through the slot. (Make sure that it’s in front of where the wall support board will be). Drill the hole. You might need to work the drill bit over a bit to make the hole wide enough for your phone cord to fit through (some phone cords will require a larger slot). Place wood glue along the top edge of the wall support board and glue to the top piece. Clamp together. Make sure the boards are at a 90 angle. Nail together and let dry according to manufacturer’s instructions on glue. Once the glue is dry, remove clamps and sand. Attach to wall using screws – making sure it’s level.

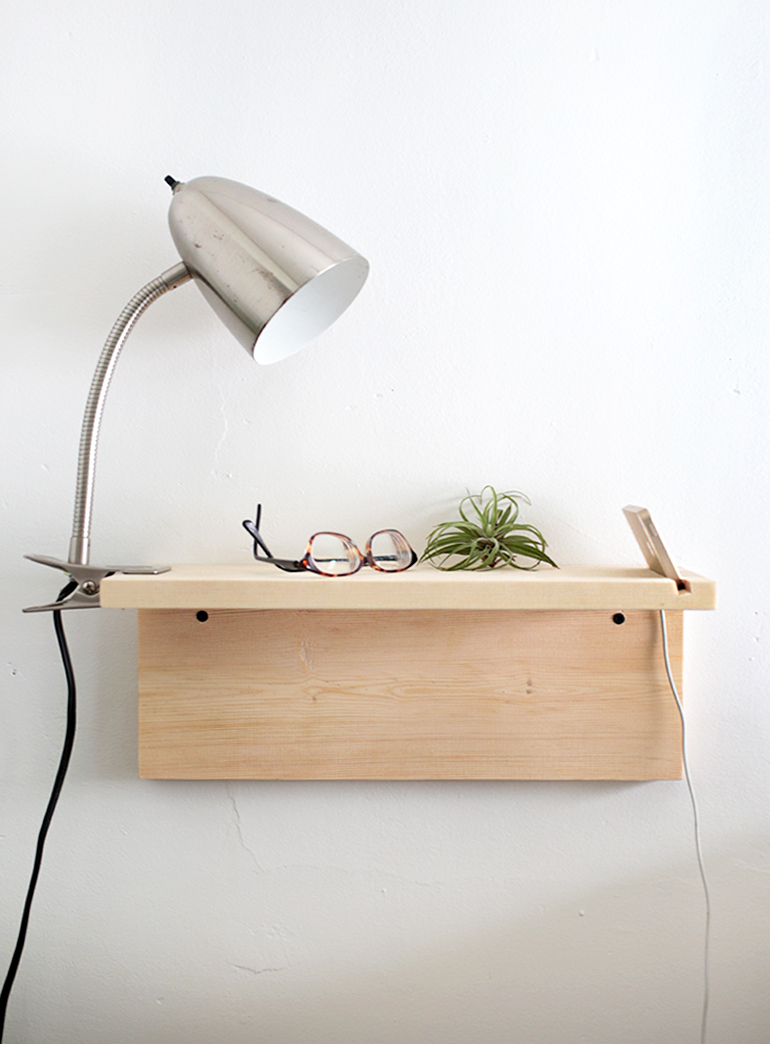
Behind-the-scenes tidbit: Mike wears glasses and I wanted to use them to style this shoot, but he was at work and had them with him while I was shooting this, so I had to improvise and remembered I still had my glasses from high school (I had eye surgery years ago, so don’t need glasses anymore) and so these are my old ones – with super thick lenses, I was pretty much blind!! (And no, he was not cool with keeping the air plant on the stand, so that’s now gone!)
– Manda

