


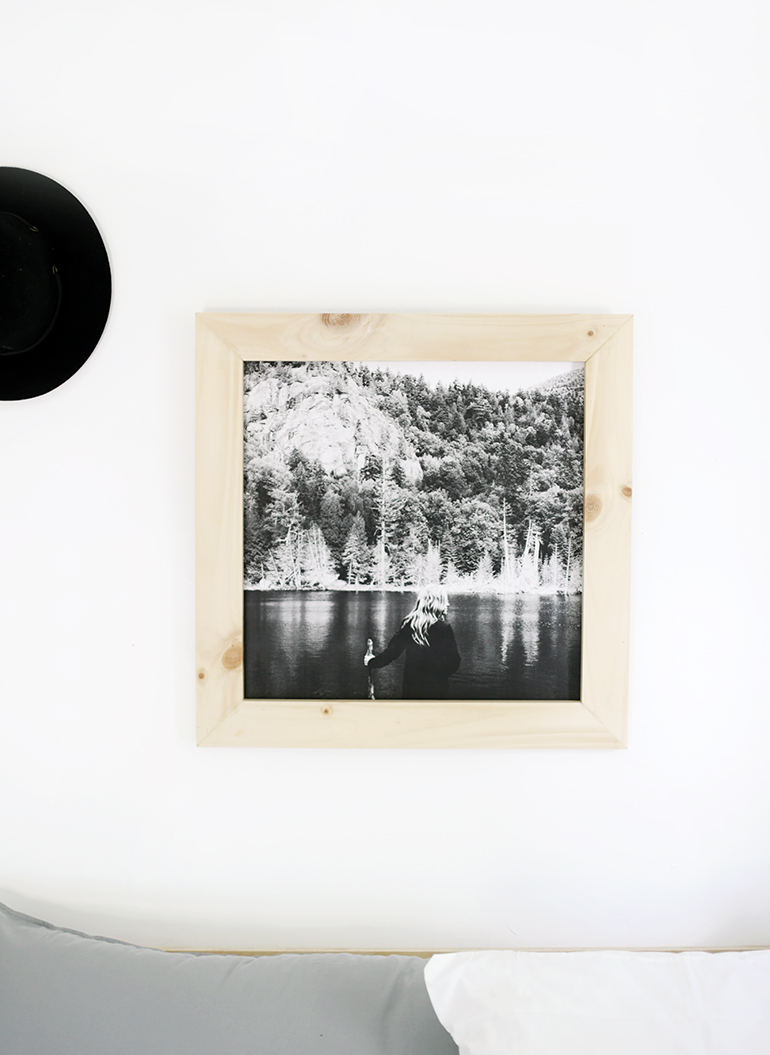
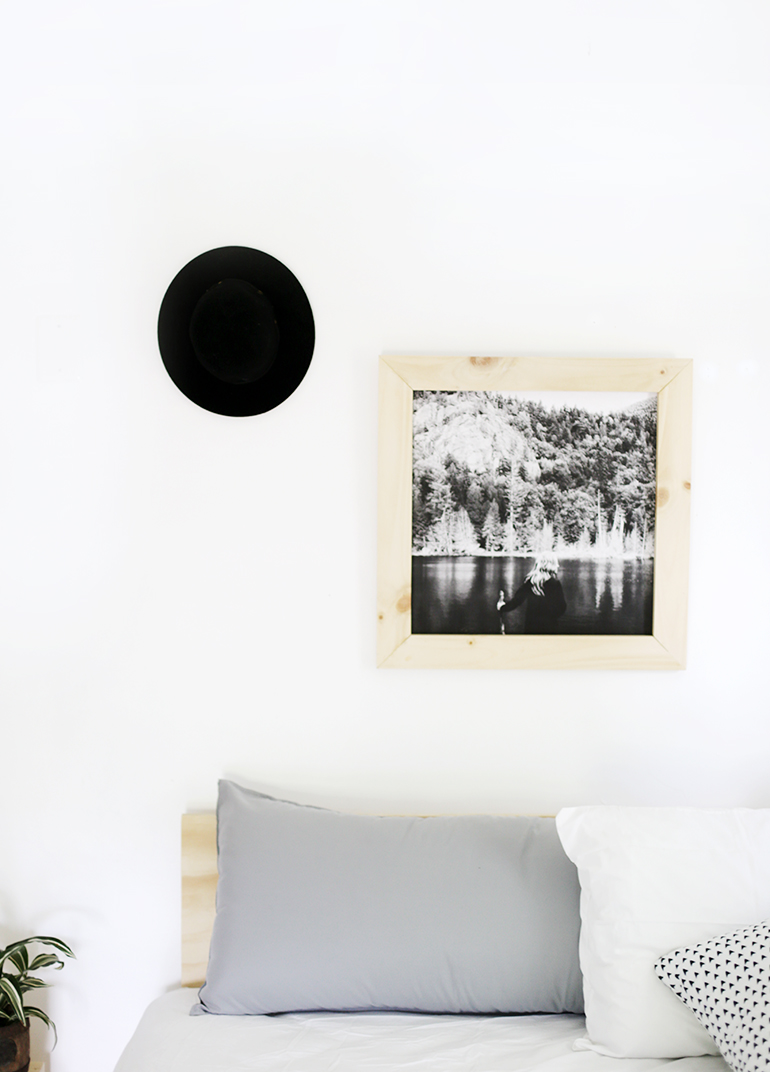
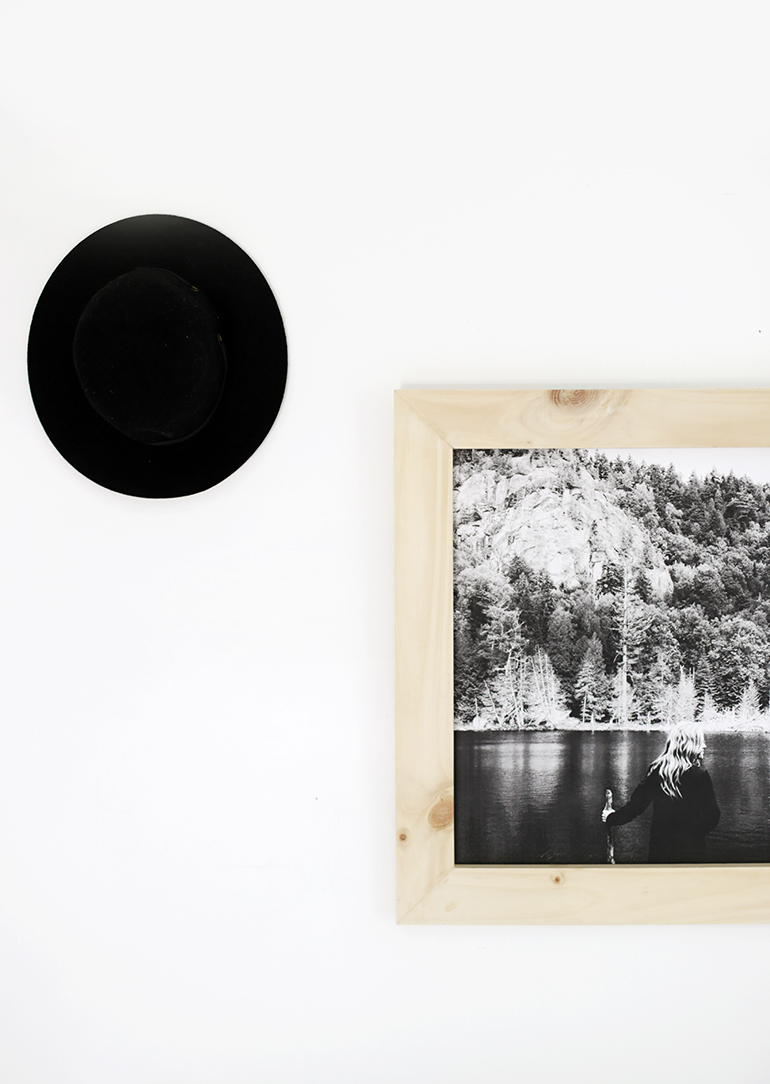
 Lately I’ve been trying to print more of my Instagram photos out to keep and display in places outside of my tiny phone. It’s no secret that I love a good engineer print project (like this giant card and this plywood print headboard) so I obviously had to blow up a couple Instagram shots to engineer print size. I decided to make it a bit more durable by adding a backing and creating a basic wooden frame. I think a little collection of these on a wall would look great!
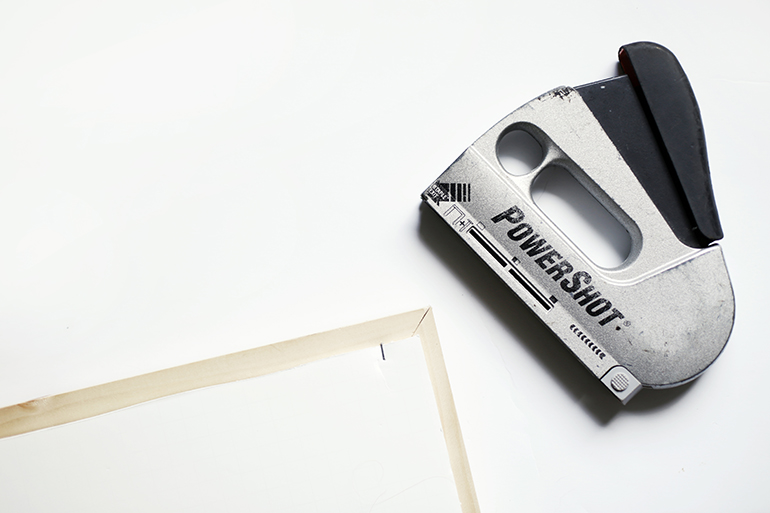
 What you need:
-Wood (I used a 1″x3″x10′ piece)
-Miter Saw
-Wood Glue
-Nail Gun
-Engineer Print (I ordered mine at Staples)
-Foam Board
-Mod Podge
-Exacto Knife
-Staple Gun
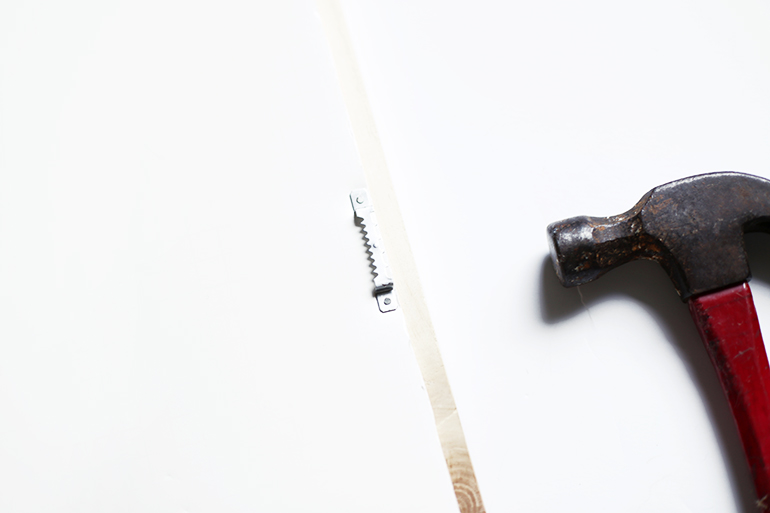
-Sawtooth Hanger
-Hammer
How to make it:
-Measure and mark the length you want your boards. (This will depend on the size of your engineer print as well as the width of the wood you use. My print was 22″x22″ and I made the long (outside) sides of my boards 23.25″)
-Use the miter saw to cut 45 degree angles at these marks. Each cut should be made from the marks along what will be the outside of your frame and angling in to the shorter (inside) or the frame. Compare board lengths between cuts to make sure your boards are exactly the same length or your frame will not come together properly.
-Once all boards are cut and are an even length, use some wood glue between the pieces of wood, hold in place and use a nail gun through the sides of the frame to secure.
-Apply a thin coat of Mod Podge to the foam board and lay the print on top.
-Let dry and then use an exacto knife to cut the foam board down to the size of the print.
-Attach the foam board to the back of the frame using a staple gun.
-Nail sawtooth hanger to the top, back of the frame.
 xo. Caitlin

