


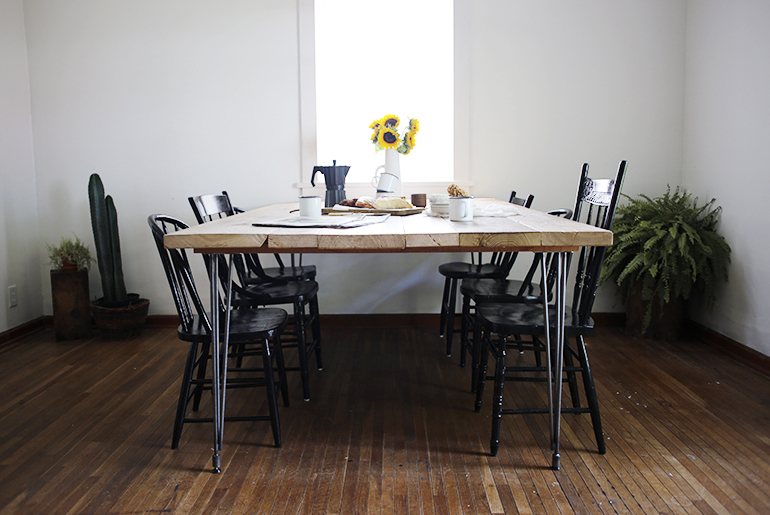
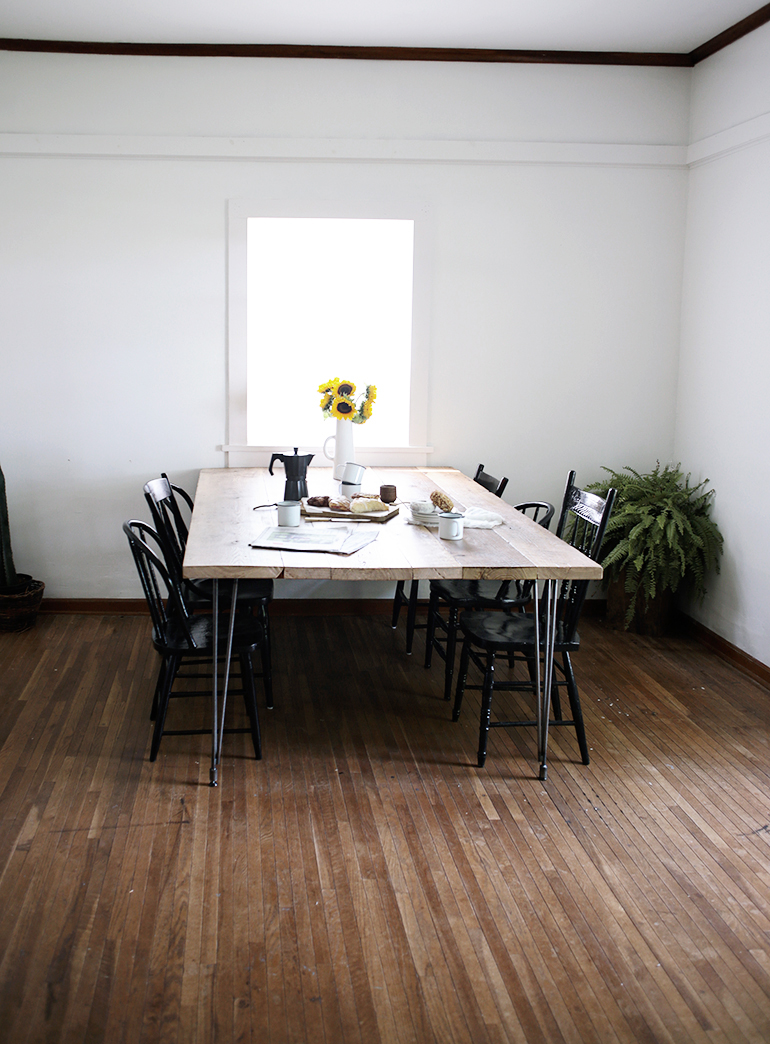
This is one of those projects that I’ve had on Mike’s to-make list for years, and I wasn’t sure if it would ever really happen. Not that he wouldn’t be able to make it, the guy can make anything I dream up, I just wasn’t sure we’d ever find the right wood at the right price. But finally, he was able to snag some old barn wood from a friend that was perfect for using as a dining table. Then the problem became trying to decide what kind of legs I wanted for the table (remember, I am the worst at having to make decisions!!). Caitlin suggested trying out some hairpin legs from Hairpinlegs.com for it, similar to the ones she used for her lap desk, and I love how it looks! Every time I walk into my kitchen, I do a little happy dance (at least on the inside) because I love this table!!

Materials:
– reclaimed wood
– 28″ hairpin legs
– wood for support boards
– circular saw
– sander
– drill
– drill bit
– screw bit
– screws
– clamps
– polyurethane (we used Rust-Oleum crystal clear satin water-based polyurethane)
– paint brush
– sand paper

Directions:
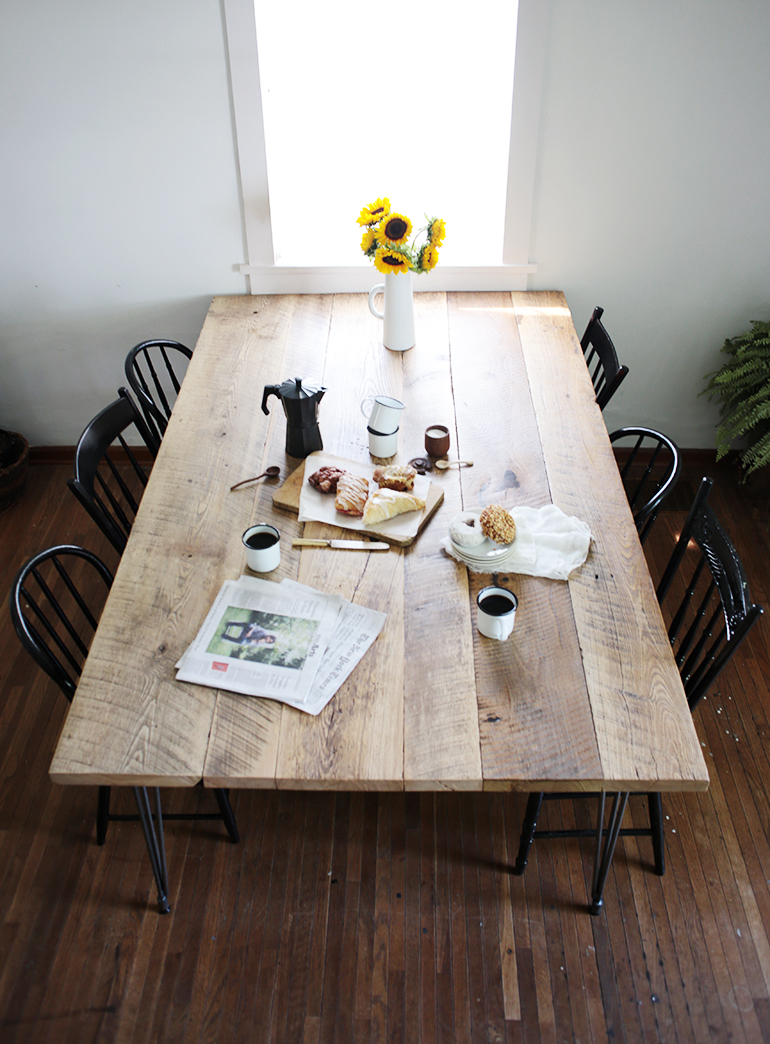
Prepare the wood and cut your boards to size as needed (what is needed for this will vary depending on the condition of your wood: planing, sanding, cutting, etc.). For cutting to length, we found it easier to leave our boards a little longer than then needed, put the boards together, and then once the boards were together, cut the ends so they were perfectly even. (Our table measures 80” x 50”).
Line the boards up as they will go, with the top side down. Cut your support board to length, we used three. Cut them slightly shorter than the width of the table, and leaving space from the edge if desired, we kept ours back 1.5” from the edge on both sides. Mark, pre-drill and countersink screw holes on each board, we did four screws per table board. Use a clamp to keep the boards tight together and attach the support board to the table boards using screws. Using a circular saw and straight edge, cut the ends of the table boards even. Sand the table smooth. Attach the legs using drill. Apply polyurethane, following directions on can (we did four coats), sanding the table smooth with sandpaper between each coat.
(And if you haven’t seen it yet, be sure to check out our other project with Hairpinlegs.com – Caitlin’s DIY Wood and Hairpin Leg Lap Desk, it’s a perfectly dreamy little desk!)
-Manda

