


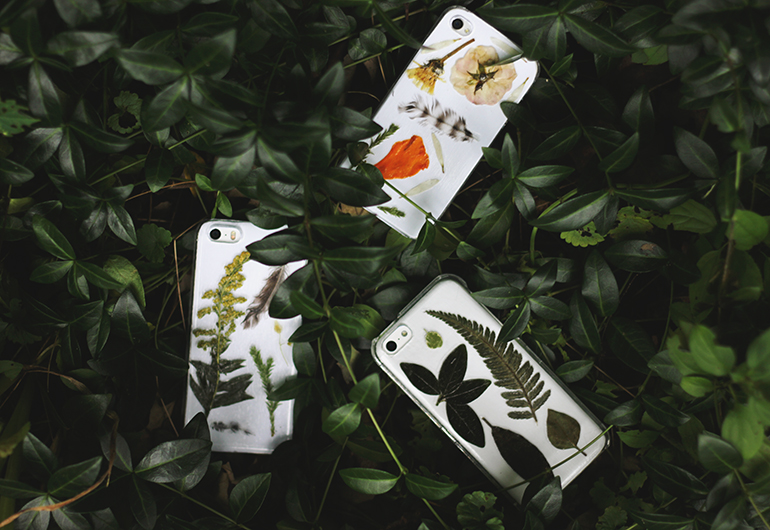
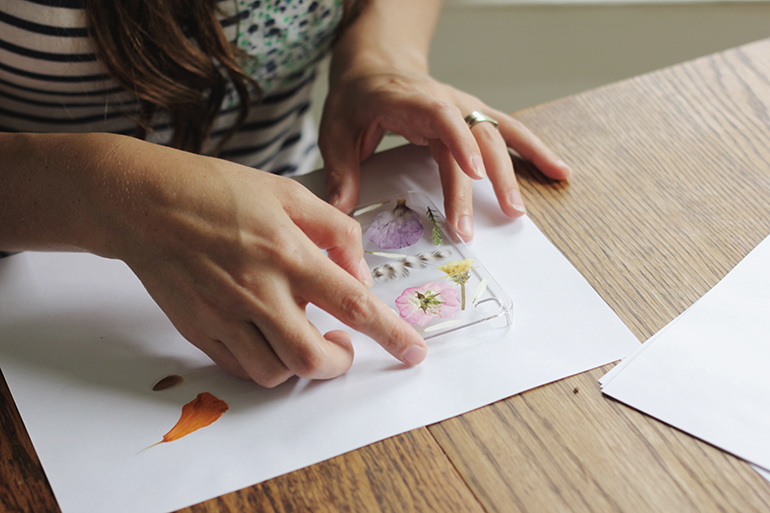
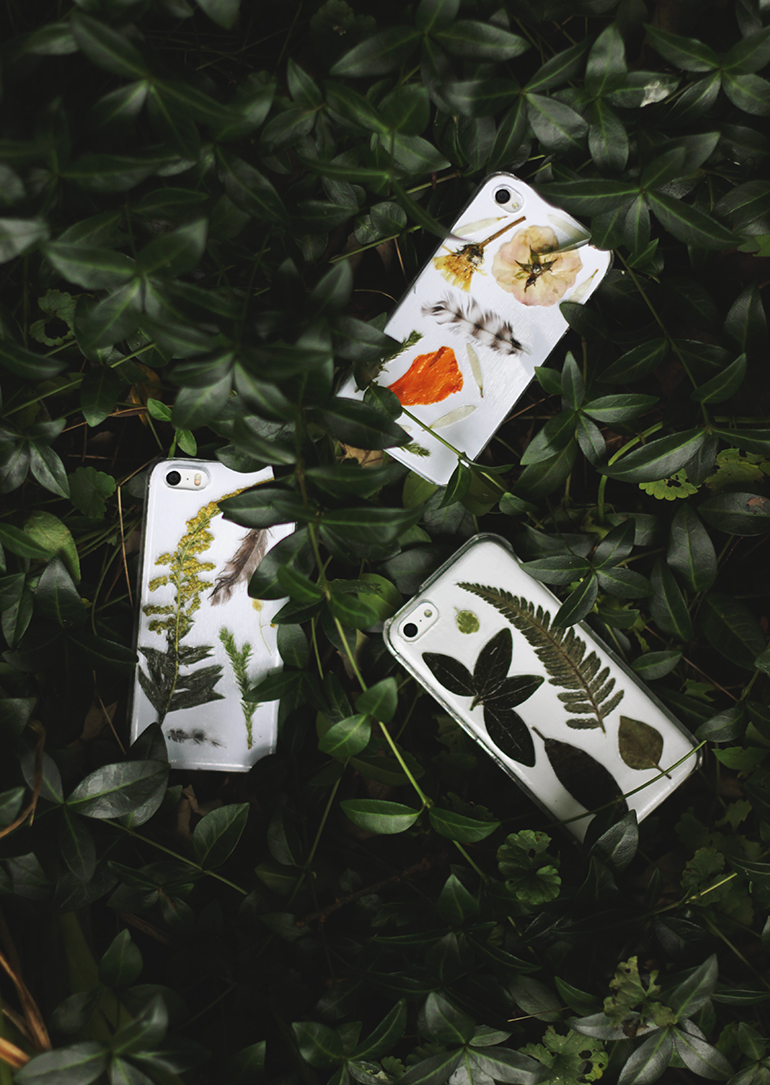
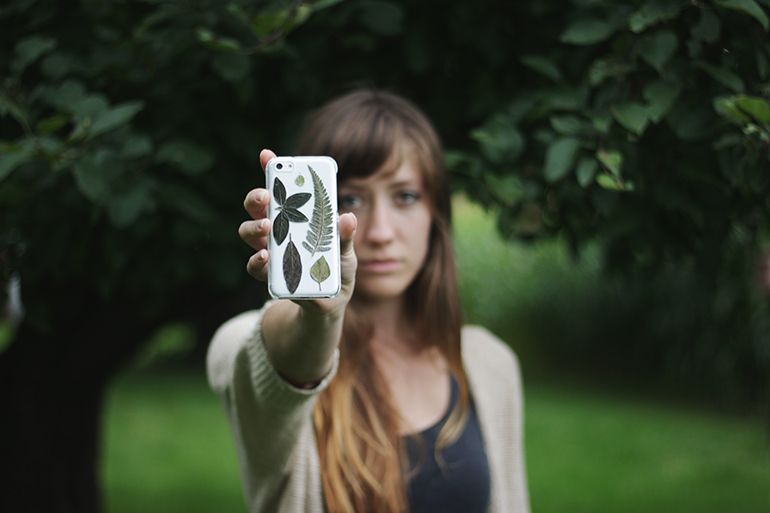
 With fall just a few days away – it feels like it’s already here in Western New York…we’ve had some chilly days! – we thought these phone cases would be a nice way to keep a bit of summer around! We love our new phone cases and this project is pretty simple and quick to do! We collected some pretty ferns, leaves, and flowers and Caitlin pressed them using her flower press. (You could also press them using some heavy books…google it if you’re not sure exactly how to do this.) We ordered phone cases off Amazon & Etsy – we ordered clear cases, but wish we would have went with white; we ended up using a piece of white paper on the inside of the case to cover up the apple logo on the back. Go with whatever look you like though! And then it’s just as simple as placing your flowers on the case and applying glue!
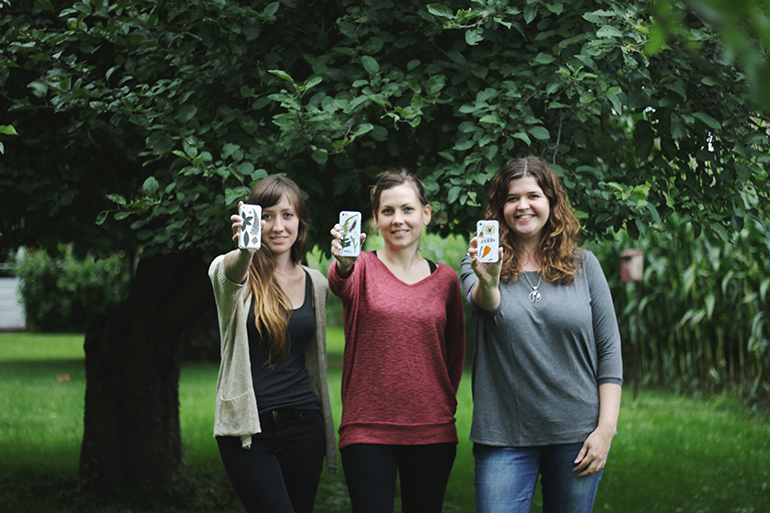
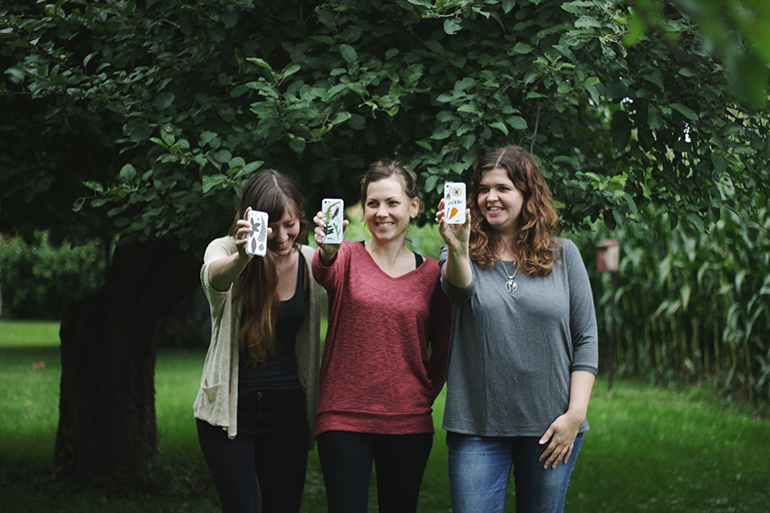
 It was so much fun doing a project together – it’s hard to find time to do this a lot with busy work and family schedules keeping things chaotic. There was a lot of laughing and snacking…and kid interruptions! As well as abrupt departures to get home to get kids off the bus – oh blog life with kids! And two of us may have ended up decorating the wrong case (we all have different phone models), so we actually made cases for each other. 😉
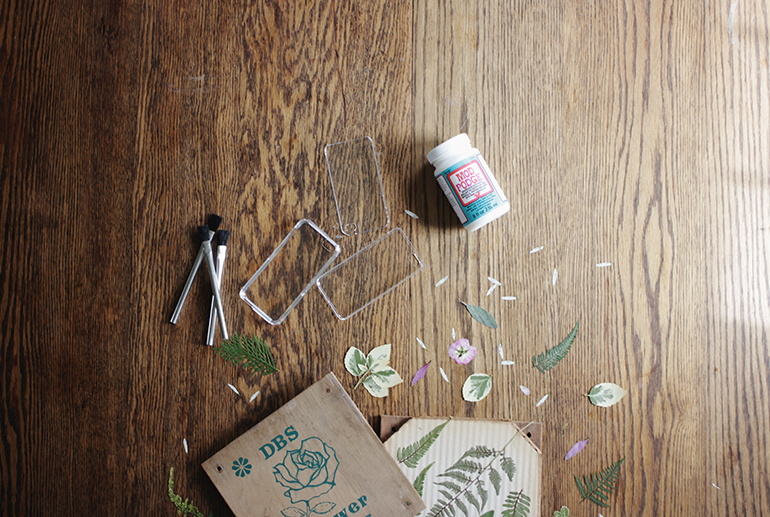 What you need:
- clear or white phone case (we found ours on Amazon
 & Etsy)
 - pressed flowers/leaves/feathers
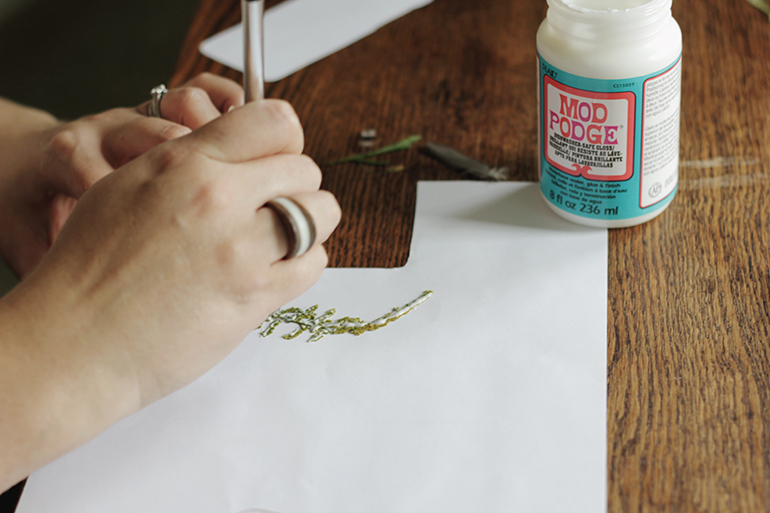
- Dishwasher Safe Mod Podge Glue
- soft bristle paint brush
 How to do it:
Make sure your phone case is clean and dry. Arrange your flowers in a pattern you like on the case – it might be a good idea to snap a picture of your design so that you can remember where everything went! Remove everything from the case and place a small dab of the Mod Podge glue on the back side of the flower and gently press it to the spot you’d like it on your case. This step is to make sure that nothing moves around while you apply the top coats. Once everything is glued on the case, and you’ve let it dry for a few minutes, start applying top coats. Using a soft bristle paint brush, gently coat the entire phone case with the Mod Podge glue. We made sure to do the sides too so that the entire case would have the same look. Let dry and apply 5-7 more coats, drying between each coat. (6-8 coats seems like a lot, but we wanted to be sure our flowers did not come off with all the wear & tear phone cases can get!) Snap on your case and take a selfie with your pretty little case!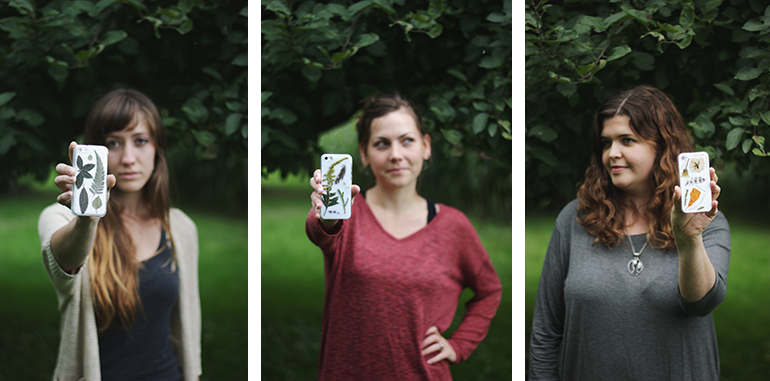


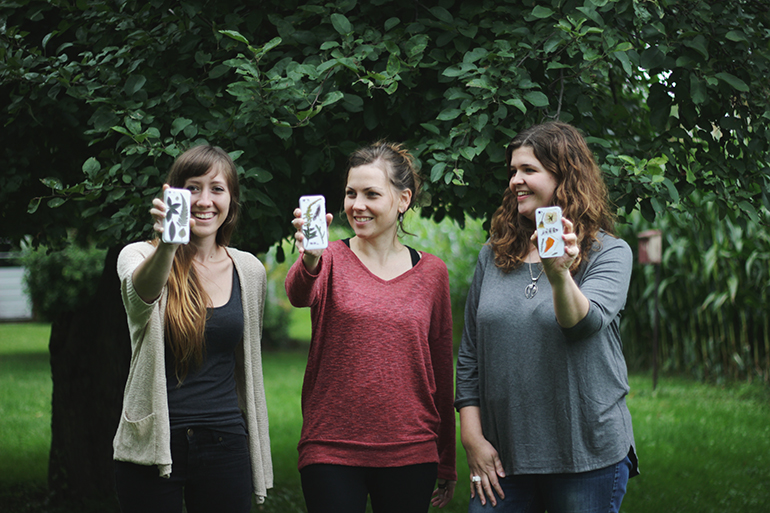
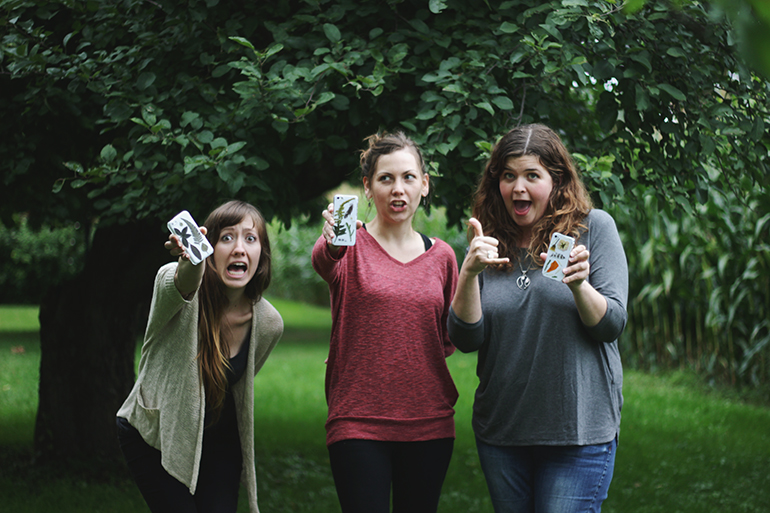 Our group shots are always soo amusing…we’re never all paying attention – or someone’s always laughing or messing around (or screaming because an earthworm touched her foot), and poor Justin has to take a gazillion pictures to try to get one that’s even semi decent. But the, hey let’s do a goofy photo….nail it, first time, every time! 😉
Go make a pretty phone case! And if you do – we’d love to see it, send us a pic (or tag us on Instagram – @themerrythought)! We LOVE seeing photos of the projects you guys try! xo.

