


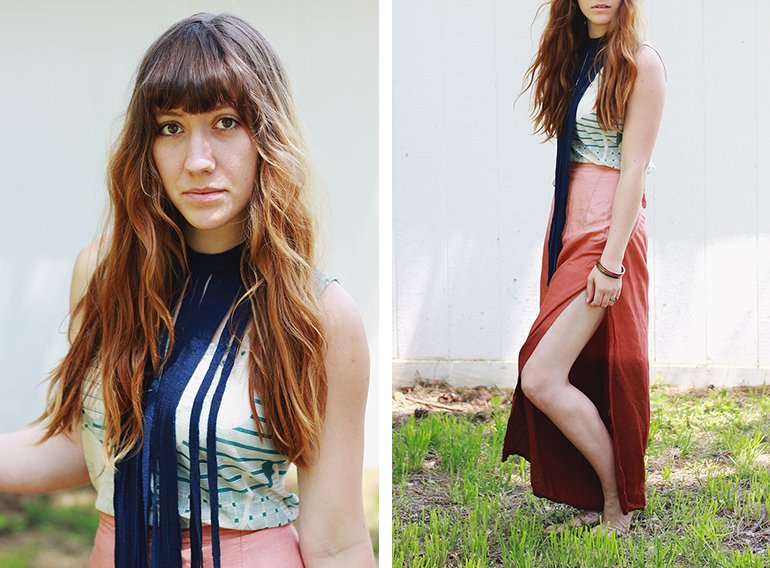
 Last month I stumbled across a beach photoshoot (I think I saw it on instagram…?) and one of the girls was wearing a super long fringe necklace over her bathing suit and I just adored it! It looked like a perfect, easy accessory for summer. So I brainstormed a few ways to make my own version and came up with this:
 What you’ll need:
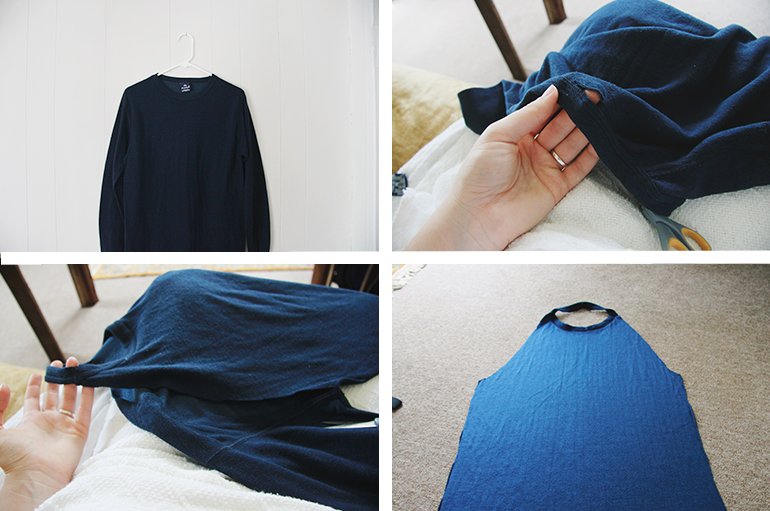
-Old shirt (Make sure it is pretty long and the collar fits snug around your neck.)
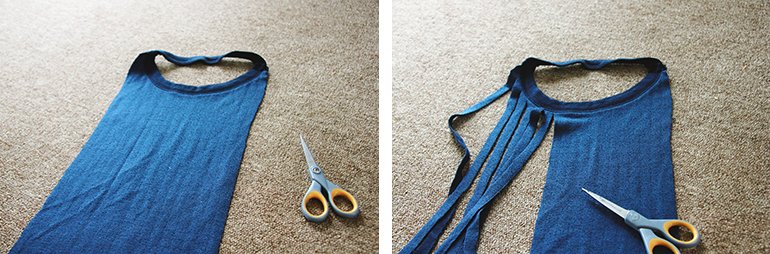
-Scissors
How to do it:
-Start at the back of the shirt and cut right along the bottom of the collar.
-Continue to cut along the collar until you have cut through the seam that would go across your shoulder, then start cutting down towards the armpit of the shirt and continue to cut all the way down the side of the shirt. Repeat on other side.
-You should be left with the collar intact and just the front of the shirt connected.
-Trim the shirt so that is is square with where it meets the collar. (You can leave it a bit wider depending on how much fringe you want.)
-Cut even strips across all the way up to the collar.
-Then you’re done! You should be able to slip it on over your head just like you would with a shirt.


 It’s so easy, you could make a bunch of them in different colors, try dying the ends, add some knots and beads – whatever your heart desires!
xo. Caitlin

