


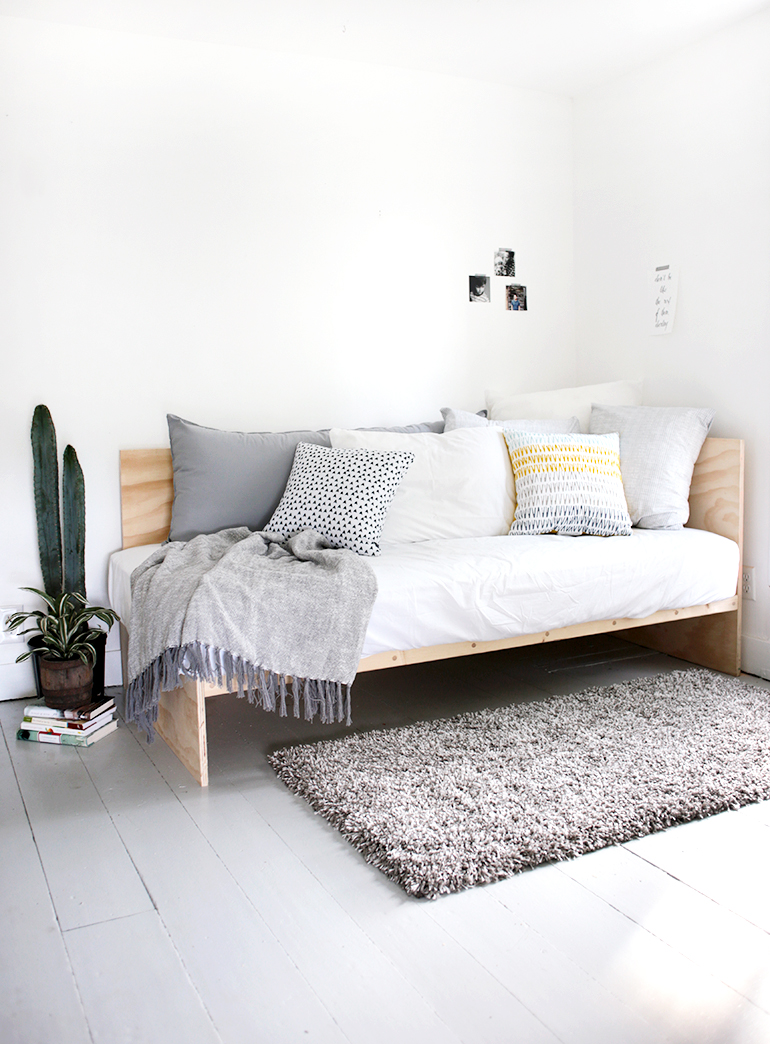
Lately I’ve been all over the place when trying to decide room arrangements in our house. I’ll come up with a plan and think perfect, and then the next week be thinking, no way can that work! Part of it is being the most indecisive person ever and part of it is my boys keep changing their opinions/behavior, so I can’t decide who or what should go in what rooms! For a while, I toyed with the idea of turning the currently unoccupied room upstairs into a “studio” of sorts and came up with a few ideas to make that happen – like the DIY Concrete Desk and this daybed. Whether this room ends up staying a workspace or turns back into one of boy’s bedrooms is still undecided, but this daybed is perfect and can be used in a few different rooms, so I’m glad we made it!
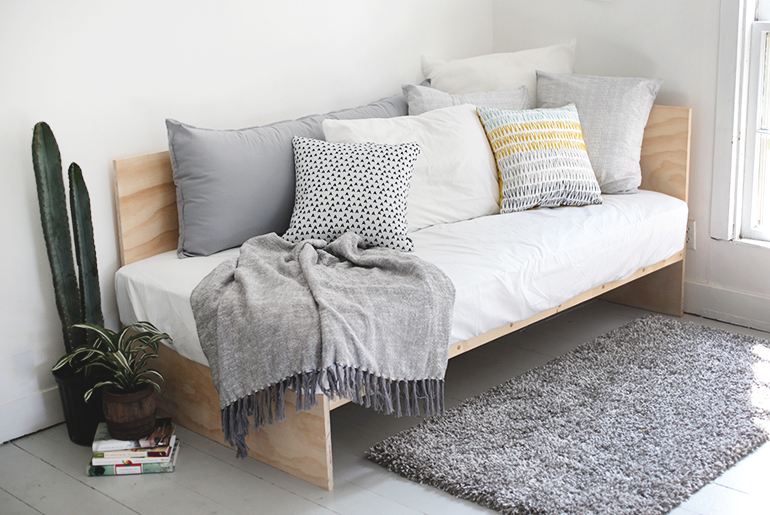
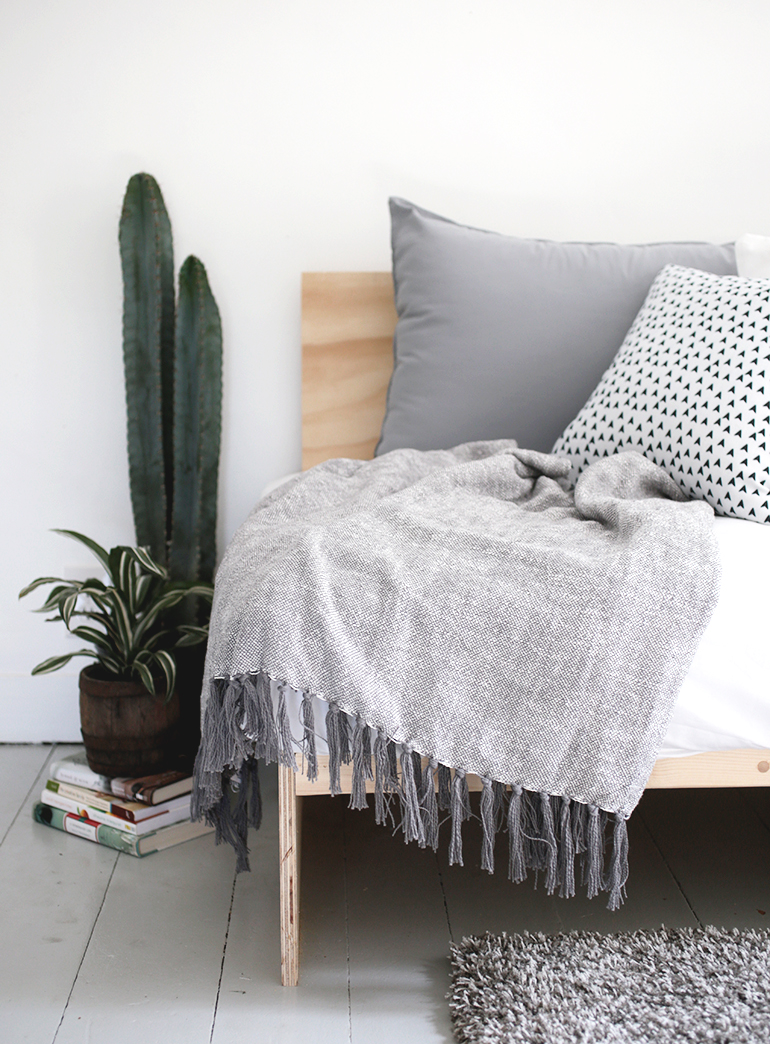
I wanted a comfy sitting spot for times when we’re working in there, but I also wanted to have an extra bed in the house, so a daybed seemed like the way to go. I’ve seen a few plywood couches and loved the look, and we pretty much try and use natural wood any and every where we can, so plywood it was for our daybed!
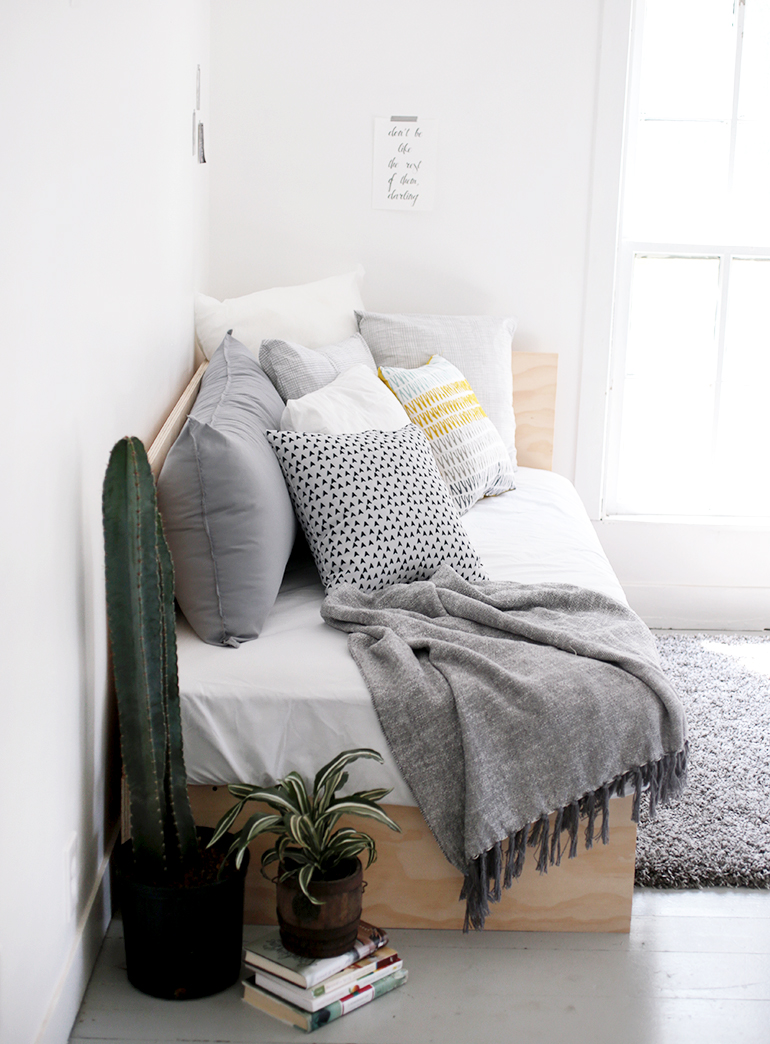
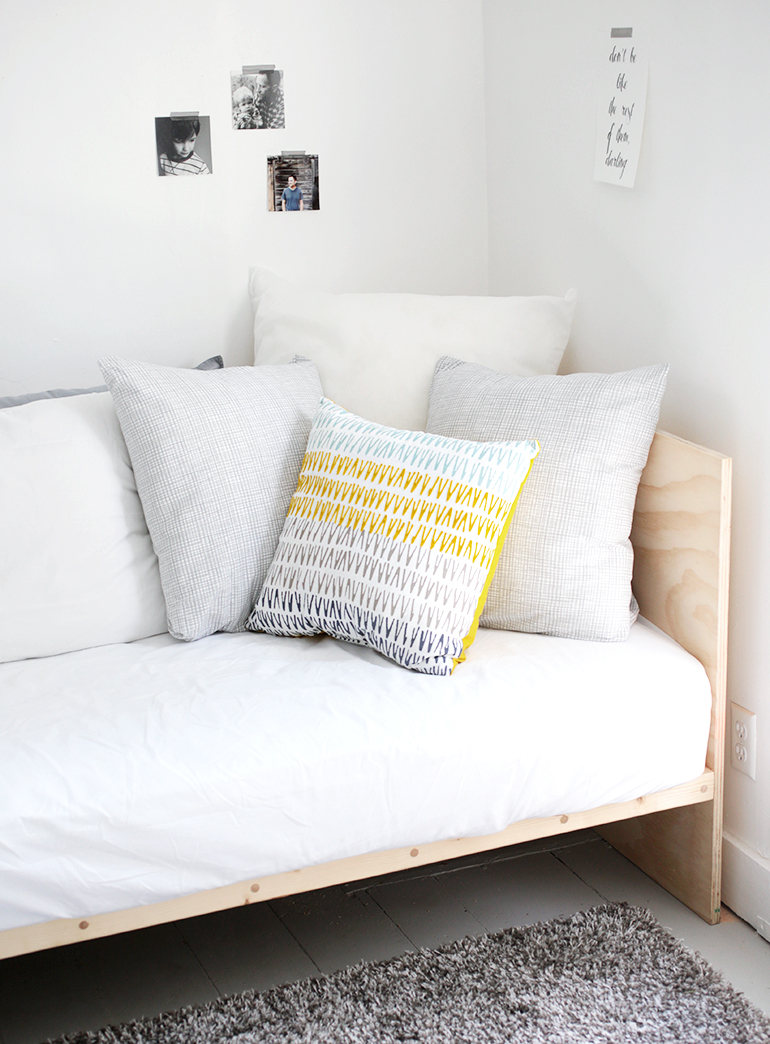
It’s a nice cozy spot to sit and read or work at and it’s a comfy bed – I did take a nap on it just to test it out! 😉
Materials:
– pine plywood (two – 4×8 sheets)
– 2×6 pine boards
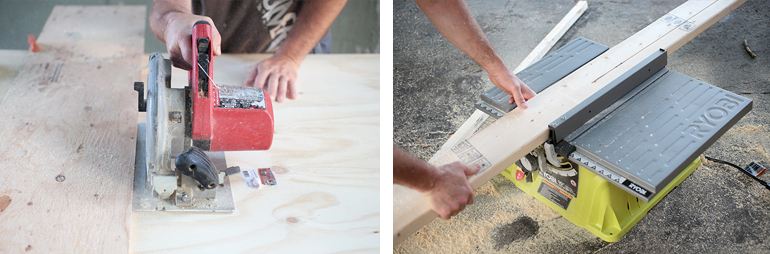
– circular saw
– tape measure
– pencil
– table saw
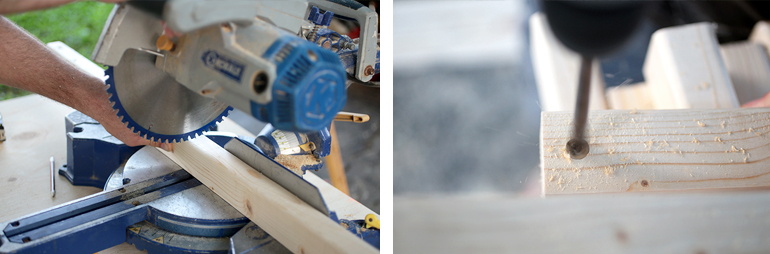
– miter box
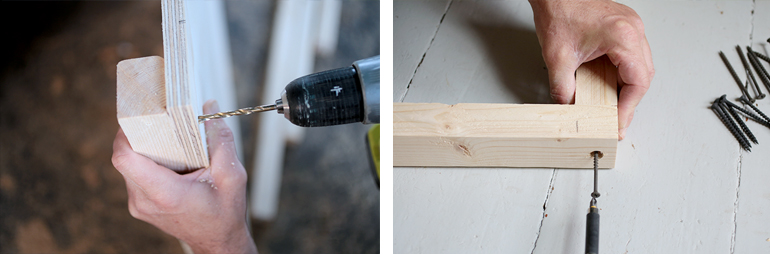
– drill with 1/2″ spade bit and 3/16″ drill bit
– screws
– wooden plugs
– hammer (for installing plugs)
– block of wood (for installing plugs)
– wood glue
– sand paper
– twin mattress
Directions:
On the plywood, measure and mark the length and width you want your headboard – ours is 31.5″ tall and 36.25″ wide.
Cut the headboard.
Measure and mark the length of the bottom footboard, ours is 11″ tall and 36.25″ wide. Cut the footboard.
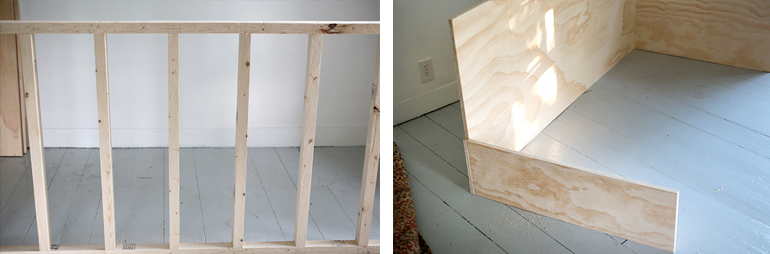
Measure and mark the length & width of the back piece, ours is 31.5″ tall and 72.5″ long. Cut back piece. (We made ours a little shorter and narrower than the mattress was, we wanted the mattress to hang over the edge slightly so if you were sitting on it, your legs wouldn’t rub against the wood).
Using table saw cut the pine boards into 2 inch strips, this is for the mattress frame.
Then cut two to length, making the length fit in between the headboard and the footboard.
Cut the crosspieces of the mattress support, the width of the headboard, minus three inches. We cut 8 crosspieces.
Layout the crosspieces, spacing them evenly along the length of the side pieces of the mattress support frame.
Pre-drill the screws holes, centered on each cross piece. We used 1/2″ spade bit to drill 3/8″ deep on the front board so that we could cover the screw heads with wooden plugs.
Glue and screw cross pieces to front & back board.
Drill holes along the plywood back piece to attach head and foot board.
Screw headboard to the back board.
Screw footboard to the back board. (You can use wood glue along with the screws for extra support, we did not because we wanted to be able to take the bed apart in case we’d like to move it).
Measure up from the bottom 10″ for screw holes to attach to the bed. Drill holes. (You want a good number of screw holes to better hold weight, probably at least 8 along the back and 4 along the head board and 4 along the foot board).
Measure and mark some lines on the headboard and backboard, 11″ from bottom.
Hold the frame at the 11″ inch mark and screw to the bed, easier with a helper!
Place wooden plugs to cover screw holes.
Sand where needed. (Apply finish if desired).
Place mattress on and take a well deserved nap!
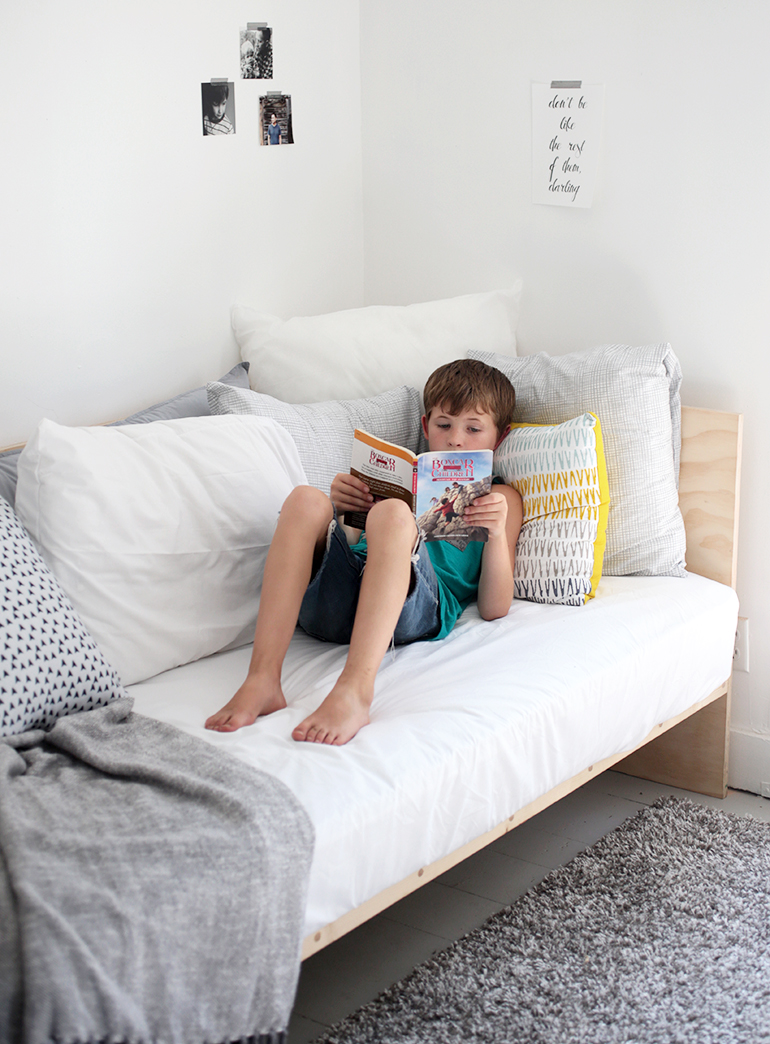

My Lincoln took this photo of me (that’s him reading in the photo above) – he’s becoming quite the assistant for Caitlin & me! While he was taking these photos, he said, “see mom, this is why I need a camera like this!” Haa – keep saving those pennies buddy – it only took me 33 years to get one! 😉
-Manda

