


I thought it might be fun to try making our own butter as a little “diy” for brunch week. I’d read about the method for making your own butter in a jar and thought it seemed like a fun & easy activity to do with the boys. Two of the three enjoyed this! 🙂 Levi quit after about a minute of shaking, too much work for him! Lincoln & Malacai were a little skeptical during the first few minutes of shaking, but once the cream started to change consistency, they got into it!
This is definitely a fun activity to do with kids; and if you’re hosting a brunch with kids in attendance, you could set this up as an activity to keep them busy. Or even if there’s no kids, have your friends and family make their own butter once they arrive and use it during the meal! It’s fun & fairly quick to do, not to mention delicious and people will enjoy eating butter they just made themselves!

What you need:
– jars with a tight fitting lid
– heavy cream
– salt (optional)
– buff arms 😉
How to do it:
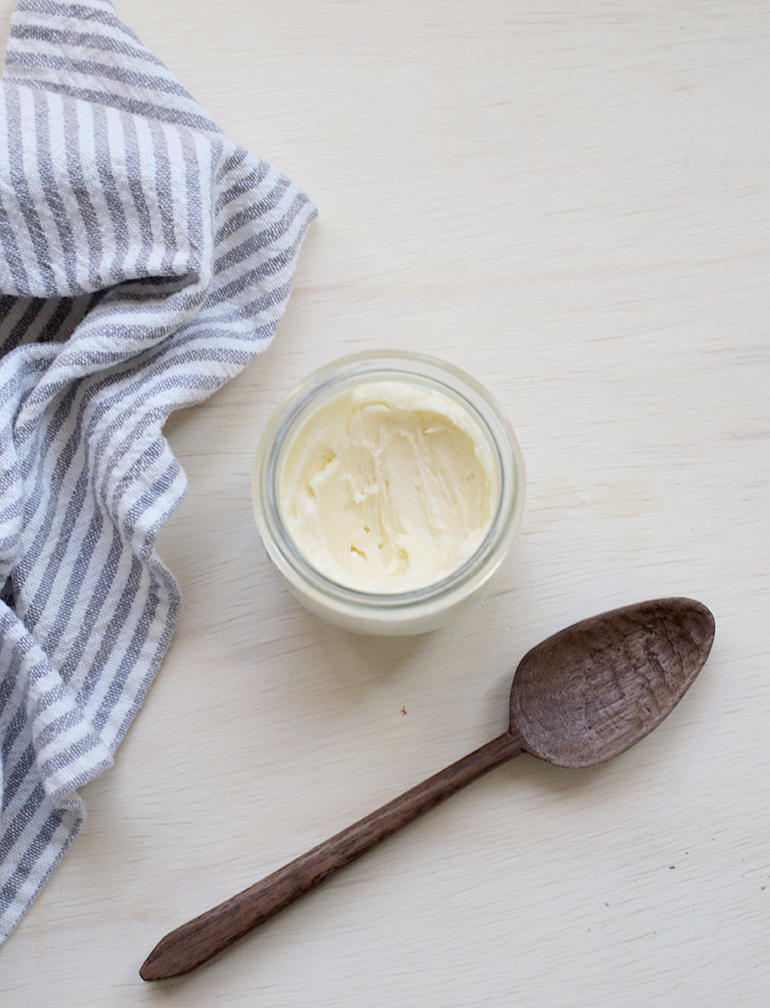
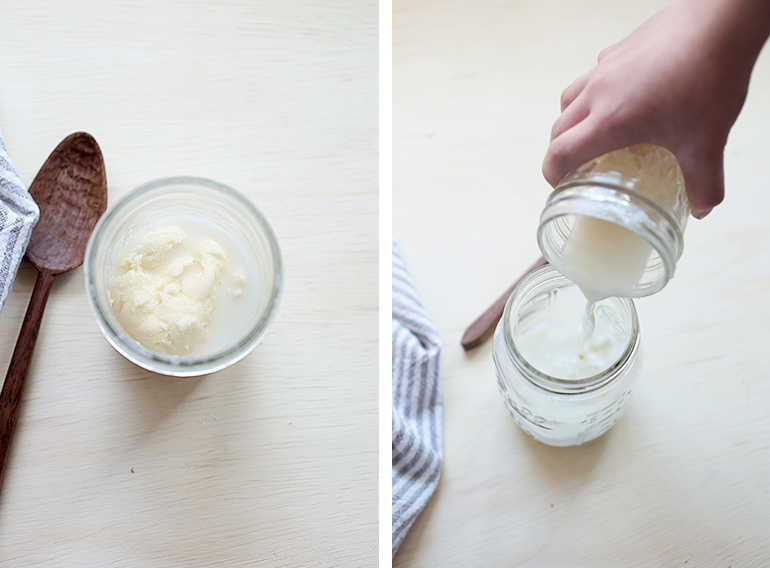
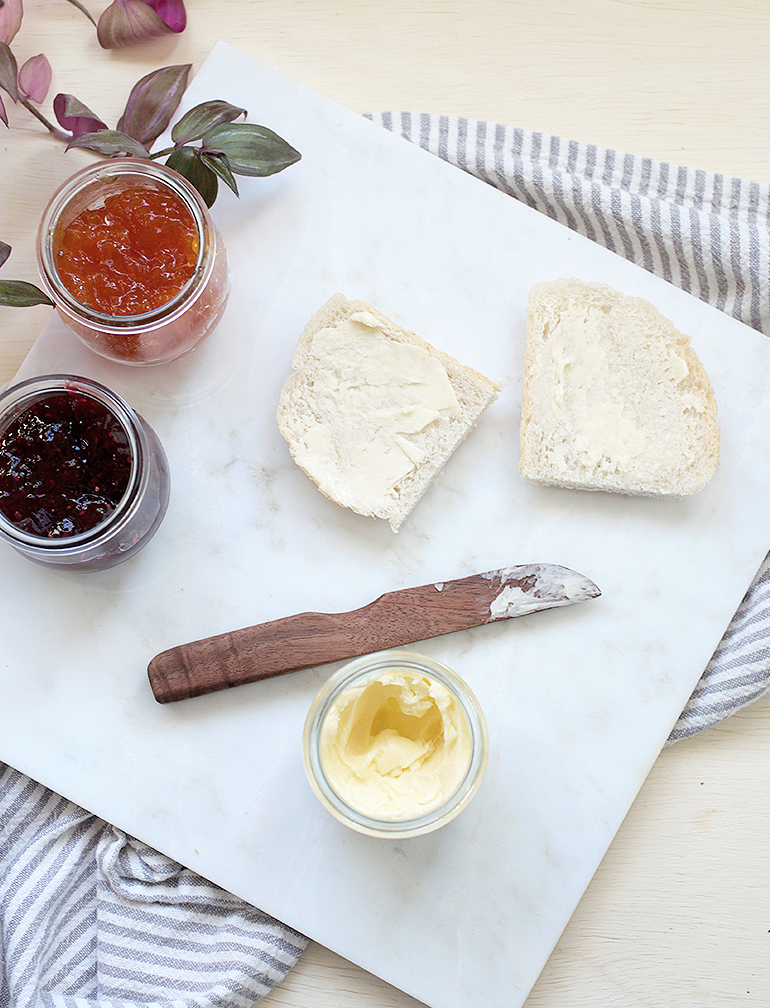
Fill your jar 1/2-2/3 full with the heavy cream, make sure not to fill it up all the way, you need space for the cream to move while shaking. Place the lid on the jar, making sure it’s on tight, and start shaking! (Shake, shake, shake – shake your booty! I may have sang this while we were shaking our cream, oops! If the boys ever start singing it, I have no idea where they heard it from!) How long you’ll need to shake will vary, depending on how much cream you have in your jar and how strong your arms are – it’ll be anywhere from 5-10 minutes before you’ll notice the consistency start to change. You’ll be able to tell by how it sounds while shaking, it’ll go from a sloshing liquid to sounding like you’re shaking nothing. You’ve just made whipped cream! (First photo below). Keep on shaking and the consistency will get a little thicker and almost look a little curdled (second photo below). Keep on shaking you’re almost there! Then you’ll notice it start to sound like you’re shaking a ball around in there – yay, you did it, it’s butter with buttermilk (third photo below)! Shake it for a little bit (another minute or so) when it reaches this stage, I found that it made it a little more firm and easier to handle. Pour off the buttermilk – you can save this to use in recipes (perfect for pancakes!). Remove the ball of butter from the jar and run it under very cold water, kneading it slightly between your fingers while it’s getting rinsed. This will help remove any extra buttermilk and keep your butter from spoiling too soon. You can also add in salt at this point if you’d like salted butter (I just kneaded it in after the rinse). Place your butter in a jar or container and enjoy!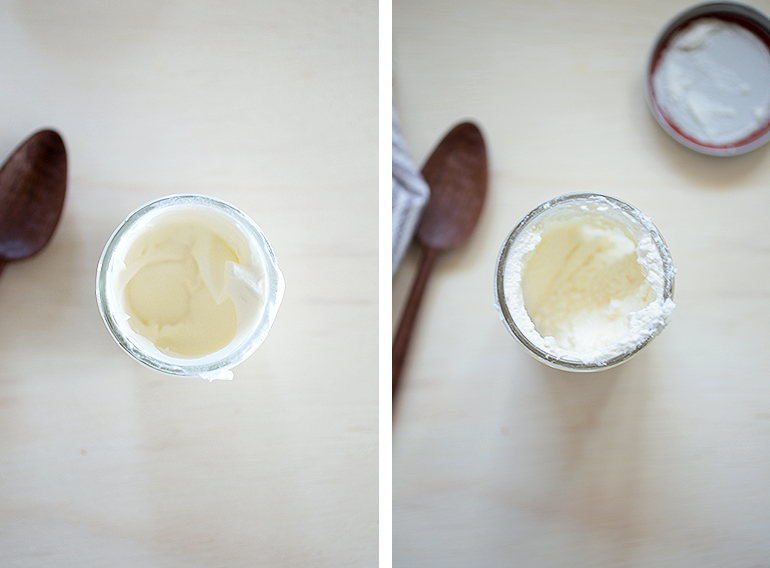
If you’re doing this with young kids, I recommend taking a peek at your butter when it gets to the different stages, just so they can see the progress and feel motivated to keep shaking! It can be a little tiresome for little arms, but my boys got really excited after the cream turned to whipped cream and this kept them happy & shaking!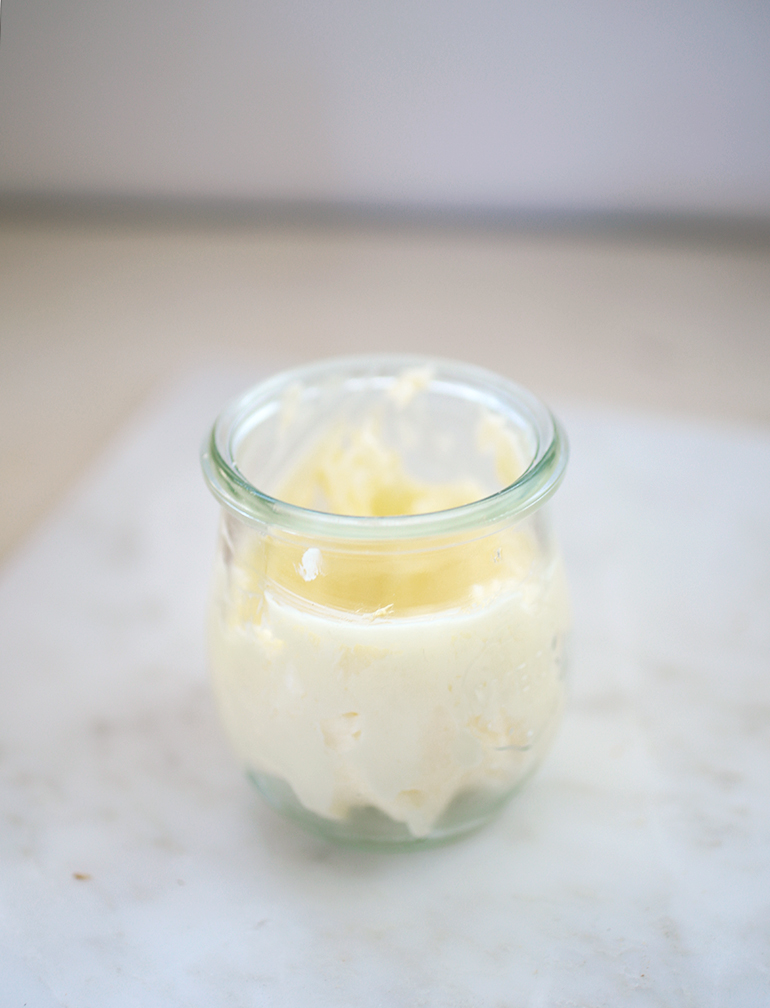
Have you ever tried this simple method of making butter before? While I don’t intend to start “diy-ing” my own butter from here on out, I thought this was a lot fun and will definitely do this again!
-Manda

