


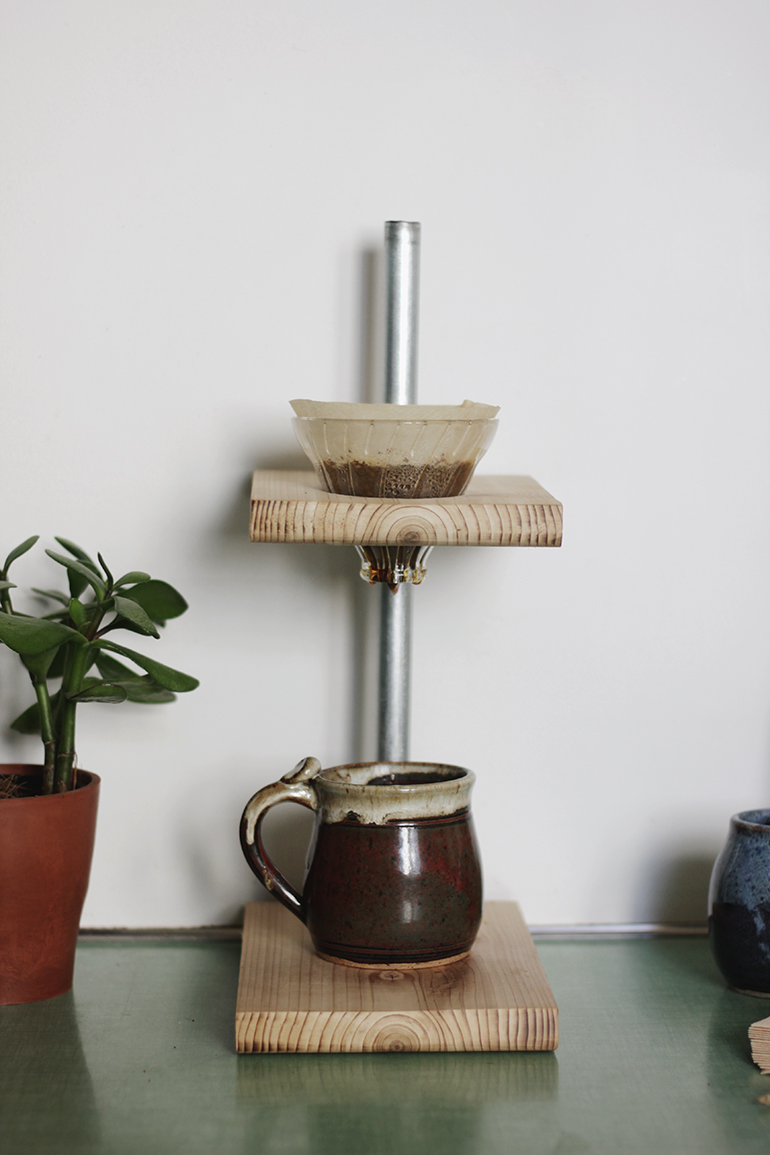
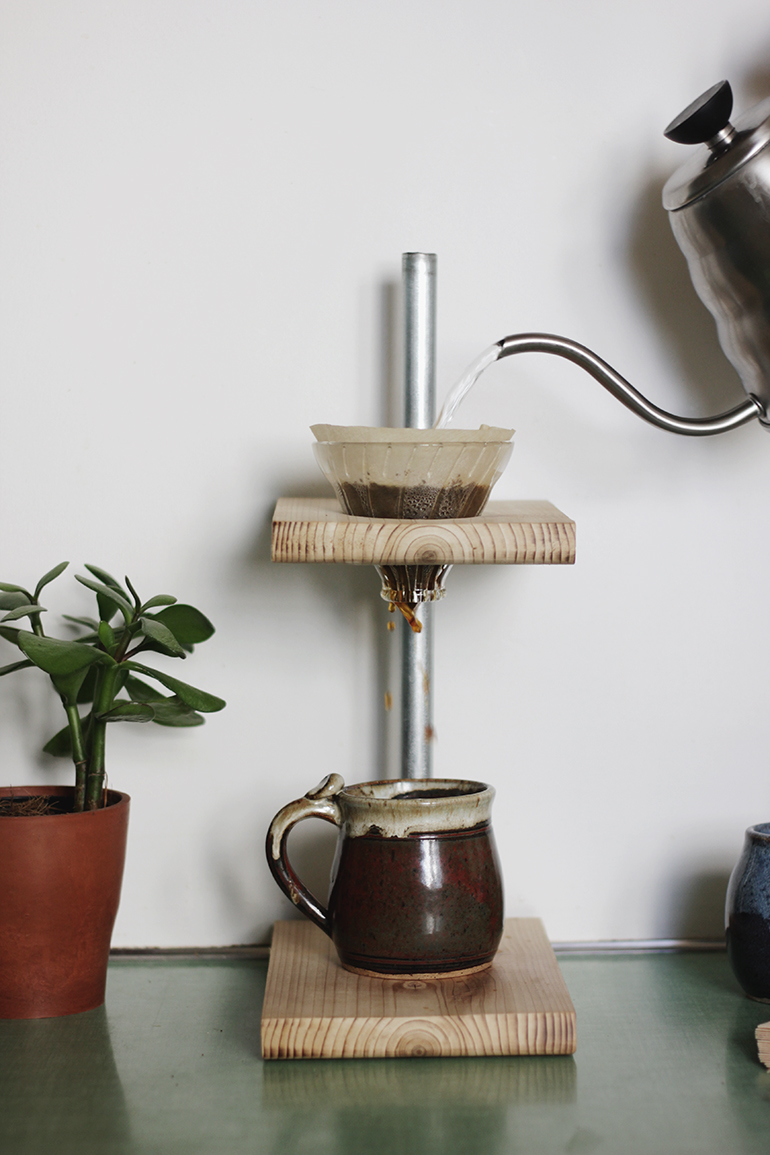
 I’ve been pretty absent during coffee week because, if you didn’t guess from our first post this week, I’m the one that hates coffee. I know, I know, how is that possible?! It’s disgusting. That’s how. 😉 More coffee for the rest of you though! Luckily, I can get into fun, simple DIY projects and this adjustable pour-over coffee stand was right up my alley. So I made it to support all of our coffee-drinking readers out there! Plus Manda didn’t mind having a new coffee maker to go with her new coffee bar.
If you don’t win our Chemex Giveaway, be sure to whip up one of these for yourself!

 What you need:
-Wood (I used cedar and it works just fine but you might want to use a hardwood.)
–1/2″ EMT Conduit
–1/2″ EMT Set Screw Coupling
-Miter Saw
-Hacksaw
-Sandpaper
-Drill press (Or just a cordless drill)
–11/16″ Forstner Bit![]()
–2.5″ Hole Saw
-Glue
–Hario V60 Coffee Dripper (I ordered a size 01, glass top with removable plastic bottom)
How to make it:
-Cut two pieces of wood using the miter saw. (5.5″x9″ for the bottom and 5.5″x6.5″ for the top)
-I used a belt sander to smooth out edges and round the front bottom edge of each piece of wood. You can just grab some sandpaper and do this by hand.
-Use the hacksaw to cut a piece of pipe 12-14″ long.
-Make a mark 1.5″ in from one end of the larger piece of wood. (Make sure it’s centered – 2.75″ in from the side.)
-Drill a hole at that mark (using the 11/16″ bit) most of the way through the wood. **You may have to use sandpaper to sand it down a tiny bit for the pipe to fit tightly in place. I bumped it up to a 3/4″ bit and it was too loose.
-Repeat the last two steps on the smaller piece of wood except drill the entire way through the wood.
-Use the hole saw to cut out a hole for the dripper. (Make sure this hole is centered between the front edge of the wood and the smaller hole that you already made.) Sand down the edges so they are smooth and rounded.
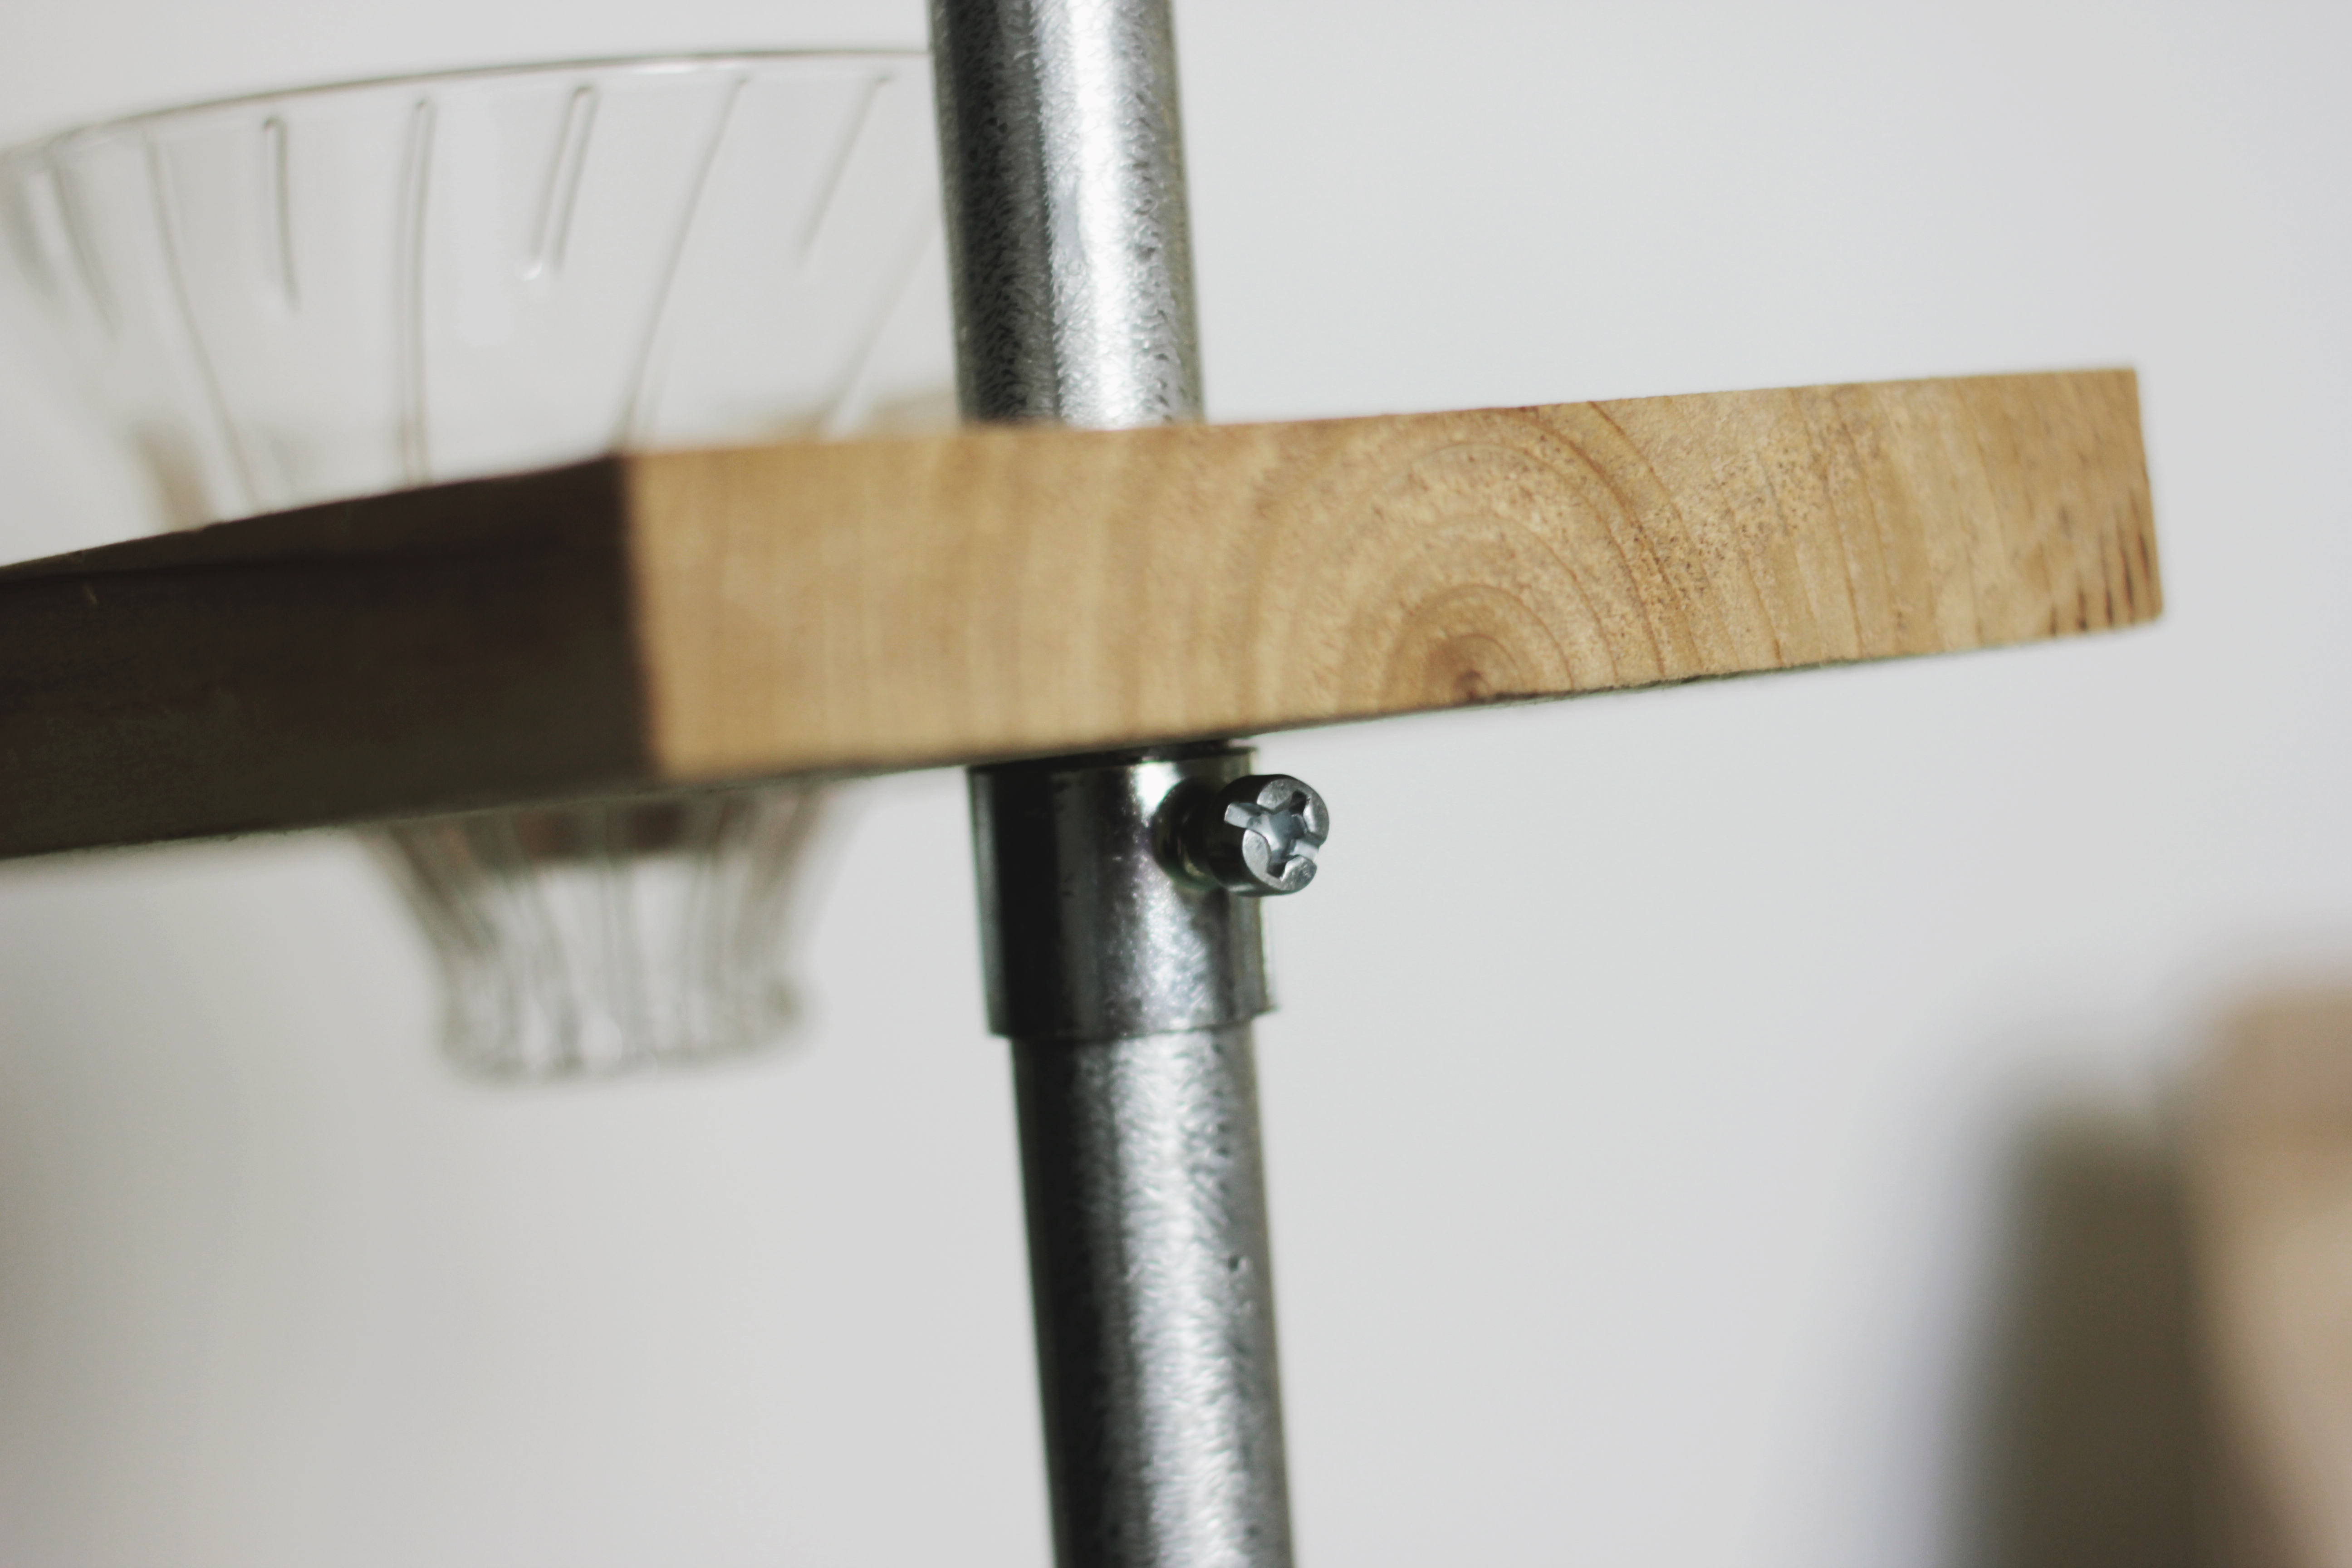
-Use a hacksaw to cut your coupling in half. You will probably need to put this in a bench vise to do this without losing a finger.
-Use rough sand paper or a file to sand down the inside edge where you cut the coupling so it will fit over the pipe.
-Glue the pipe into the bottom piece of wood and let glue dry.
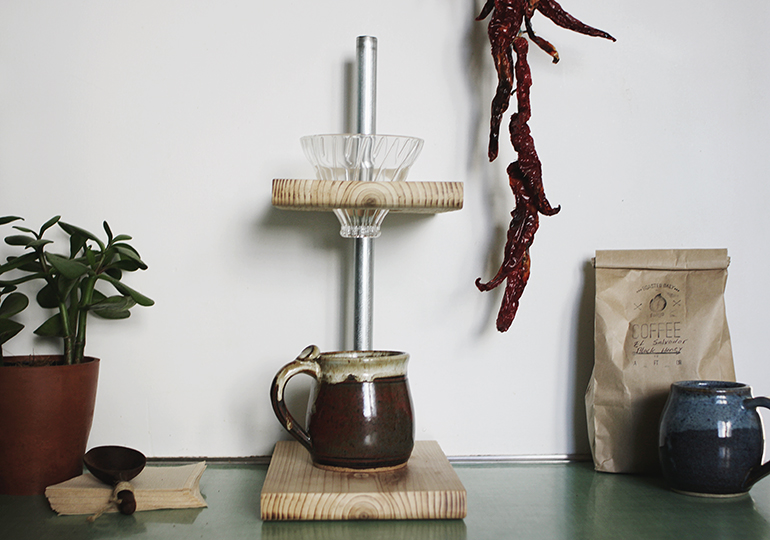
-Put coupling on pipe and use a screwdriver to tighten at the desired height. You shouldn’t have to tighten it too much to keep it securely in place.
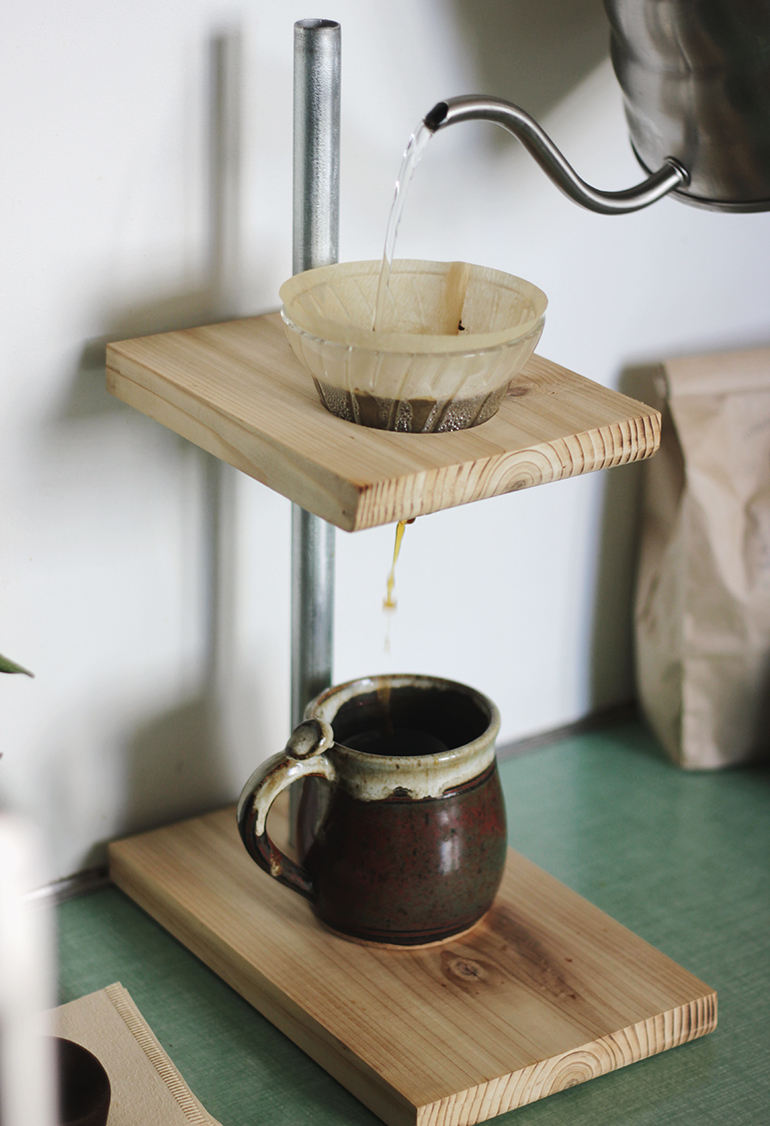
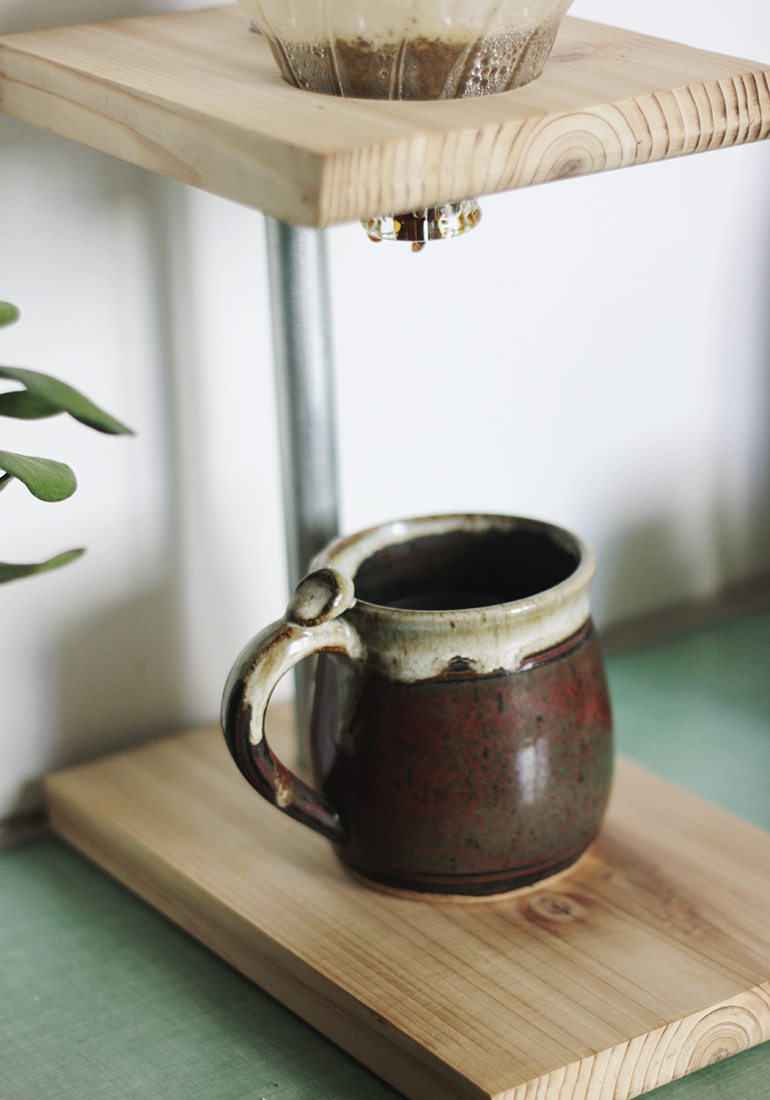
-Slide top piece of wood on, set dripper in place, add a filter, and pour yourself a fresh cup of coffee!
**Use a screwdriver anytime you want to adjust the height of the dripper.

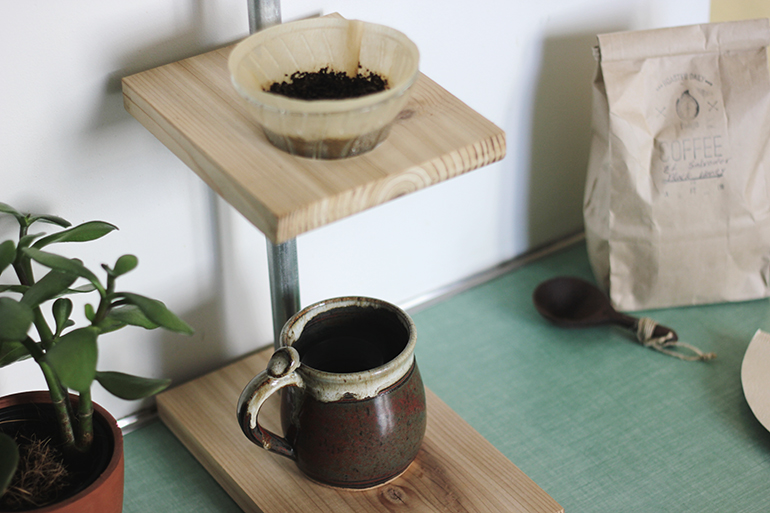
 If you have all the tools on hand (like I did) and you buy an 8′ piece of wood and the conduit and couplings that we linked to, you could make 5 of these for under $20 total! (Not including the drippers, of course.) That’s 5 Christmas presents to cross off your list early!
What was your favorite post from coffee week??
xo. Caitlin

