


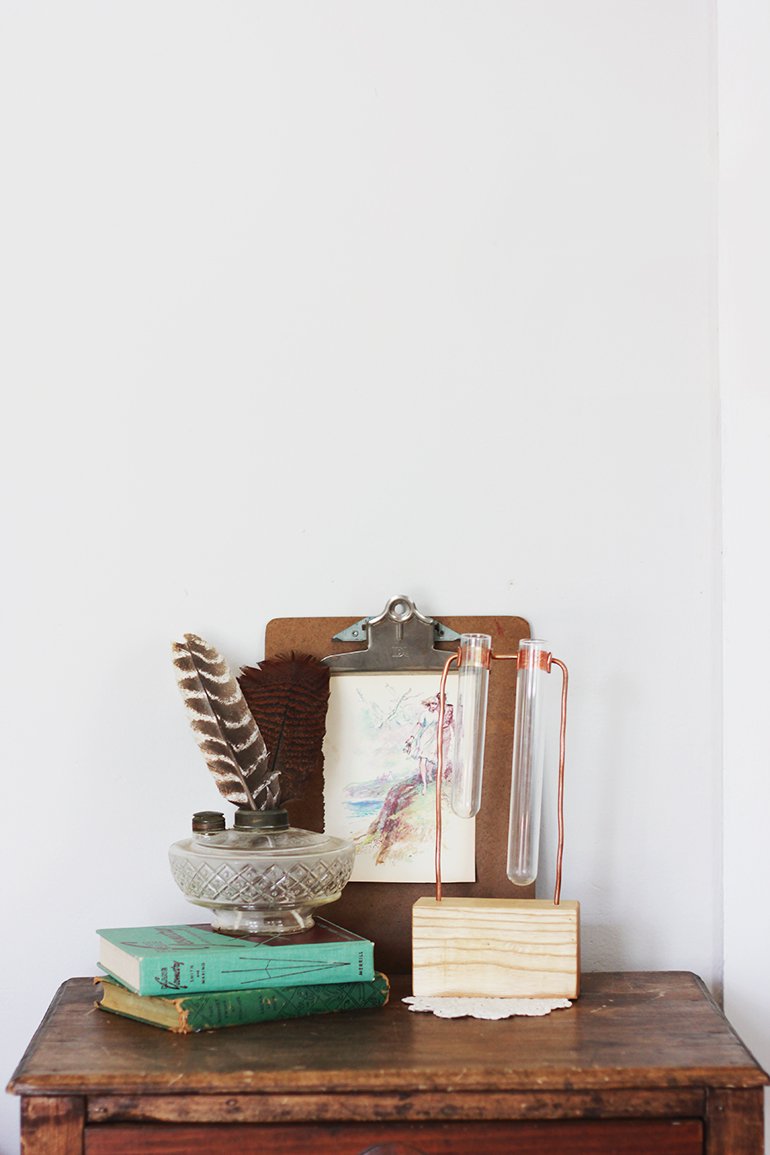
 Popping in this morning with a tutorial on how to make a copper chemist vase!

 What you need:
-Two test tubes. I stumbled upon mine at a garage sale, but there are a bunch on ebay.
-A block of wood
-Copper wire
-Two 1 inch wide pieces of copper pipe
-Drill
-Torch
-Flux
-Solder
-Hack saw
-Sandpaper
How to make it:
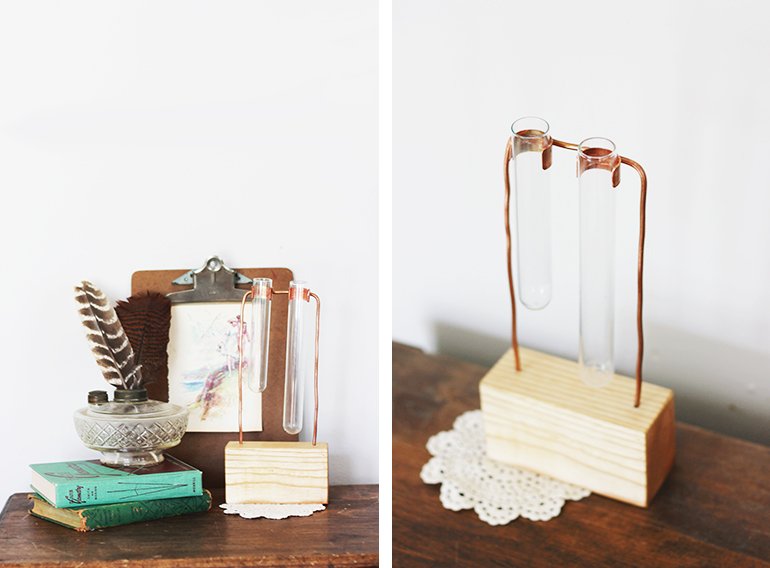
-Take your copper wire and bend two 90 degree angles in it – with the top being wide enough to fit both test tubes across and the sides being tall enough for the test tubes and some extra to stick down into the block of wood.
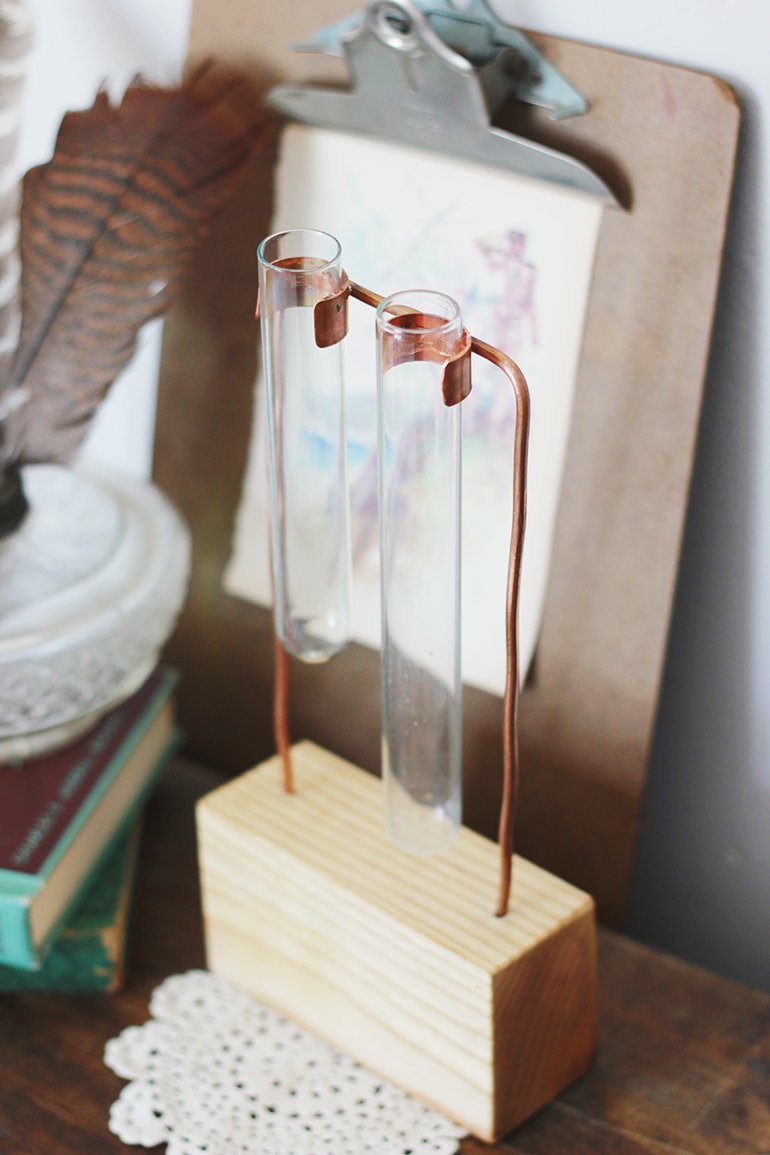
-Use the hack saw to cut a chuck out of each of the pieces of copper pipe, sand down the rough edges and then bend the pipe out so that the test tube will fit tightly inside.
-Clean and sand the wire and copper pipe a bit where they will attach together.
-Put flux on back of the copper pipe, rest the wire on them where you want it to attach (be sure they are level) and use the torch to solder them together. You can find a million videos on how to solder on youtube if you have never attempted it before.
-Drill holes the size of your wire into the block of wood and stick the ends of the wire down in. You can put a dab of super glue on them if it doesn’t fit snug enough.
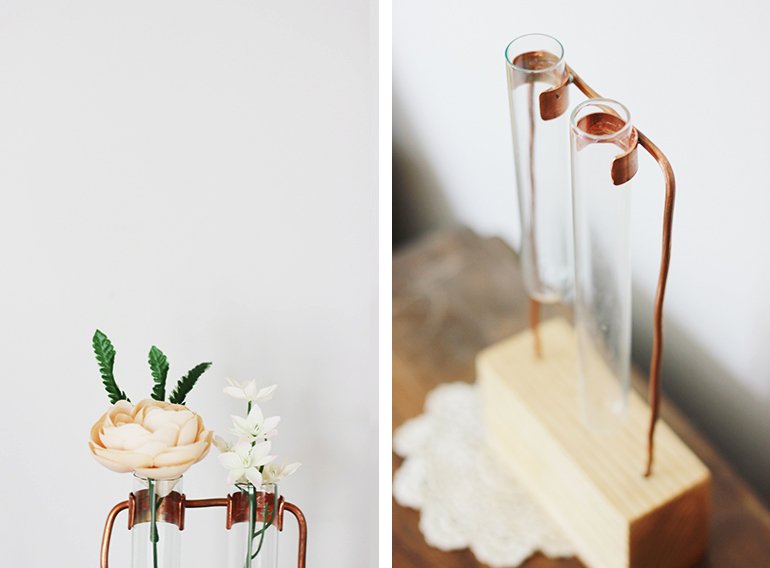
-Put test tubes in the copper pipes. I chose to put a dab of glue on the inside of the copper to secure the test tubes even though fit pretty tightly already.
*If you don’t want to deal with soldering, you could try some extra strength super glue or just tightly wrap a thin wire around the copper wire and pipes a few times. Experiment with it! 😉
 Have a great weekend! xo. Caitlin

