


 I’m back from Nashville and trying to get back into my normal work schedule and deal with all this cold weather and snow! Yuck. I’ll be sharing more on Monday about my trip (it was incredible!) but today I’m sharing an easy Thanksgiving tutorial.
In case you didn’t know, the word “merrythought” is an old word for wishbone! So we kind of love them and wanted to do a couple projects that involve them. They’re a perfect and simple addition to any Thanksgiving decor!
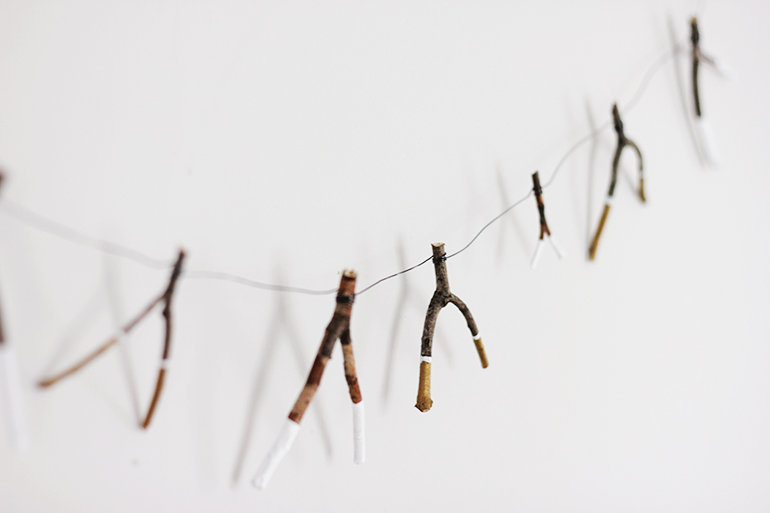
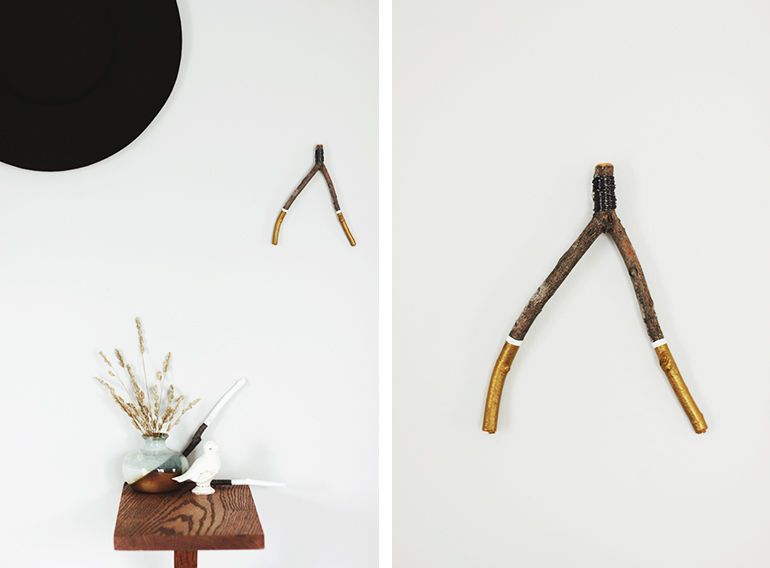
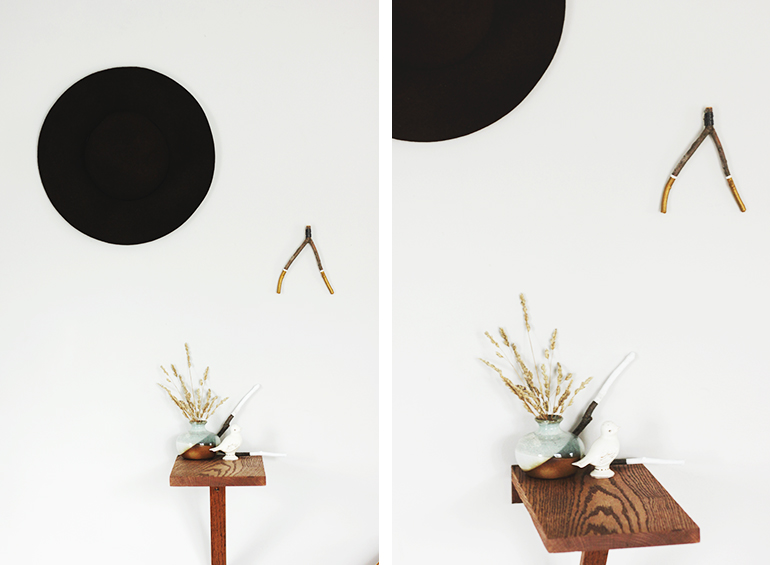 Here’s all you have to do: Collect a bunch of sticks with Y-shapes in them and break them into the wishbone shape. Paint the ends as desired. For larger, individual wishbones, make a loop with wire on the back top of the wisbone and continue to wrap the wire around it to secure in place and hang it from a small nail. For the garland, take a long piece of wire and tightly wrap the top of each wishbone spacing them evenly as you go.
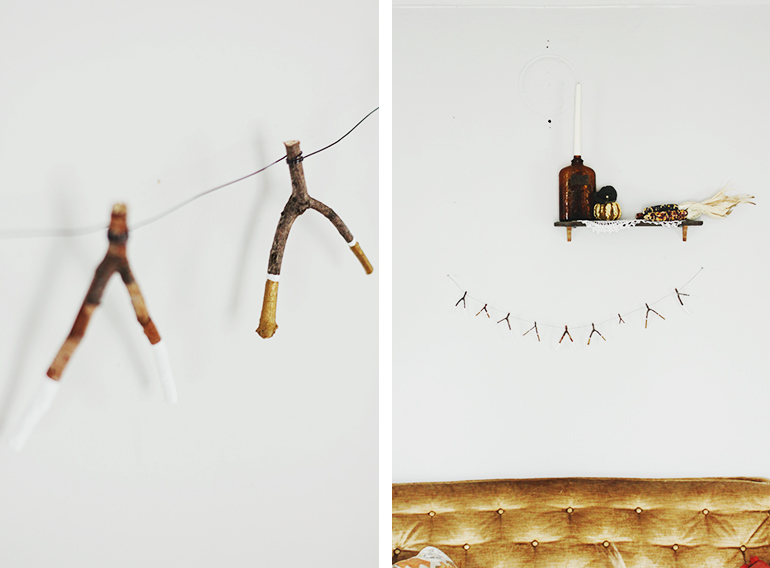 This project could be customized in so many ways. Use it as a game for kids, (the boys were having so much fun pulling apart the “wishbones” that I didn’t end up using) paint names on them and use them as place cards, use them around your centerpiece, or hang a few above the table – so many options!
xo. Caitlin

