


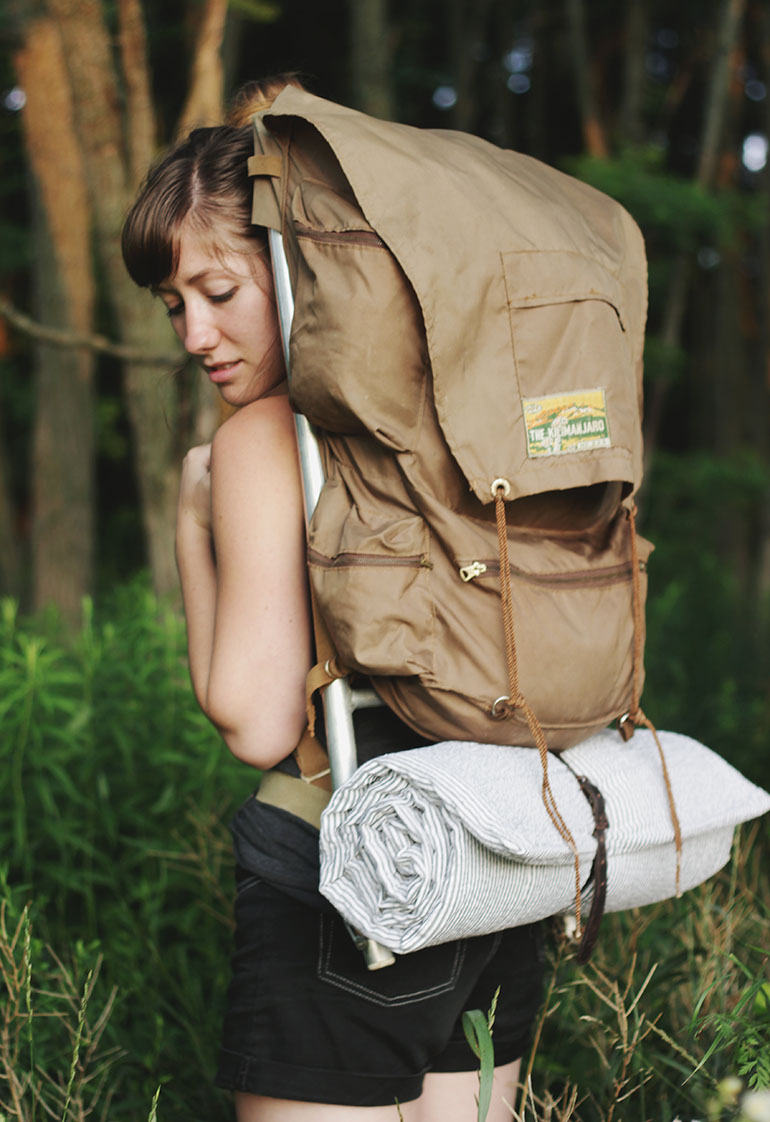
 For those of you that don’t want to haul around an air mattress but would still like a bit of cushion between your spine and the rocky, root-filled ground… this is the perfect project for you. Just a bit of basic sewing and you’ll have a light weight sleeping pad to strap to your backpack and take on your next trip!
 What you need:
-Fabric
-Thick Batting or Thin Foam
-Sewing Machine
-Scissors
-Pins
-Iron
How to make it:
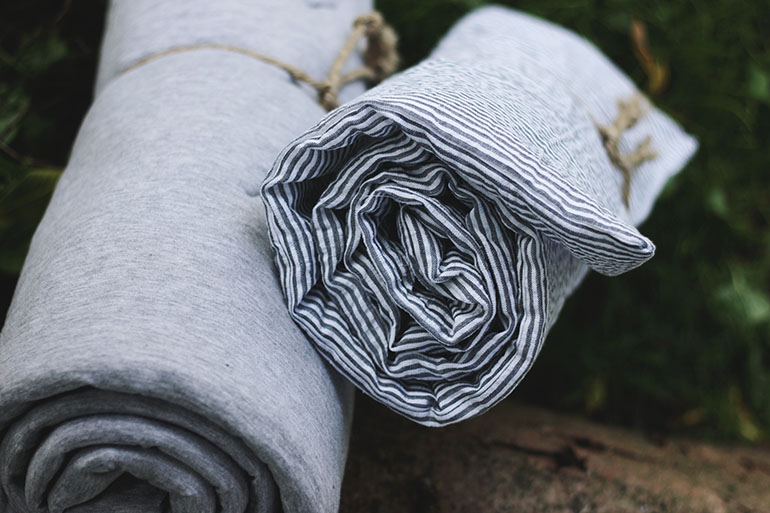
-Cut out a 46″ x 61″ piece of fabric.
-Fold it in half along the 46″ side with the right-side facing in. (So it measures 23″ x 61″.)
-Straight stitch 1/2″ in from the edge along one of the short sides and then down the long side.
-On the open side, iron down 1/2″ of fabric along the entire opening.
-Flip your case right-side out.
-Insert your batting (Mine measured 45″ x 60″, so it fit perfectly when folded in half. You can trim the batting if necessary.) You may want to pin your batting in place on the edges to keep it from sliding around until you are done.
-Straight stitch across the open side about 1/4″ in from the edge.
-Stitch some small dashes or x’s throughout the sleeping pad to keep the batting in place.
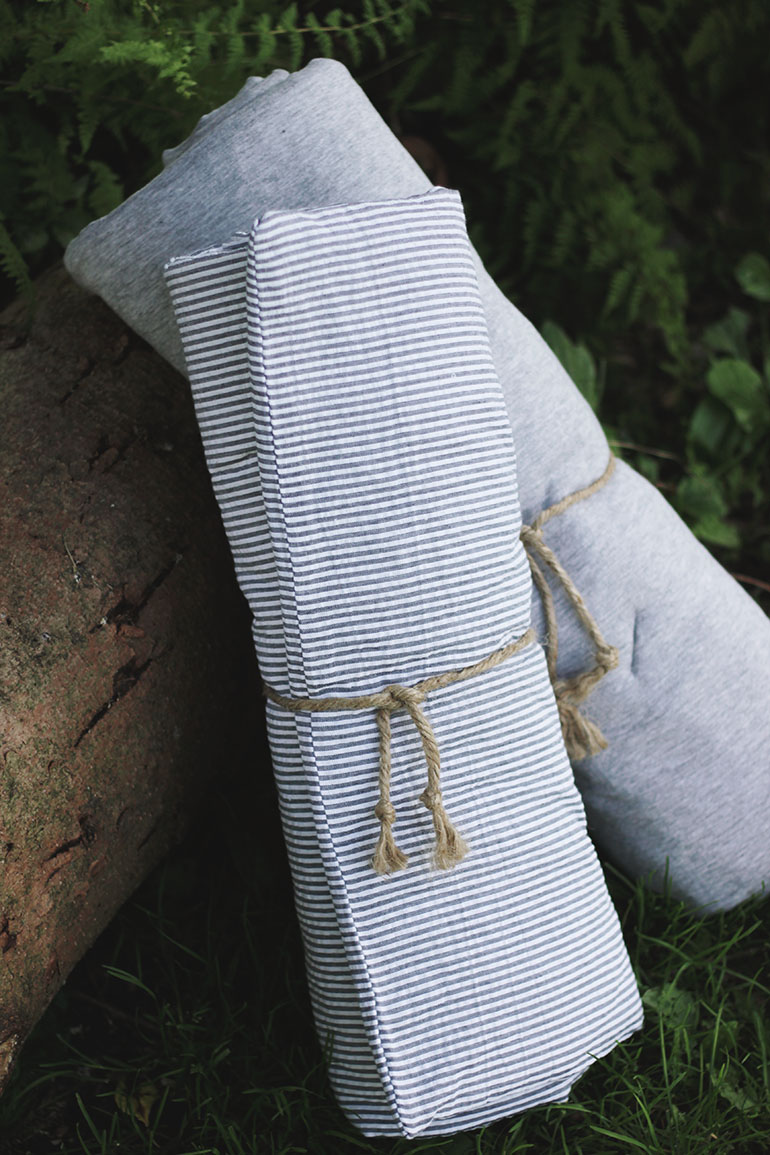

 Hope this makes your next sleep out in the wilderness a bit more comfortable!
P.S. Taking these photos had me seriously craving a backpacking adventure… who’s with me?!
xo. Caitlin

