


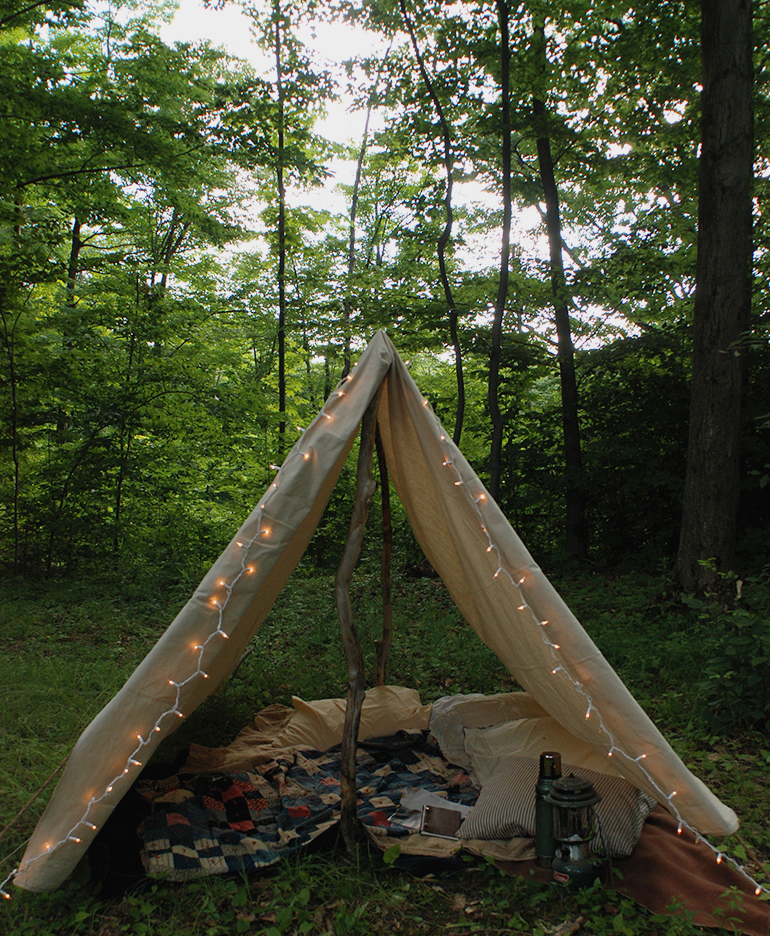
For those of you that want a camp experience without having to venture further than your backyard – this DIY canvas tent is perfect for creating that cozy camp feel! It’s pretty quick and simple to put together and set up. And it can be stored easily – as long as you have room for the tall branches!
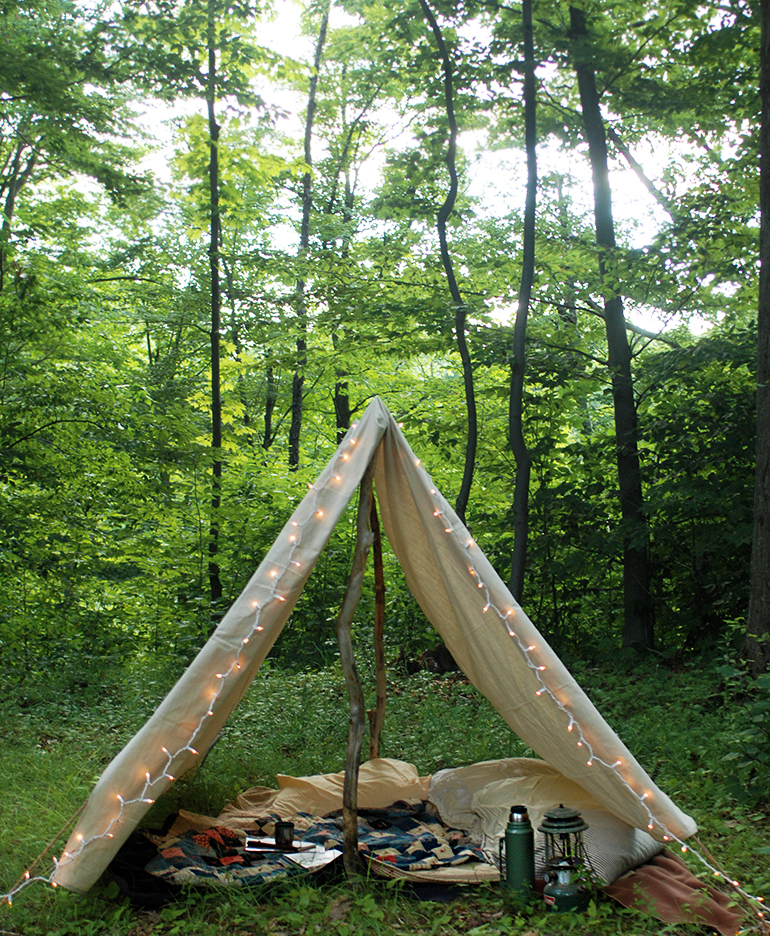
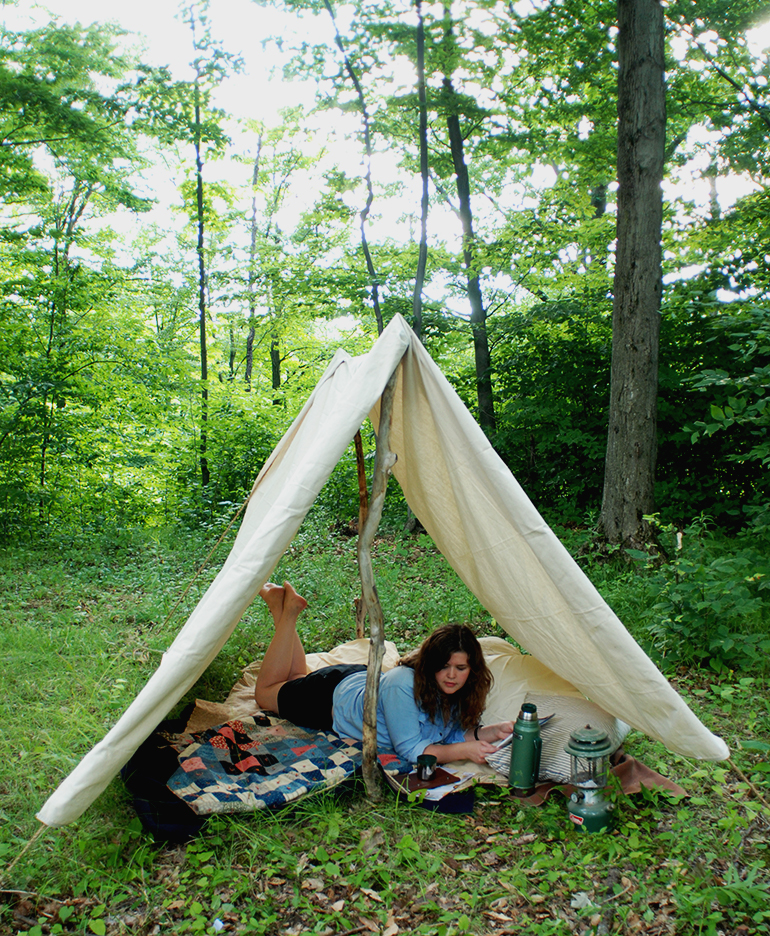
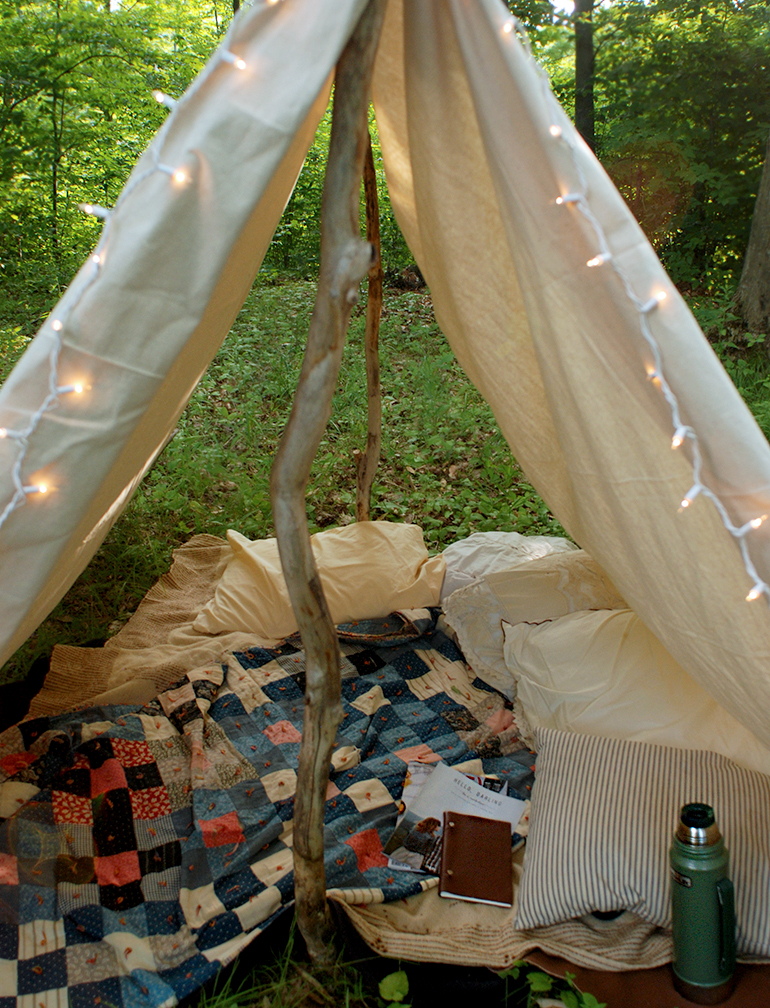
We wanted our tent big enough for a couple of adults to sit in comfortably, but you can make a smaller version just for kiddos. I absolutely love cozy outdoor spaces and could spend hours laying in this tent!
What you need:
- canvas drop cloth (ours was 9’x 12′) (similar ones here or here)
- grommet kit
- branches
- stakes or sticks to use as stakes
- saw
- drill
- dowel
- rope (we used about 25 feet)
- twine

How to do it:
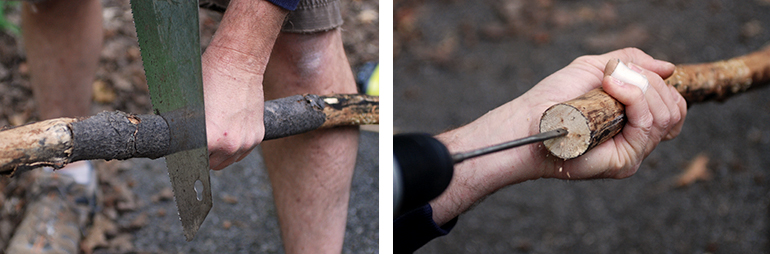
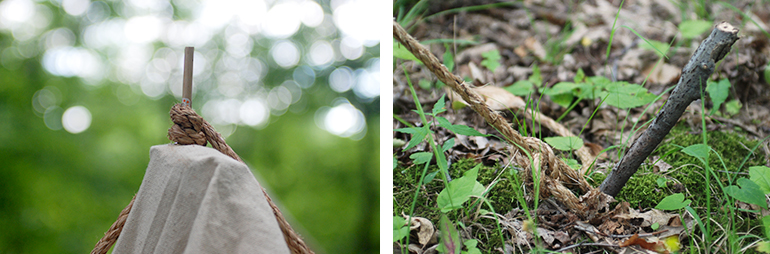
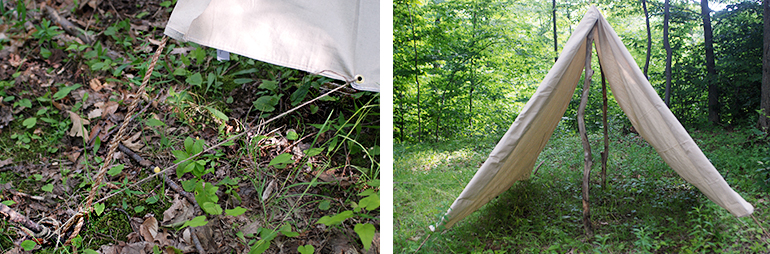
Measure and mark where your grommets will go. You will need two on the top (which will be the middle of the fabric) and four on the bottom edges (one in each corner).* Put in your grommets (your kit should have instructions on how to do that). Measure how long your branches need to be (they need to be the height of the peak of your tent – make sure that coordinates with the length of your fabric), ours were a little over 5 feet, and cut them to size with a saw. Next, drill a hole in the top of your branch, (at least) 3 inches deep and insert a dowel. (Cut dowel to size if needed). You can also whittle the top of the branch to be skinny enough to fit through the grommet – we chose to drill a hole and use a dowel because it was faster.
To set up the tent (you’ll need two people to do it), stand one branch up and place the center grommet over the dowel. Wrap rope around the dowel and pull the rope taught, putting pressure on the branch. Secure the ropes to stakes – we used sticks for our stakes. Repeat on the other end. Tie the twine through the bottom edge grommet hole and secure to stakes (you could also just slide stakes through the grommet holes). Repeat at each corner.
Fill the tent with cozy blankets and pillows and enjoy!
(If you’re going to leave the tent outdoors, you may want to use some kind of waterproof treatment on it to prevent mildew & such)
*I didn’t want our tent to be as long as the canvas was, so our grommet holes are actually 1.5 feet in on each end of the canvas. Once the tent was up, I folded the excess canvas over the edges of the rope. So if you like that look – that’s how we did it.

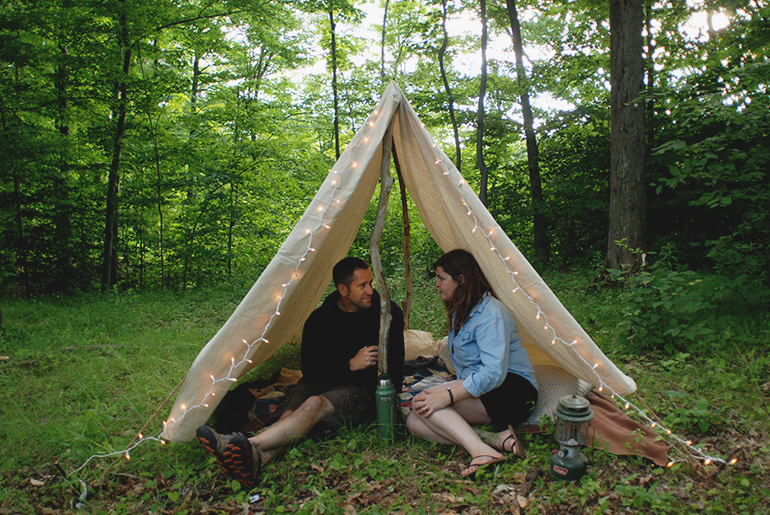
A perfect little spot for a romantic date night too!
Who’s up for some backyard camping?!
-Manda
(If you’re looking to try some indoor camping – this DIY Teepee is perfect for the living room…)

