


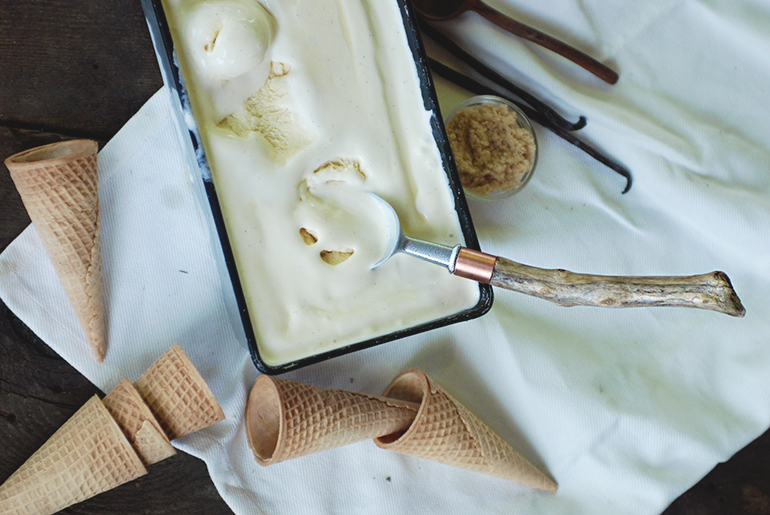
In case you haven’t noticed yet, I’m a big fan of ice cream! Last year my family gave me the ice cream maker attachment for my KitchenAid and it’s been a dream churning out my own ice cream! One of the latest items on my wish list has been pretty ice cream scoops (Caitlin just gave me a lovely vintage one for my birthday!)…and while looking at them online, I thought, why not make my own?! So last month I picked up an old ice cream scoop at the thrift store for 49 cents and brought it home to fix up (err..have Mike help me fix up 😉 )! That ended up being my only purchase for the whole project since we had everything else on hand at home…so my new scoop cost a total of .49¢!
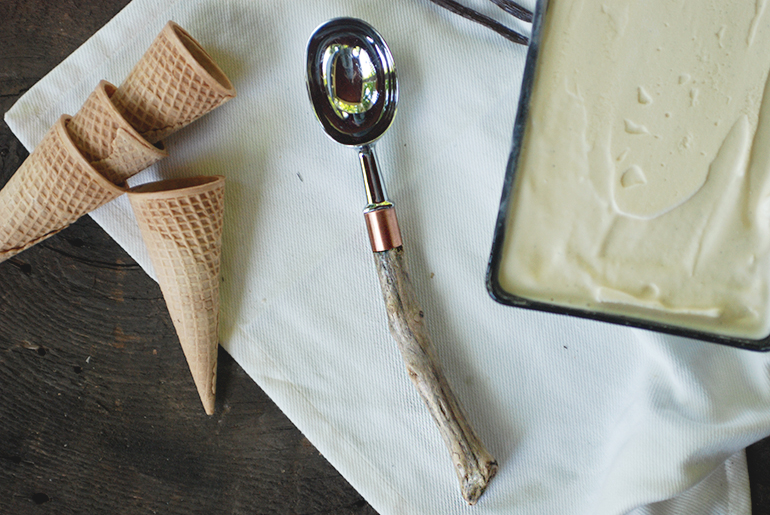
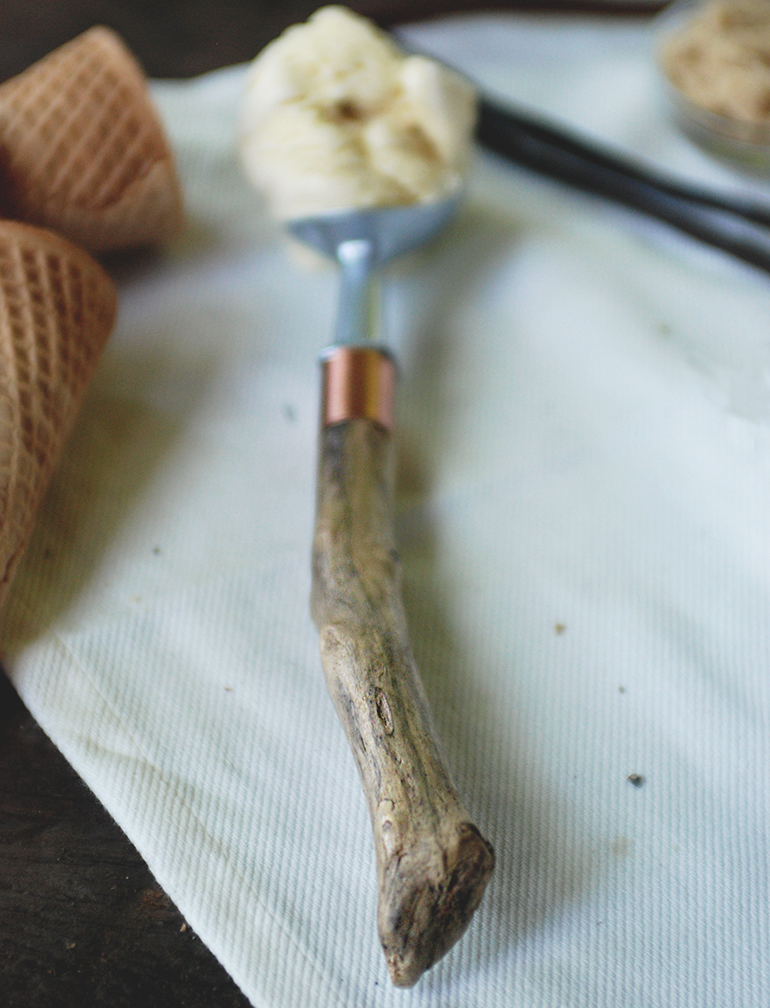
Last summer I had picked up a bunch of driftwood while out at the lake, thinking it would be nice for a project someday and one of the pieces seemed perfect for the handle. Mike thought that the wood should be reinforced at the top to make sure it didn’t crack with the pressure of scooping, so we added the copper tubing at the top. This project can be done fairly quickly and easily – the hardest part was getting the handle off of the scoop. I think our scoop was a better quality one, so it required a bit more work…getting a cheap one might make that part easier. You can also just buy an ice cream scoop kit![]() and then you wouldn’t need to worry about that part at all!
and then you wouldn’t need to worry about that part at all!
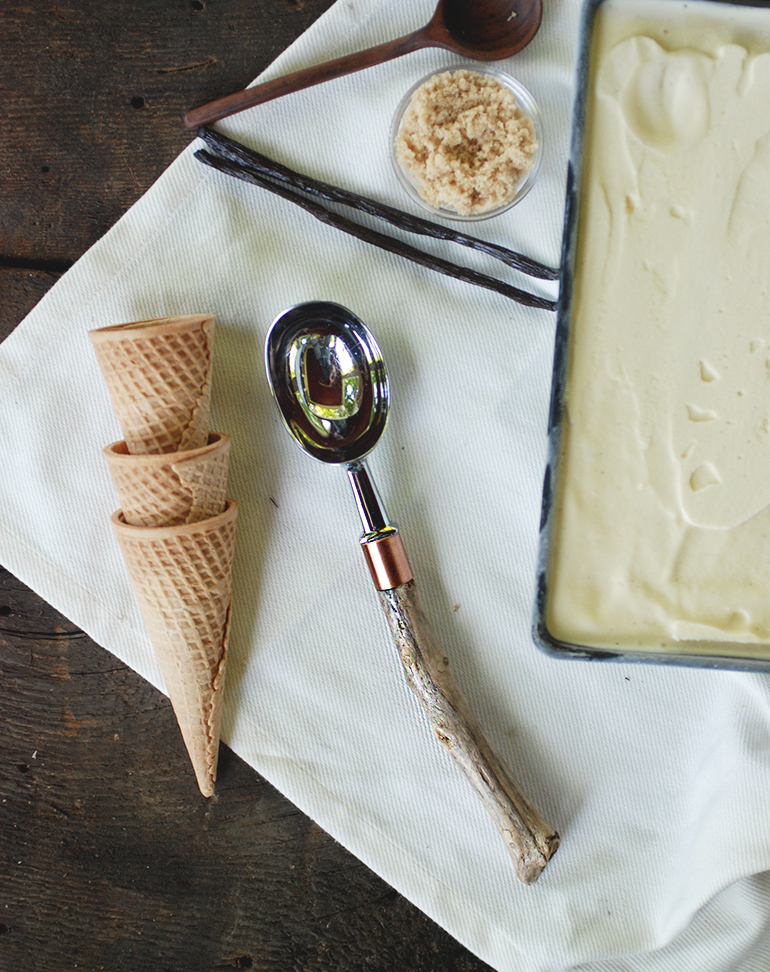
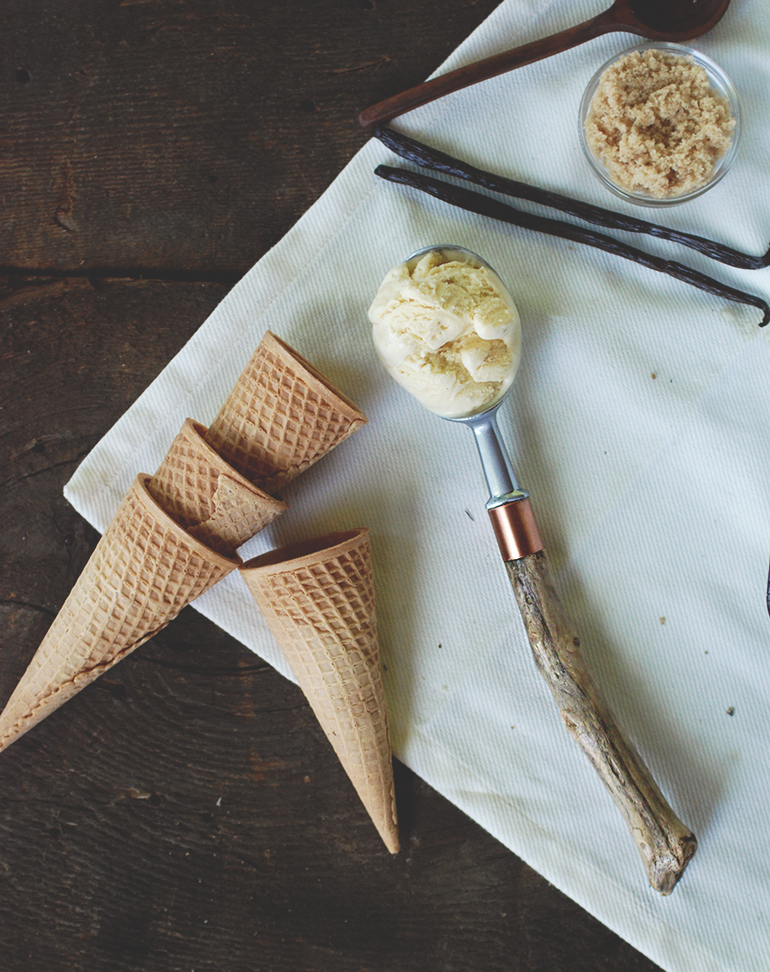
I love my new scoop…and seriously, you can’t beat that price! I’m on the lookout for another scoop to alter – I think an antler handle would look nice with my collection!
What you need:
- ice cream scoop
- copper tubing – 1/2″ diameter
- driftwood
- saw
- grinder
- tubing cutter
- drill
- knife
- glue (we used Gorilla Glue
 for the copper and E-6000 Adhesive for the scoop)
 - clear polyurethane
How to do it:
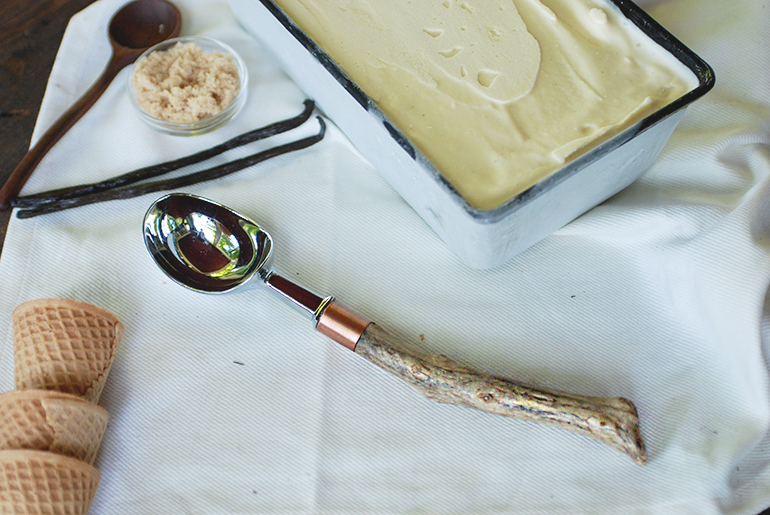
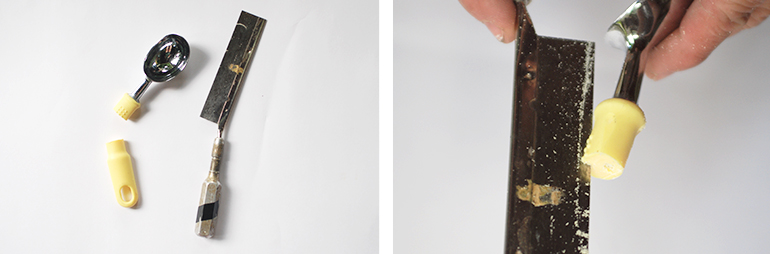
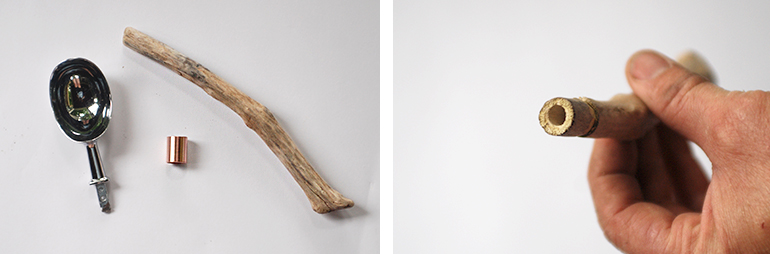
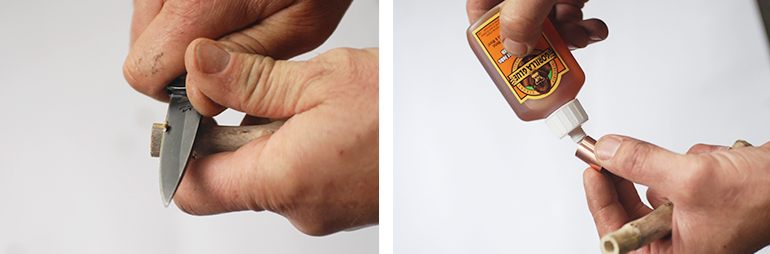
Cut the handle off of the old scoop, making sure to cut right below the metal piece that goes part way inside the handle. Remove the remaining part of the handle from the metal piece – we did this by cutting with a saw and using a grinder. (It may be easier to get your handle off if it’s not a good quality ice cream scoop…) Next, if needed, cut your copper tubing to size (ours is about 3/4″ long – make it about the same length as the metal piece at the end of the scoop) using the tubing cutter. If needed, cut the driftwood to size. Drill a hole in the top of the driftwood – making it as deep as the metal piece at the end of the scoop. Whittle the end of the driftwood so the copper tube can fit over the end. Glue the copper tube onto the driftwood. Once that glue is dry, glue the scoop into the handle. Let that glue dry, then apply a few coats of clear polyurethane to the driftwood and copper, following the directions on your paint can. Let dry, wash and go scoop some ice cream!
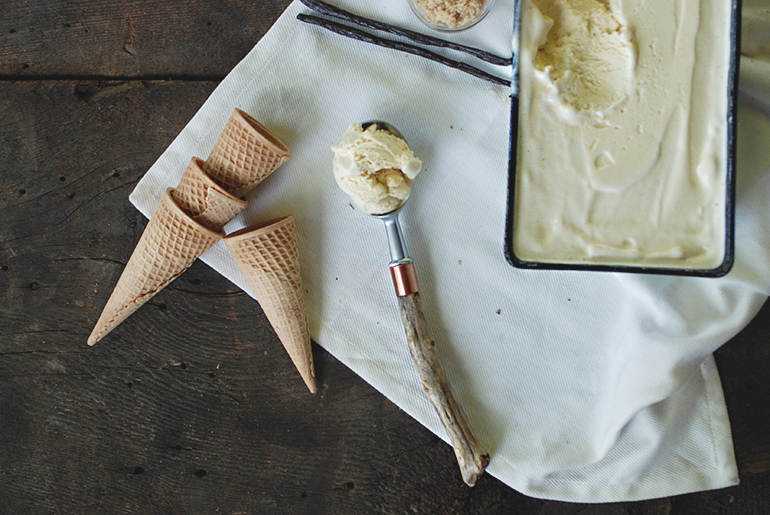
If you need some yummy ice cream recipes to go along with your new scoop – check out some of the ones we’ve made here!
-Manda

