


Another pallet DIY today. We just love our reclaimed wood projects. I’ve been wanting Mike to make a new coffee table for our living room for a while now (yet another project on the Mike-to-make list).
We recently received an email from dremelweekends.com asking if we would like to check out their site and pick a project to try out ourselves, and when I saw a reclaimed wood table on their project list, I thought it would be perfect for the coffee table I’d been wanting.
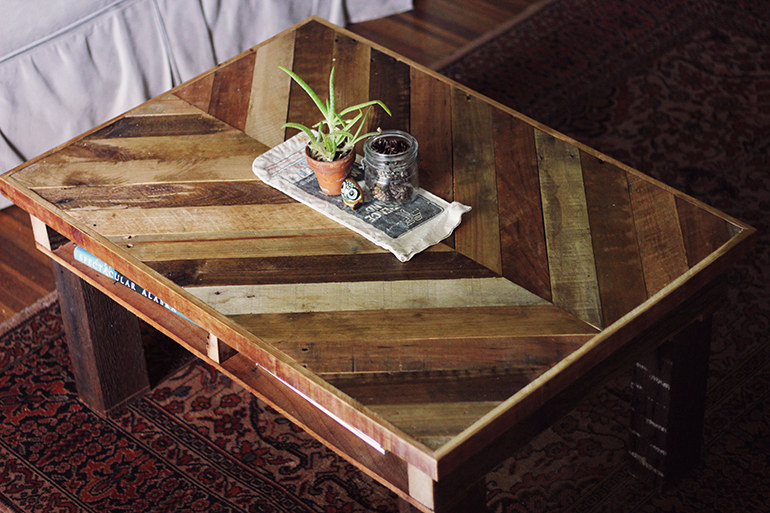
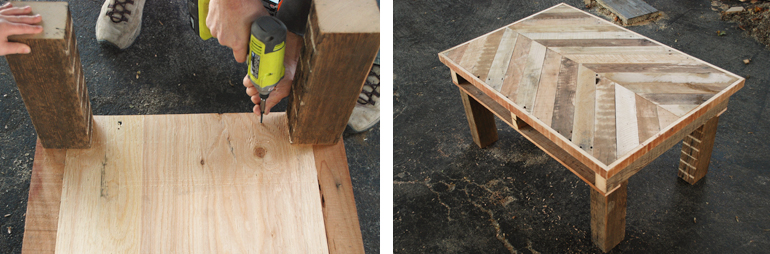
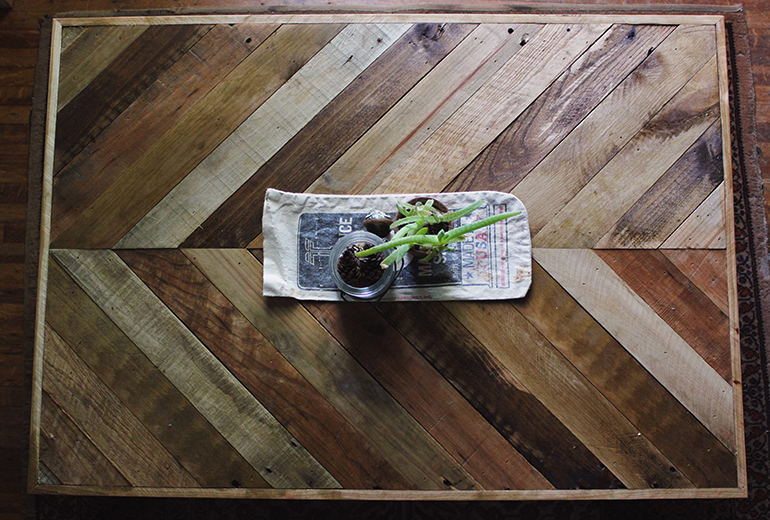
I wanted our pallet coffee table to include a shelf to be able to store magazines and books (and let’s be real – toys, because you know my boys will be filling that space with cars and trucks!). I’m so happy with how it turned out, I’m loving my new coffee table. And loving my Michael for all his hard work.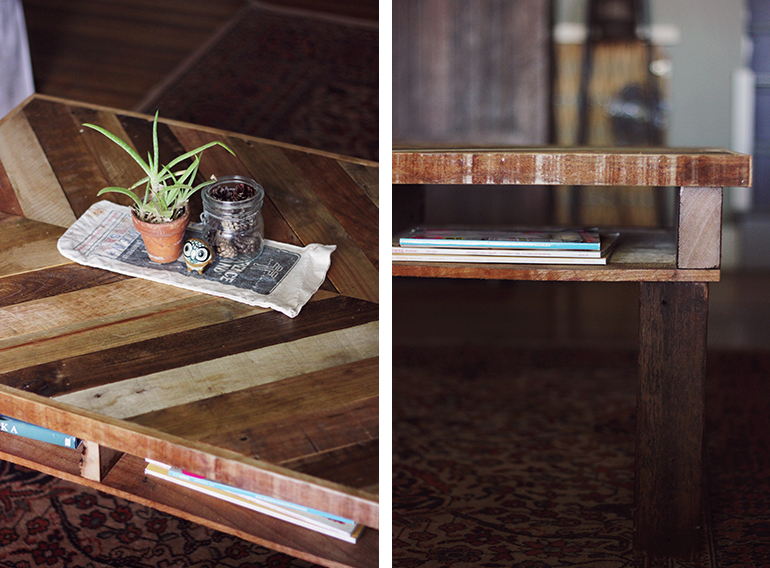
The Dremel Weekends site is full of great DIY ideas. If you need inspiration for a project to tackle, browsing their site will definitely give you ideas. From things to make for your house, to keeping you more organized – they even have games and kid-inspired projects. It’s definitely worth checking out and getting inspired to start making!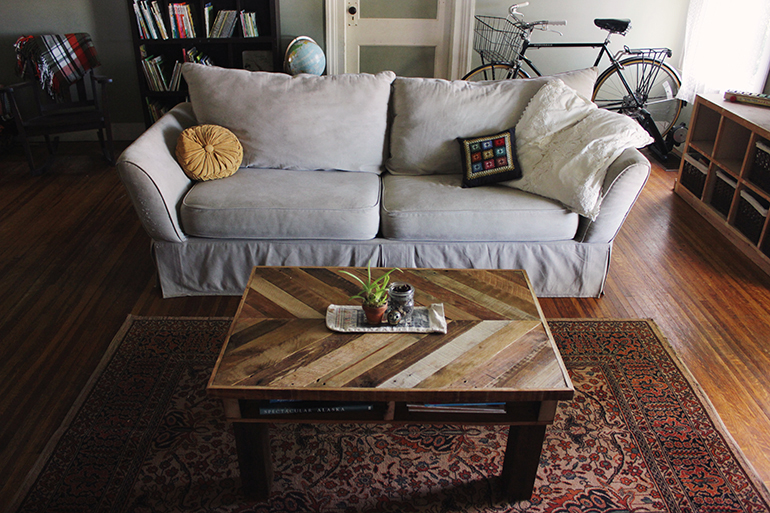

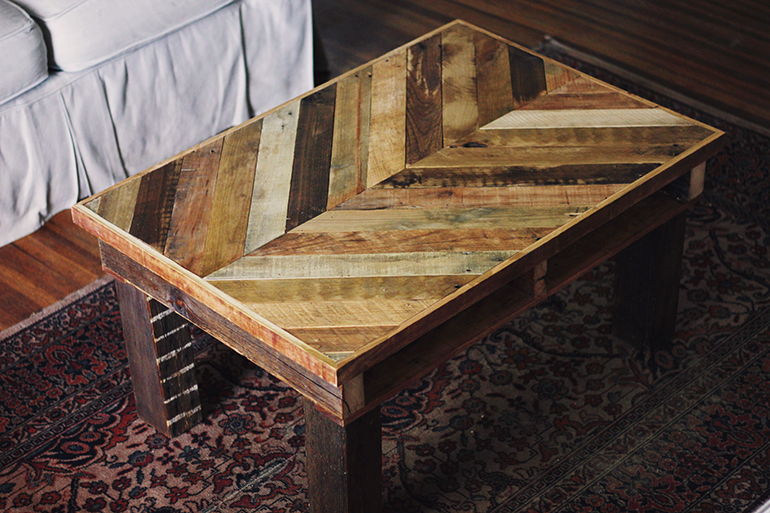
(The materials and directions here are for making a coffee table just like ours (with a chevron pattern and shelf) – obviously it can be customized to how you would like, but these particular materials and steps are for this style.)
Supplies you need for pallet coffee table:
- Pallet or Reclaimed Wood
- Plywood (sized for your tabletop – top & bottom)
- 3×4 posts (or any size desired) – we used old framing lumber
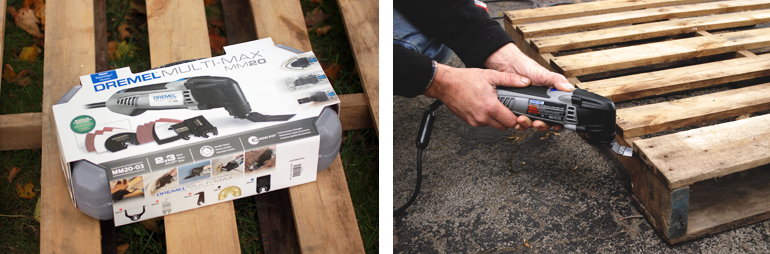
- Dremel Multi-Max MM20
- Circular Saw
- Circular Saw Guide or Table Saw
- Yard Stick
- Stain
- Drill
- Screws
- Glue (any type is fine, wood glue is best, Elmers will work too)
- Mitre Box
- Nail Gun
- Nails
- Sand Paper
- Polyurethane
Directions:
Taking the pallets apart:
Break down the pallets into individual boards. Separate boards from pallet using the Dremel Multi-Max tool to cut the nails (or use a hammer and pry bar).
Remove all nails from the pallet wood.
Creating the table top:
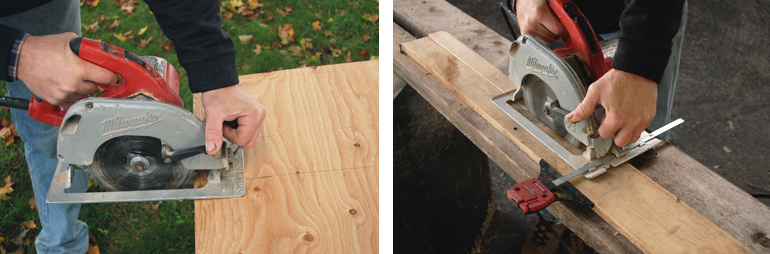
Using a circular saw, cut the plywood to the size you want your tabletop to be.
We wanted the pallet boards to be narrower to work better with the chevron pattern, so we sized ours down to 2.5 inches. To do this use a table saw or circular saw fitted with a guide, and trim boards to desired size.
Draw a line down the center of your plywood. This will be the guide to line up the boards.
Using the Dremel Multi-Max with the sanding attachment, lightly sand pallet boards. You can do more detailed sanding if you don’t want your table to look as rustic.
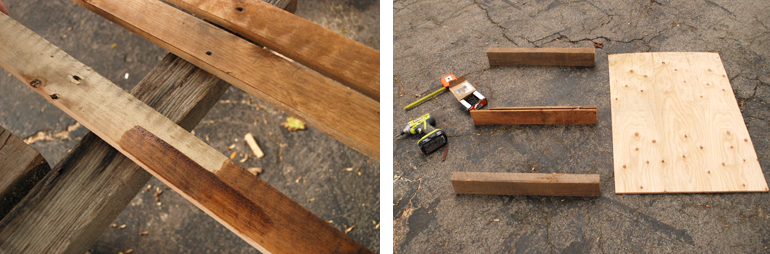
I wanted the boards to have more of a contrast in color, so we stained a few of the boards to get them darker.
Using the mitre box, cut the ends of the pallet boards at a 45º angle.
To make the shelf under the table, use the three boards from the middle (or inside) of the pallet, and cut to the size of your tabletop using circular saw.
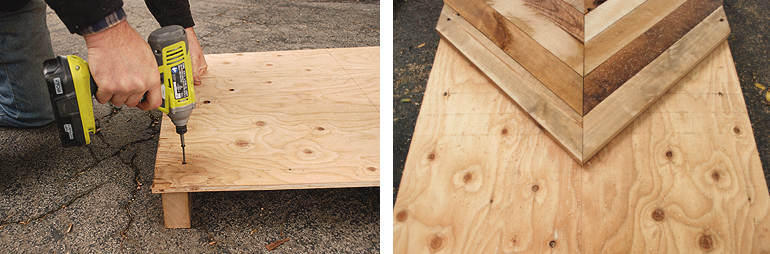
Attach the three boards to the plywood tabletop using a drill and screws. Place a board at each end and one centered in the middle.
Arrange the pallet boards in the pattern you like, using the line you drew as a guide. (The boards will hang over the edge of your plywood)

Apply glue to back of pallet boards and lay them on top of the plywood. (The glue helps to hold the boards in place while nailing and you won’t need to use as many nails with glue).
Using nails and nail gun, nail the pallet boards to the plywood. (We used brad nails).
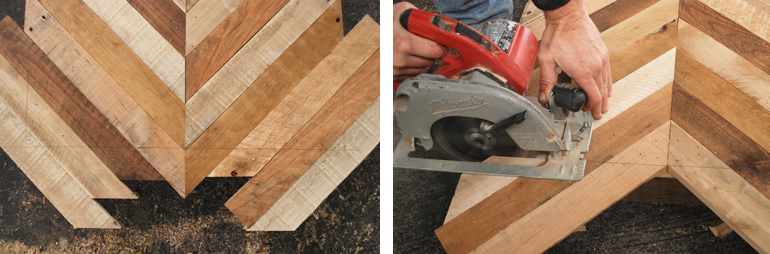
Once all the pallet boards are nailed down, draw a line where your tabletop edge is and using a circular saw, cut the pallet boards down to size.

Using additional pallet wood, make a frame for the table edge. Cut the wood to the thickness of your tabletop, plus an additional 1/8″.
Mitre the ends of the boards at a 45º angle.
Nail boards to sides of table to create frame.
Using a circular saw, cut another piece of plywood to fit to the boards on the bottom of your table. I wanted the outside edges to be pallet wood, so we cut two pallet boards to size to fit at the edges, and sized the plywood to fit between those. You can just use one piece of plywood here if desired.
Attaching the legs:
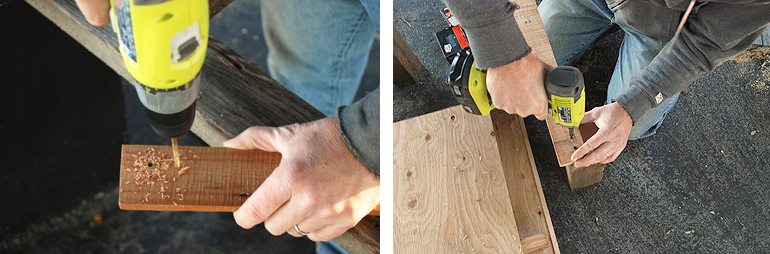
Drill holes in the pallet boards (or plywood if you’re just using that) where the legs will attach.
Screw the board to the legs.
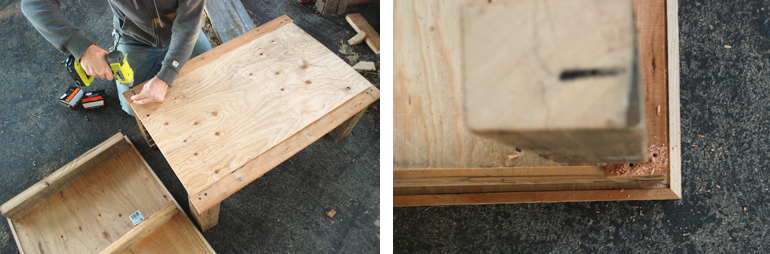
Once all four legs are attached to your pallet boards, set the plywood in-between and screw it in place.
Set the bottom part of the table on top of the upside down tabletop. Drill pilot holes into the bottom of the table.
Screw together the two pieces.
Flip table over and sand any rough spots.
If desired, coat table with polyurethane, following directions on can for use and dry times.


Here’s to pallets! xo. Manda
Wanting more pallet projects? Check out our Pallet Swing Bed or Pallet World Map.
Dremel Tool and material compensation provided by Dremel Weekends. All thoughts and opinions expressed are our own.

