


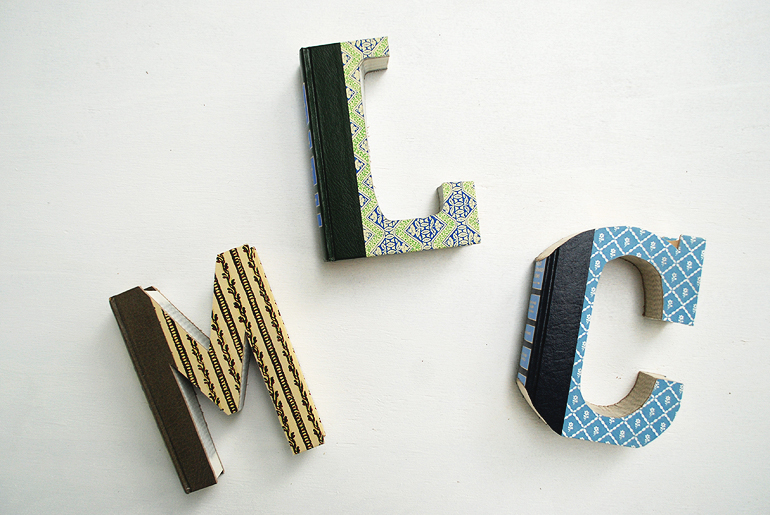
While we’ve all got back to school on the brain (my boys start today), here’s a fun DIY with letters. A couple years ago I saw a photo of some old books cut into letters and knew it was a project I had to try (and by “I”, I mean Mike with assistance from me. 😉 ) . I started looking for vintage books with nice covers while out thrifting and soon had a nice stash (once Caitlin clued me in on a little secret…look under the paper covers! The Reader’s Digest Condensed Books have nice covers and are pretty easy to find). I decided that I wanted to make one for each of the boys and one for our living room, plus a few for gifts.
We actually made our first one for my sister, Lyndsay, for her birthday back in February. I loved how it turned out – and I think she did too. They’re perfect for gift giving, I think they’d make a nice teacher gift too.
(And I am aware that this is now a product Anthropologie carries…when I brought this project up at our blog planning meeting, Caitlin mentioned that she had seen these on Anthro. So there’s always the option to buy if you can’t DIY!)
What you need:
- Book
- Computer
- Printer
- Paper
- Pencil
- Scissors
- Scroll Saw


How to do it:
- Measure the size of your book.
- On your computer, using a word processing or design program (I used Adobe InDesign), make a document the size of your book.
- Type the letter you want and pick a font you like the look of. Try to pick a font that has a flat side and is wide along the bottom. This will help make your book sturdier. Size the font to fit your document, which should be the size of your book.
- Print your letter and cut it out.
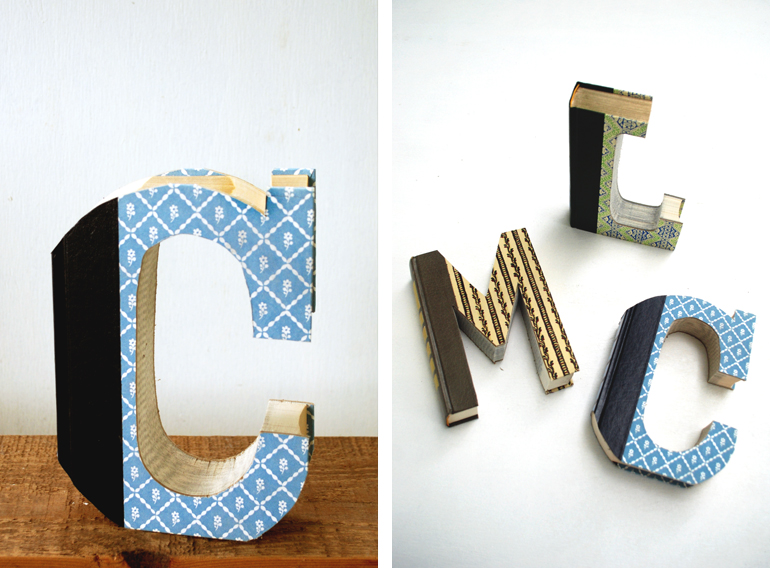
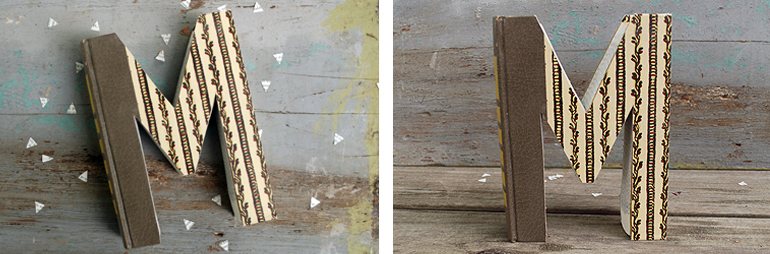
- Trace the letter on the front cover of the book.
- Using the scroll saw, cut the book following the lines you traced. (Save the scraps for another project!)
- Brush off the dust and enjoy your handiwork.
(You can always just skip the computer part and freehand a letter. Or use a stencil if you happen to have stencils the same size as the book you’re using.)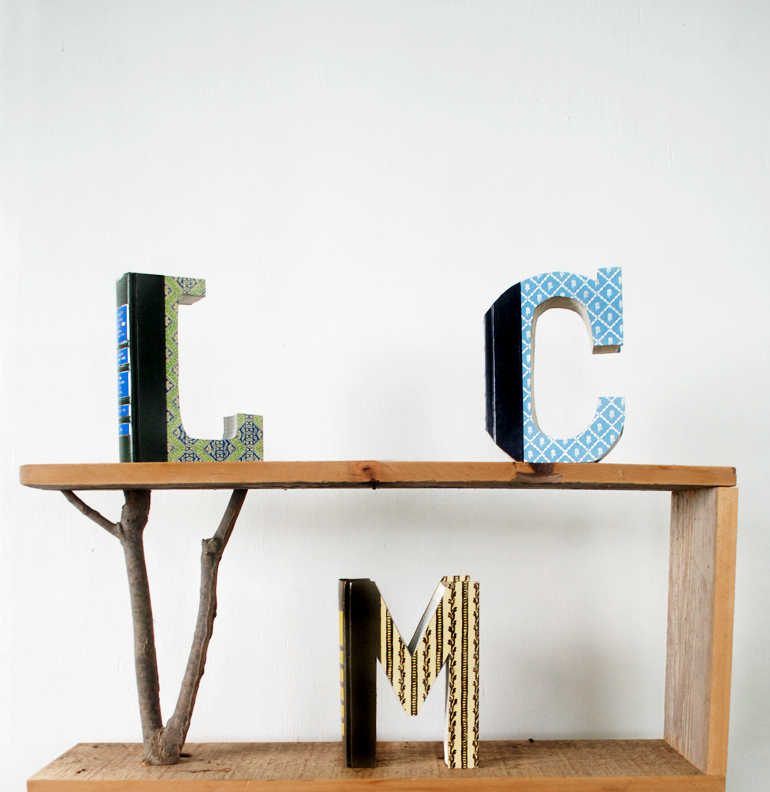
Go thrift some books and get cutting!
-Manda

